Whole lotta stuff happening all at once here lately; we’re two weeks away from wrapping work on the project I’m on at work currently so the hours are a little intense. I’m working specifically as an Effects Artist on this project, which generally involves making a lot of ‘natural phenomenon’-type things like fire, water, rain, mist, etc. Sarah and I are also gearing up to visit New Zealand soon; it’s been two years since we left and this will be our first trip back. We’re both extremely excited and also admittedly a little nervous — I think we’ve tried our best to make peace with leaving the place we love so very much, but I anticipate having some ‘feelings’ when we get back down there. In between the work hours I’ve been trying to align the stars for another couple of dishes over the coming days that I hope to complete before taking a break to travel. And, last week I got an interesting email that’s added something new to this dish here.
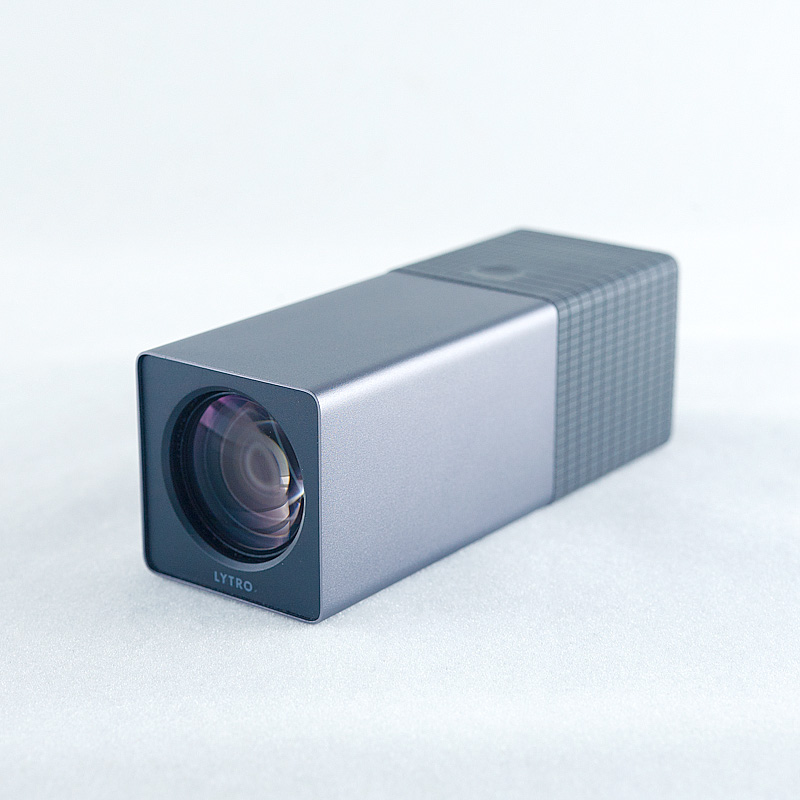
My friend Josh recently left work here to go to Lytro. Lytro makes a peculiar little camera that ‘captures light fields’. Josh explained this to me briefly: there’s a very thin array of multiple tiny lenses covering the camera’s sensor that allows the camera to capture intensity and directional information about the incoming light. This information allows Lytro to computationally reconstruct an image at various focus points after it’s been captured…effectively allowing users to refocus an image after it’s been taken. Their current application of this is allowing people to share these photos; Lytro calls them “Living Photos”, and viewers can click around the image to refocus it as they like (and, ugh, apologies if you see a big blank space below: try refreshing the page. I keep having trouble actually getting these Lytro images to show up properly and am not sure why):
ANYWAY. Josh and I traded some emails last week that eventually meandered around to the suggestion of trying to use one of these to photograph some food. At this point the potential of the camera settled on me: Alinea dishes are inherently exploratory, so a medium that allows viewers to explore things could work really well here. It’s very often that I shoot a dish from the same angle using multiple focus points, and I usually choose one more or less arbitrarily, regretting that people can’t see the food as I’m seeing it (and of course posting multiple photos from the same angle is lame and boring). I’m interested in getting the camera situated ‘inside’ the dish, as if we’re viewing it as a landscape or as architecture, but doing this runs into limitations with macro photography…plus my camera is big and difficult to get super-close to things. The Lytro camera has a much smaller form factor than my camera, so I could get it closer to the food, and the refocusable aspect of the final images (I hoped) meant others could get a little more involved in exploring the dishes.
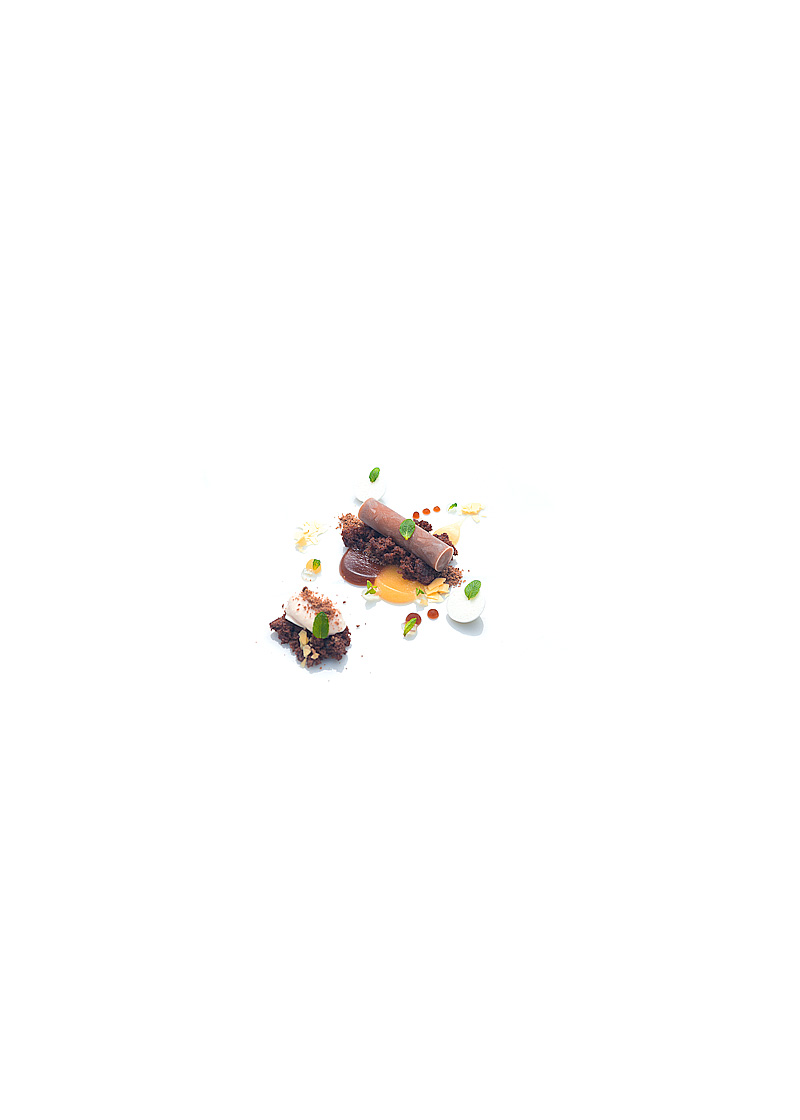
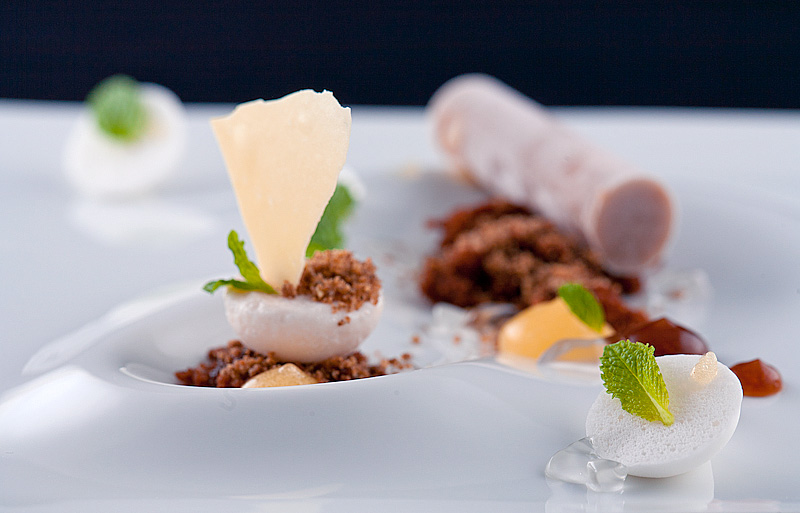
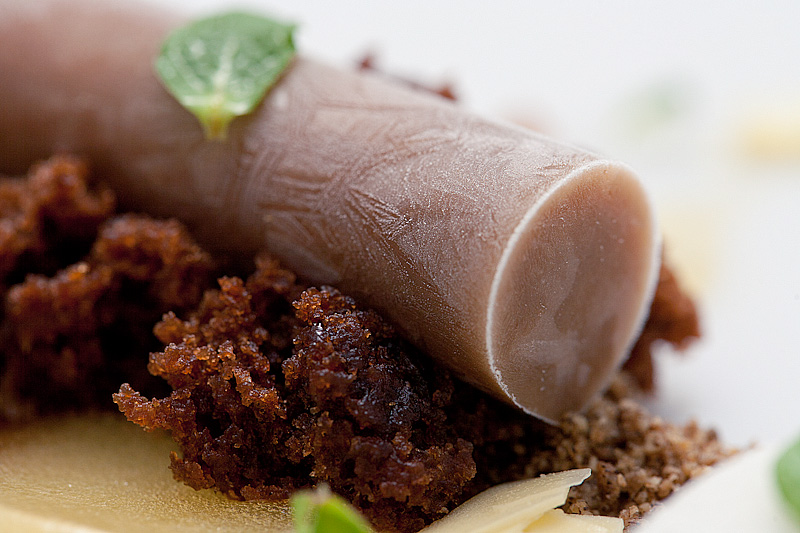
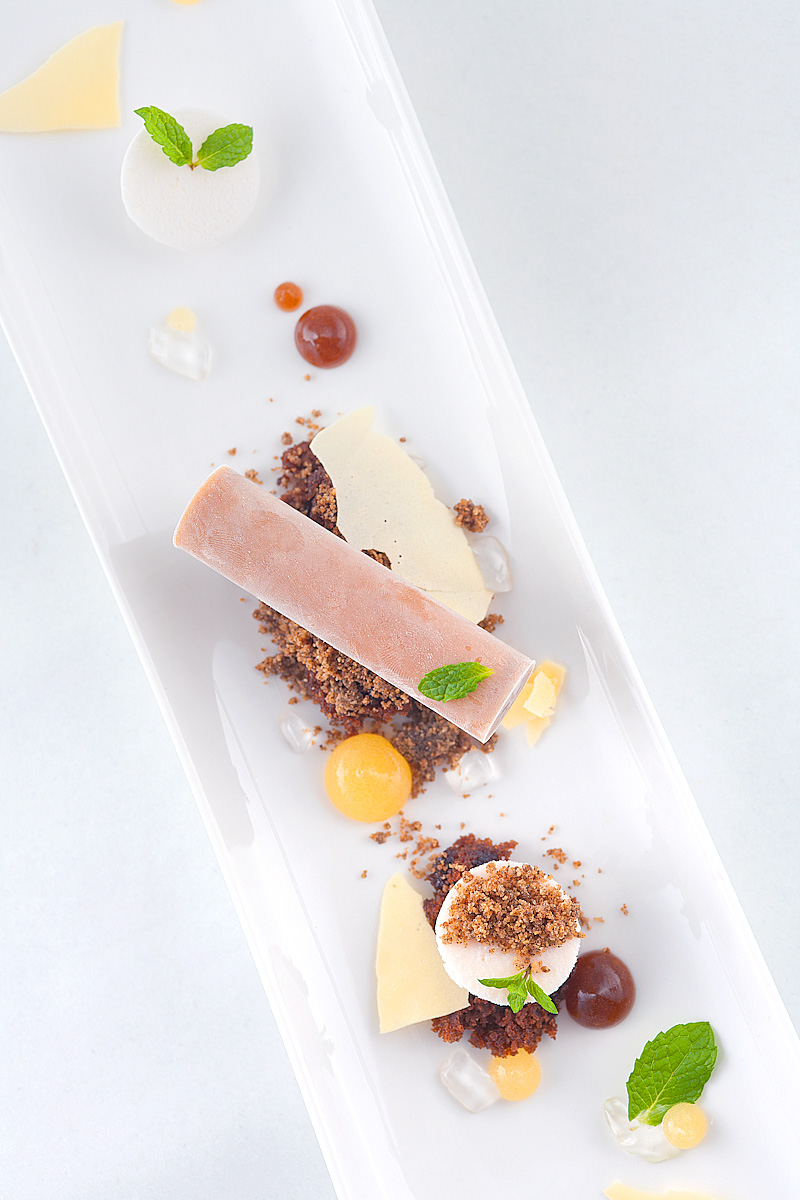
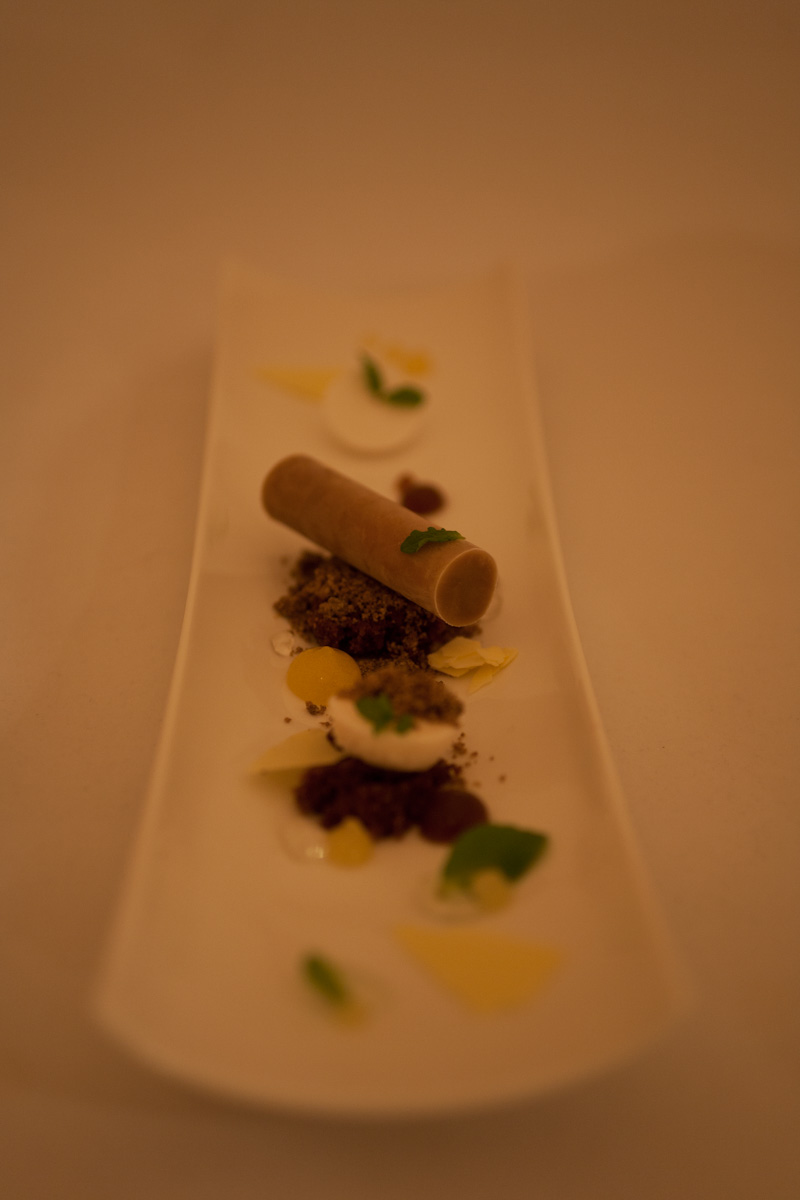
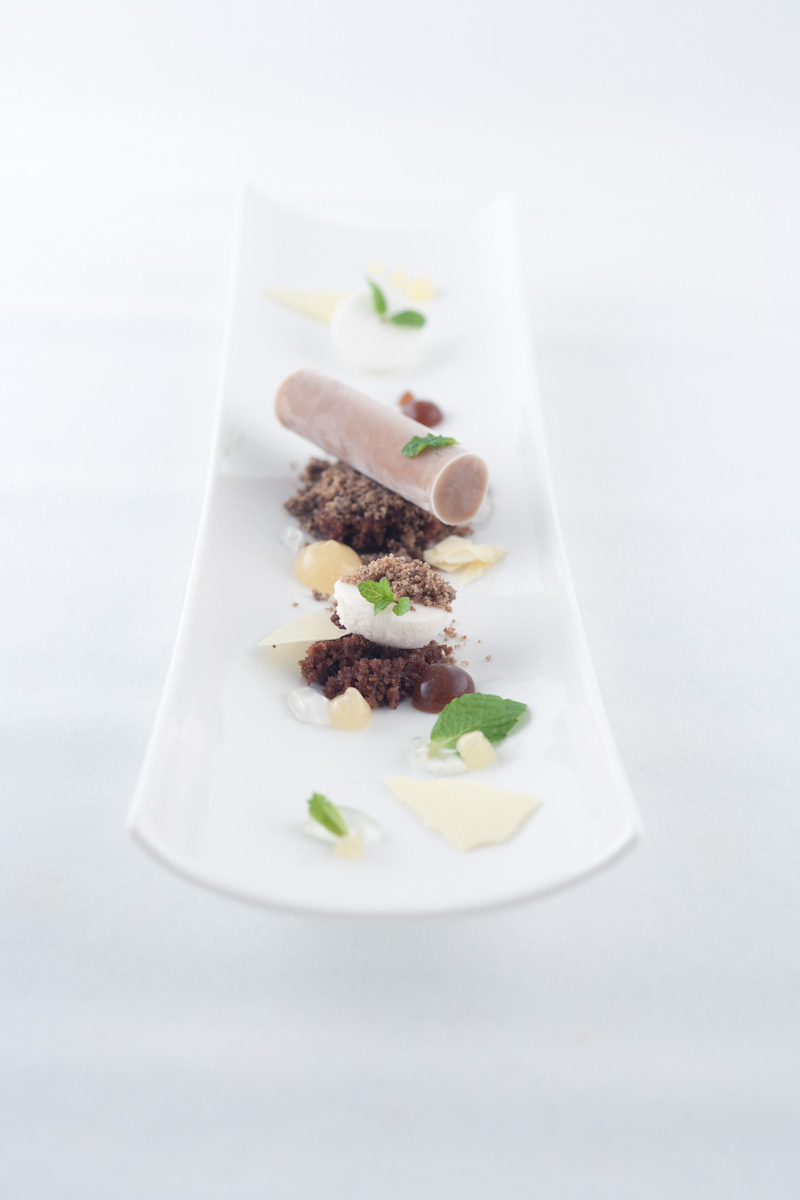
The idea seemed like it could be cool, so Josh loaned me his Lytro to play with. Funky camera in hand, I started in to working on this dish. The centerpiece of this thing is a capsule made of coffee that’s filled with a mint cream. It’s complimented by a serving of buckwheat ice cream. Holding both frozen items in place are small chunks of coffee cake and crumbs of a buckwheat streusel, and alongside both are dots of coffee pudding, passionfruit pudding, and mint gel. A few shards of dehydrated passionfruit curd are scattered about, along with two hershey-kiss-shaped peppermint puffs. The entire dish is garnished with tiny mint leaves.
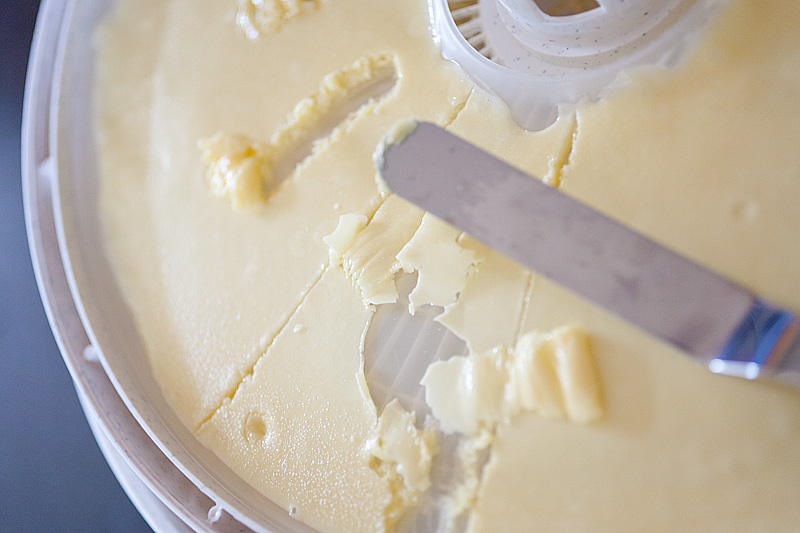
There are a couple “do this overnight”-type steps in this one, so I dug into those first. I made a passionfruit curd from passionfruit juice, sugar, glucose, and butter. Passionfruits in and of themselves aren’t terribly ‘juicy’ (more ‘pulpy’), so I bought some passionfruit juice before noticing that it’s actually passionfruit pulp mixed with pear juice. The juice tastes nice and decidedly passionfruity, but not quite as punchy as a real passionfruit. I tried artificially boosting up the impression of passionfruit flavor by adding a bit of citric acid, which was mildly successful but still left me wondering if there’s a more-passionfruity juice I should have hunted for. At any rate, the curd is left to firm in the fridge, then smeared onto a dehydrator tray and left to dehydrate for 24 hours.
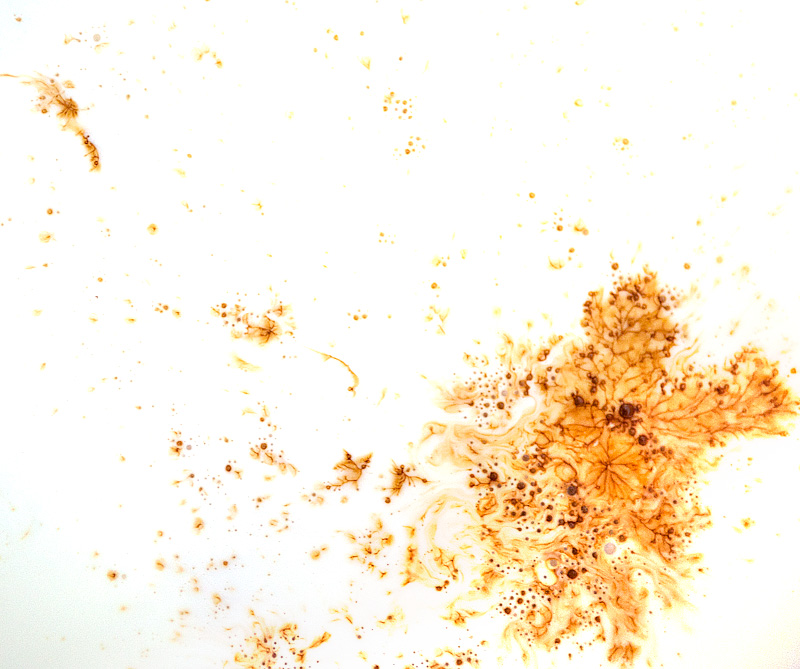
The first time I did this, I apparently smeared the curd too thick, because after 24 hours I ended up with something that worked like this:
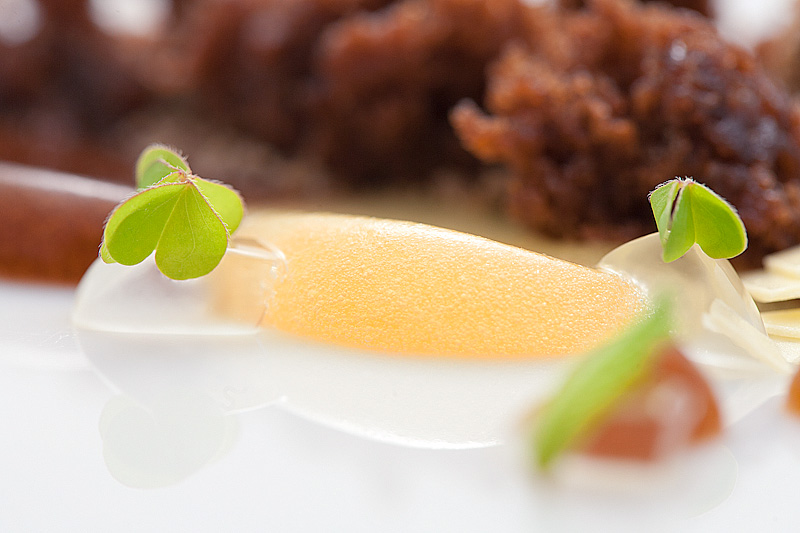
Bleh. It took me a second try — spreading the curd much thinner — before the curd dried into something like a crispy potato chip and I got it to work like this:
Heads-up that if you live in a moist, humid environment (like, say, the Bay Area this past week) and are working in a warm kitchen this stuff stays dry and crispy for about a minute before turning into a gummy sticky mess. Stay sharp, chefs.
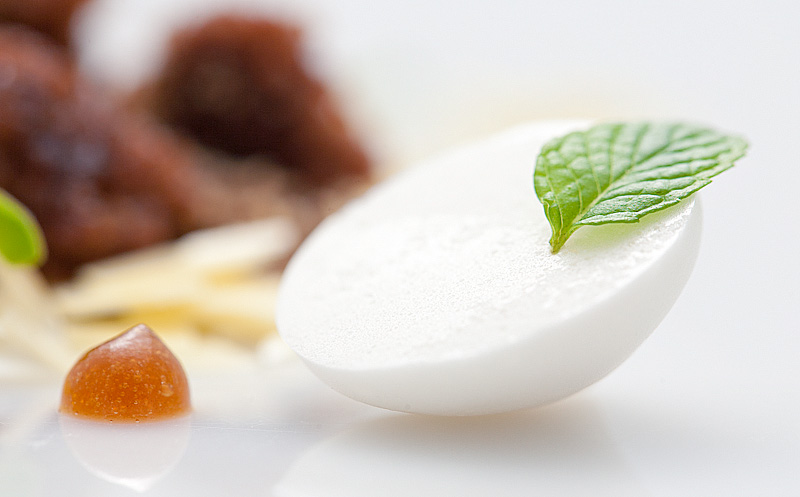
The other longer step was making the peppermint puffs, and these were extremely peculiar. I’ve made puffs before, but these were much more of a production in terms of mucking around with temperatures. The gist is that I steeped some mint leaves in hot water to make a strong mint ‘tea’, mixed in some Methocel F50 and cooled the mixture in the fridge for several hours, heated it to 140F on the stove, then cooled it again overnight. I’m not quite sure what the heating step accomplished; this step wasn’t required when making the Cinnamon Puffs. After chilling the second time, the mint liquid is combined with sugars and mint extract and whipped until it forms something resembling a fluffy meringue, then dolloped onto dehydrator trays and dehydrated for about 12 hours until they’re light and crispy.
As the curd and puffs were dehydrating, I worked on making several puddings and gels: coffee pudding, passionfruit pudding, and mint gel. The coffee pudding recipe provided by the book involves a mixture of coffee and milk; this resulting pudding will eventually become the basis for the coffee capsules. But the plating instructions mention using some of the pudding as dots on the plate itself. The coffee dots pictured in the book don’t seem to have cream in them (they’re almost black, whereas the recipe’s coffee pudding is — as you’d imagine — milky brown). So I made a second batch of coffee pudding sans cream to garnish the plate. I don’t have an espresso machine, but rather a shitty italian stovetop percolator that works fine but can’t brew thick espresso quite properly, so my coffee pudding didn’t turn out as jet black as what’s in the book.
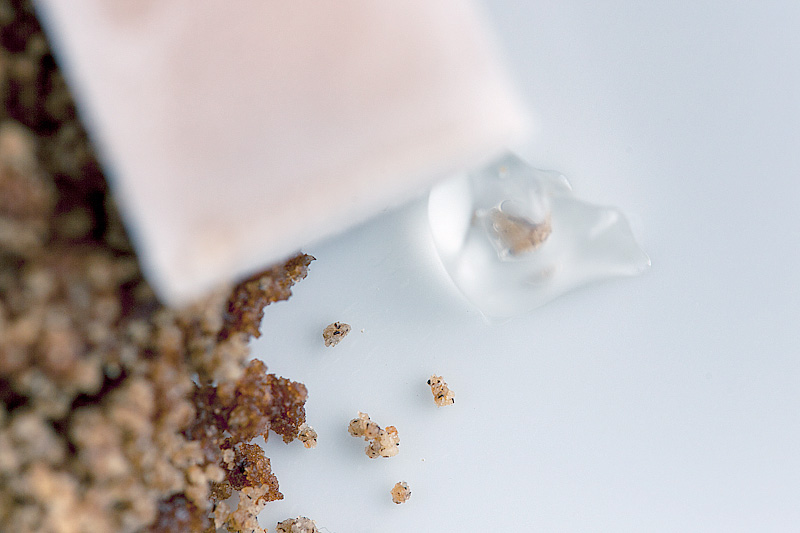
For the passionfruit pudding I again used the pear-passionfruit juice, and again tried to kick it up a little with some citric acid. The book has a LOT of recipes for puddings, most of which involve setting a liquid with agar then blending the resulting gel. Anything that deviates from this is interesting to me at this point; the passionfruit pudding called for adding a bit of xanthan at the end to the gel, which I hadn’t seen before. The recipe is rather small — anything less than about a cup of gel doesn’t work in my blender very well — so I tried blending the gel with an immersion blender before adding in the xanthan. What I ended up with was a little odd: the gel had a ‘snotty’ textural note to it, and I think the use of my immersion blender whipped in a lot more air bubbles than I normally see. The pudding was nearly a foam, and had a peculiar foamy quality to it when I tasted it. The passionfruit flavor was muted to begin with, and the added air and interesting texture ended up dulling the flavor release even more. It looked kind of neat, but I ultimately decided to try making it again in a larger batch and without the xanthan. This yielded something that looked much more familiar to me and tasted a lot crisper. It also hinted to me that whatever passionfruit juice Alinea uses probably has more acid and flavor than what I had ahold of. You can see the difference here; the foreground dot is the over-aerated batch, while if you focus on the background one you can see far fewer bubbles, a deeper color and a smoother texture. For the final plating I actually used dots of both just for variation.
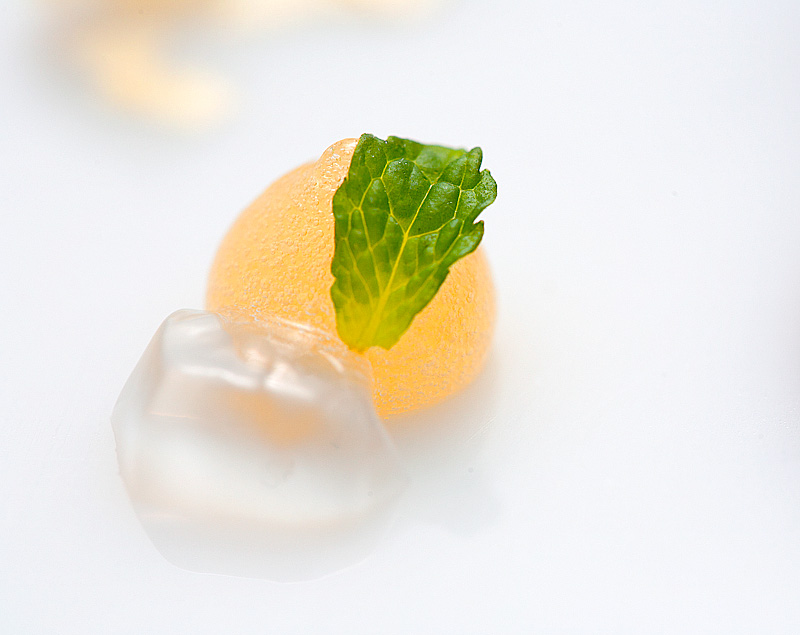
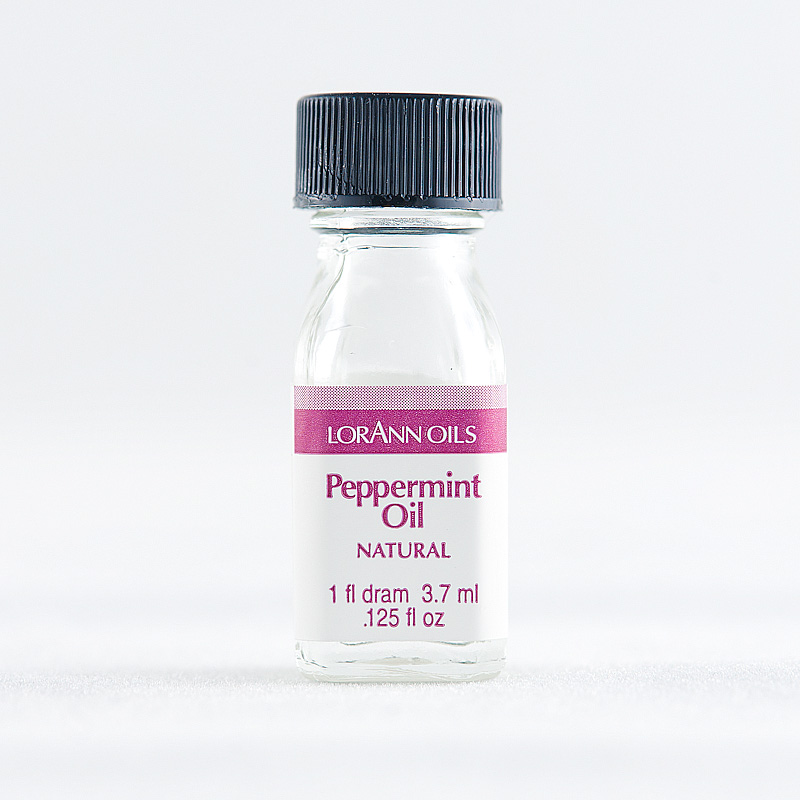
To make mint gel, I mixed sugar, glucose, and water with some gellan gum to yield a gel. The book says to use High-Acyl gellan, which yields a soft, elastic gel, but then directs me to “slice the gel into shards with a knife”. I think we actually want to use Low-Acyl gellan, which yields hard, brittle, agar-like gels that break apart and resemble shards much more readily, but I kind of liked the softness of the high-acyl version so I didn’t bother to fix it. The mint flavor comes from use of peppermint oil; this stuff is hella powerful and a few tiny drops are enough to flavor most anything, but the recipe calls for a full gram of the stuff. Heating this with the sugar was a little like working with the horseradish cream last time; it was super minty, and made my eyes water as the vapor hit them. Joe once told me about these crazy Japanese things called “Eye Mints“; I was reminded of them here. It felt like someone poured mouthwash on my face.
Gels sorted, I worked on a few baked goods next. I made a coffee cake flavored with Trablit coffee extract and cream. Once this had set into a nice spongy texture and cooled, I ripped it into small chunks for plating.
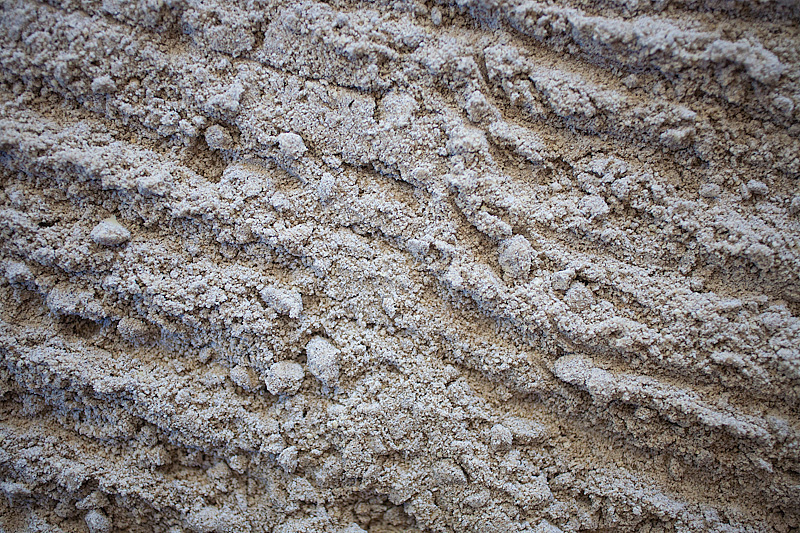
I also made a buckwheat streusel. This one was a little perplexing for me; it’s basically several flours (buckwheat, all-purpose, and almond) mixed with sugar and chunks of butter. The butter is meant to be ‘loosely incorporated’, so what I ended up with before baking was just a bowl of very dry ‘dough’ (more like…flour with chunks of butter):
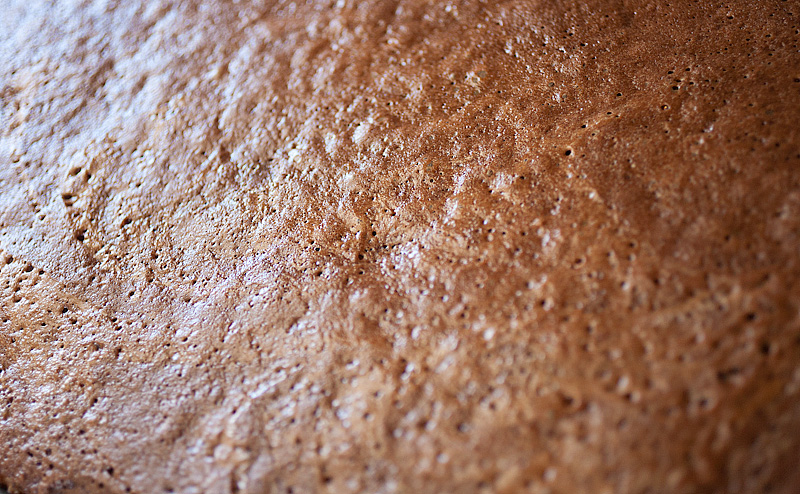
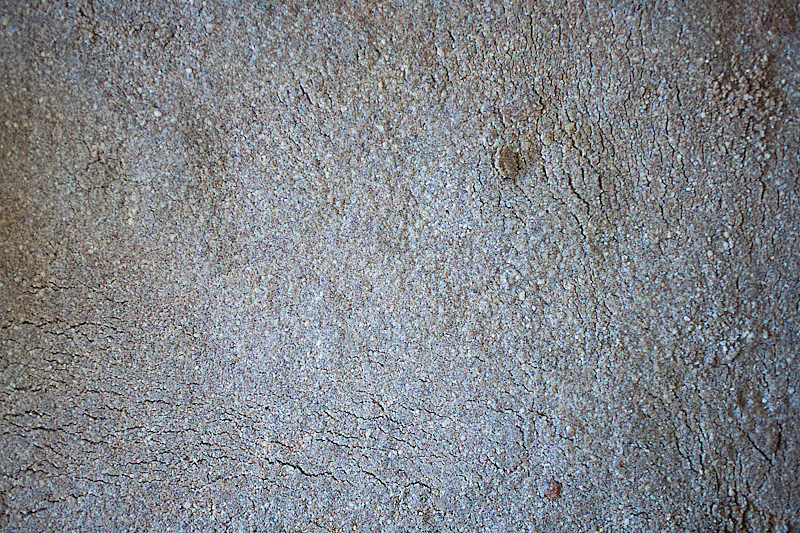
After baking for 20 minutes or so, the butter had started to melt into little wet spots, but hadn’t quite permeated the full volume of the flour. So, I stirred it up a little and pressed it to redistribute, and continued baking until it looked like this:
I have no idea if this is right. I asked Sarah about it and she said “You’re just going to crumble this up right? So…does it taste good?” Admittedly it did taste nice, but I couldn’t quite understand what I’d really done other than melt some butter into some flour. So, I went with it, but if anyone cares to opine about the nuances of streudeling I’d love to hear it.
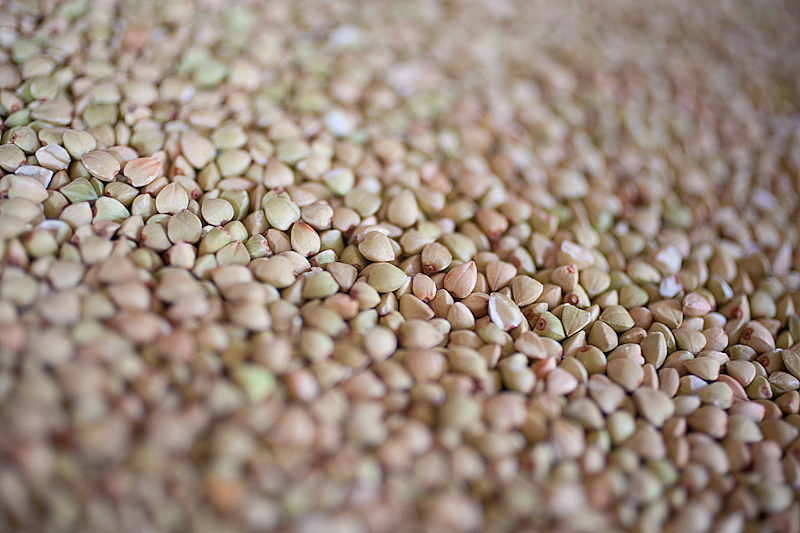
To make buckwheat ice cream, I toasted some buckwheat groats until they were aromatic (having never smelled toasted buckwheat groats…they have a pretty distinctive, earthy/nutty smell that oddly [and perhaps appropriately] reminds me of autumn), then let these steep in milk to infuse it with their flavor. I then simmered the milk with some sugar and Stabi-Sorbet, spun it in an ice cream churn, and left it in the freezer to firm up. I’m meant to quenelle this ice cream for plating, but I just can’t seem to get the hang of this. My ice creams either turn out too firm or — as they soften — too ‘sticky’ to work properly. I’ve tried the two-spoon method with limited success (I have way more success screwing it up and swearing loudly), and definitely can’t get it going with one spoon. I can’t figure out if I should scrap this stabilizer and try a new one (the recipe actually calls for Cremodan 64), adjust the temperature of my freezer to be a bit warmer, or find some sort of “quenelling for food nerds” class around here or something, but I just can’t seem to get it right.
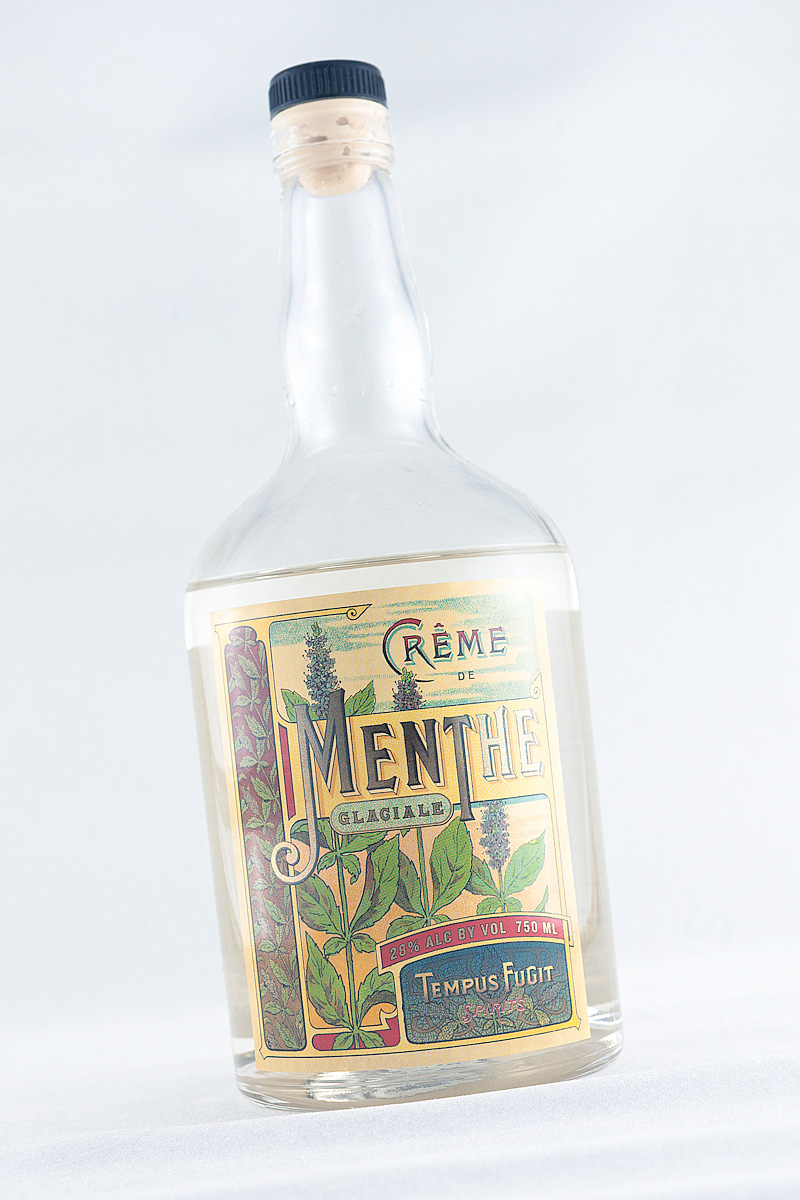
The last thing I worked on was making the mint cream filling for the interior of the coffee capsules. The recipe specifies use of “Get31” creme de menthe, a french mint liqueur that’s pretty tricky to find in the US. I worked with Ledger’s Liquors in Berkeley for a few weeks trying to track down a bottle, but ultimately got a little impatient and at the recommendation of the owner tried a different creme de menthe by Tempus Fugit. Beautiful labeling aside, this liqueur is delicious. It has a clean icy mint flavor that’s not overpowering and also has some nice subtlety to it. Mint takes on a level of complexity when it’s cooked, and I recognized some of those flavors in here (which reassured me the flavor wasn’t wholly artificial). The liqueur is mixed with cream, sugar, and propylene glycol alginate, a stabilizer that adds body and thickness to the mixture when it’s frozen (the alcohol prevents the mixture from freezing, but use of the stabilizer causes it to take on a thickness it wouldn’t otherwise…it sorts turns out to be the consistency of the little tub of icing you get with Pillsbury Cinnamon Rolls).
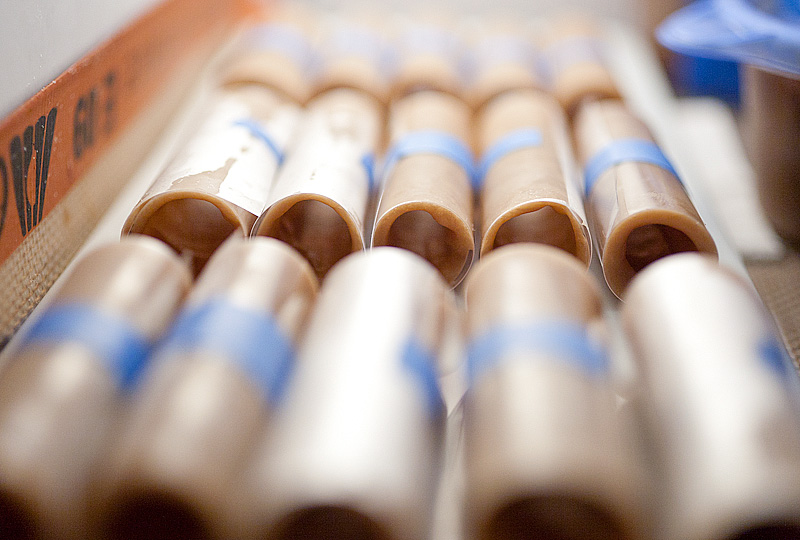
My final step was building the coffee capsules themselves. Using the coffee-and-cream pudding I made earlier, I spread the mixture onto some squares of acetate and rolled them into tubes, just as I’d done with the Mandarin capsules from a while back. After freezing the tubes for a while, I first put on one cap of coffee pudding, froze the capsules again, then filled them with the mint cream, capped the other ends, and froze them one last time to complete.
I found the flavors of this dish lovely but ever-so-slightly disparate; the mint and passionfruit went together well, but the passionfruit and coffee failed to fully integrate themselves for me. I feel like the choice of coffee one uses is kind of a big deal; I used a dark espresso roast from Peet’s largely because that’s what we had in the fridge, but it wasn’t quite inky enough in flavor to match the tang of the passionfruit, and I kinda wished I’d just gone to a coffee shop and ordered the 5-6 espressos I’d need to make the puddings. They were tasty enough, just not 100% awesome for me. And I mentioned the passionfruit curd and puddings were a tick or two milder than I would have liked…in general I wish some of the flavors would have been more assertive, but that’s my fault, not the recipe’s. The mint flavors, aided with a lavish use of peppermint oil, came through loud and clear though, and the buckwheat flavor (while also not all-the-way integrated for me) was also very crisp and clear. James’ comment was “It’s not quite a dessert”, which I think might be true…it’s less sweet and decadent than some of the later desserts in Alinea’s menu, so I think this one might be one of the transitional dishes into the dessert courses.
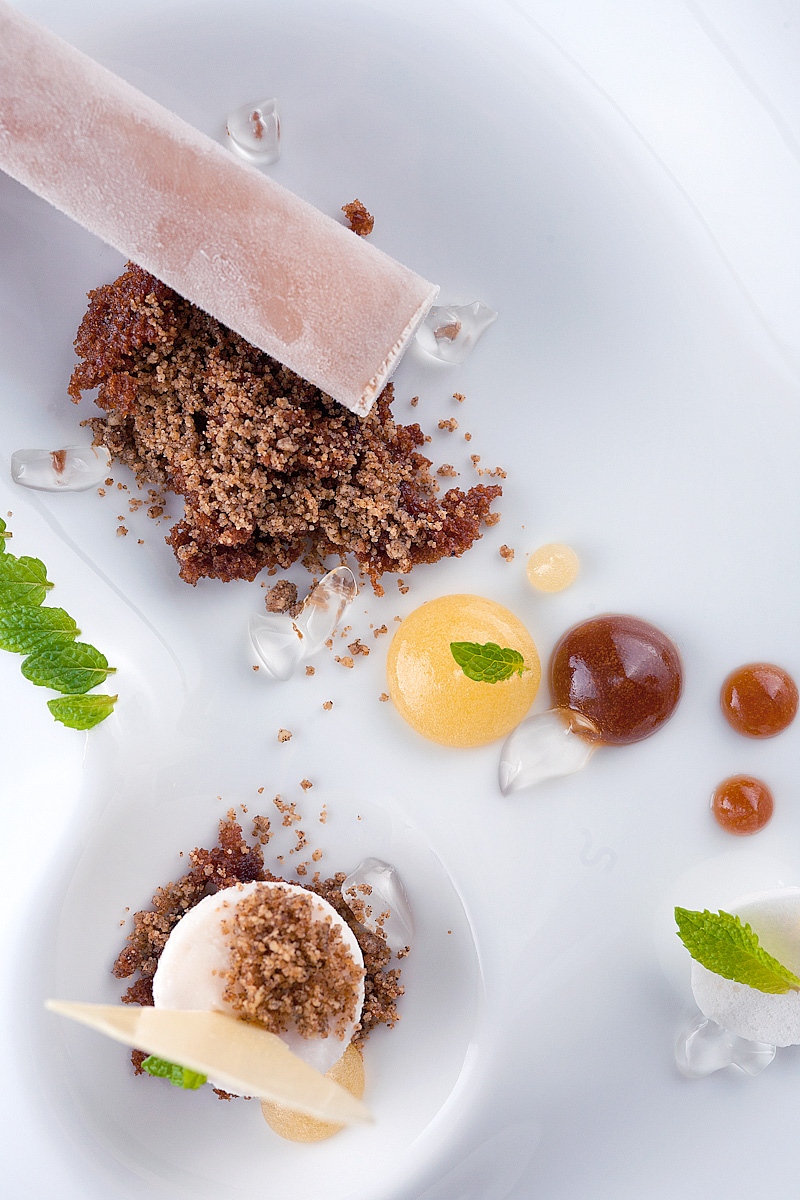
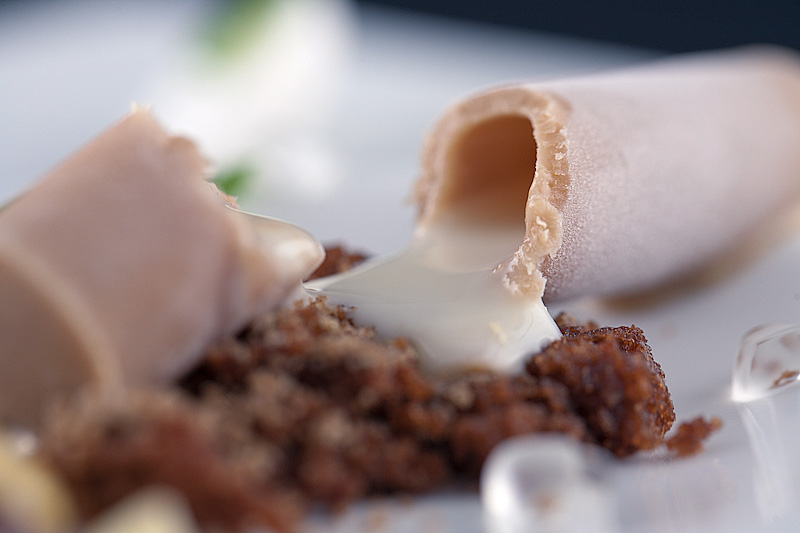
As for the Lytro camera itself, I have mixed feelings about my experience. As it stands, the camera lacks some features that I rely on heavily for this project. I use infrared-triggered flashes to light things…this lets me control the color and intensity of the lighting in each shot. The Lytro camera has no way to fire flashes, so my entire lighting setup was voided with it. It’s possible to fall back to lights that don’t flash (these stay on all the time, and are called “hot lights”…because they get really freaking hot), but I don’t own any. Not wanting to buy an entirely new light setup for the sake of trying this camera notwithstanding, hot lights pose a pretty severe problem for delicate food photography (like, say, a plate of frozen food) for obvious reasons. I do have a halogen work lamp that I tried using, but it too gets super hot and is very yellow, so it wasn’t great to work with. You can sort of see here the coffee capsule starting to collapse from the heat in the background:
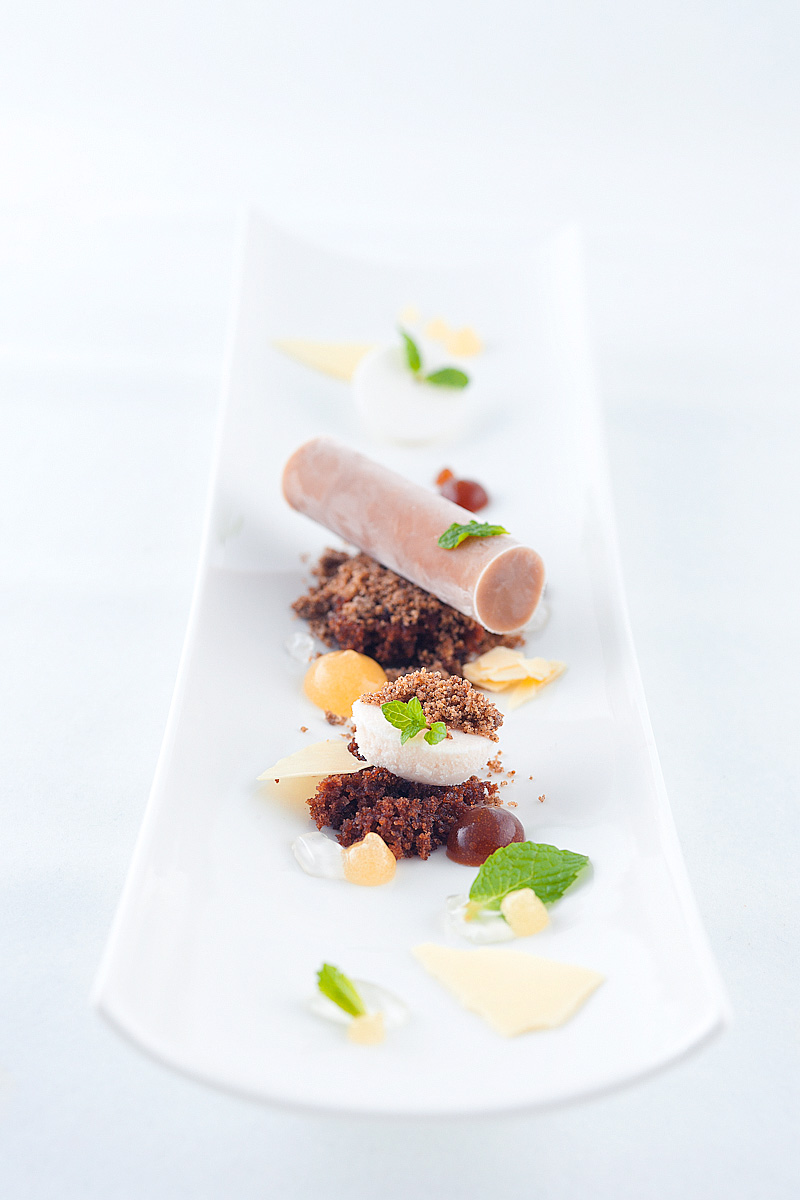
Here’s the same image using my lights (but not digitally altered):
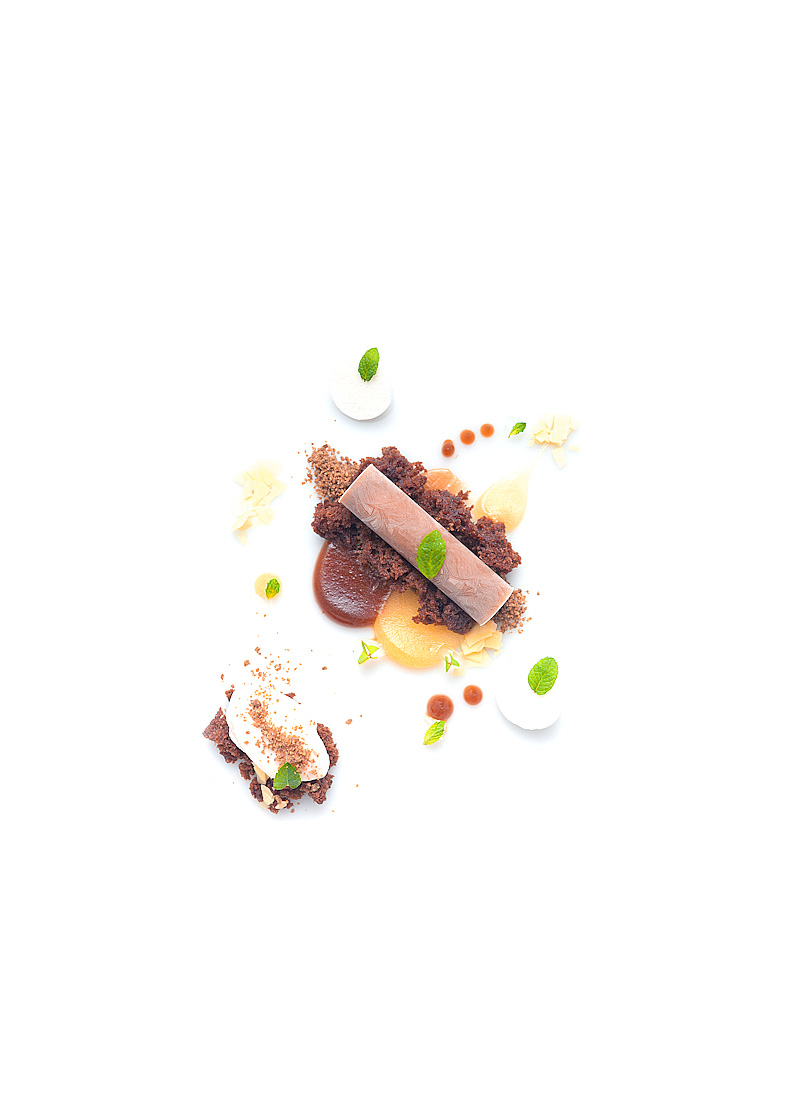
And here’s the same image with some basic digital development done; I’ve cropped it a bit to straighten it, and sweetened some of the greens and orange/yellows that my camera fails to register properly on its own:
This honing of things is an important part of this process to me, and not being able to do it at all with the Lytro images is tricky.
The form factor of the camera has some appeal though, and Lytro built an onboard processor into the camera that allows them to push out upgrades to both the camera and its software online…this is pretty neat and means they could potentially push out a software update in the future that would allow me to develop the photos as I would like. And I feel like there’s some fundamental appeal to being able to explore this particular subject. I might continue to play with it a bit more, backed up by use of my regular camera.
I love how you incorporate your “day job” experience into this project. I seem to learn new stuff about photography in every post.
This particular dish is the first one I made from the Alinea book, well more like the first one I made and posted about on my blog actually. It was a pain for me making those coffee capsules! As for quenelling, it’s tricky and needs some practice AND an ice cream at the proper temperature. I’ve had better success getting a good shape using an ice cream scoop (the sort of oval shaped one) rather than a spoon. Here is a video that might help with the process itself: http://www.youtube.com/watch?v=-kJOo67Xrqc
As a side note about homemade ice cream recipes, I’ve taken to using the ice cream base from Jeni’s Splendid Ice Creams for almost all my ice cream. It is wonderful and seems to do particularly well at staying scoop-able (or quenell-able) at house freezer temperature. Get that book if you don’t have it. It is worth every penny.