
Makin’ DISCOVERIES! Makin’ discoveries is so great you guys. I made lots of discoveries on this dish! It was super-fun for some non-obvious reasons that might only apply to super…
Makin’ DISCOVERIES! Makin’ discoveries is so great you guys. I made lots of discoveries on this dish! It was super-fun for some non-obvious reasons that might only apply to super…

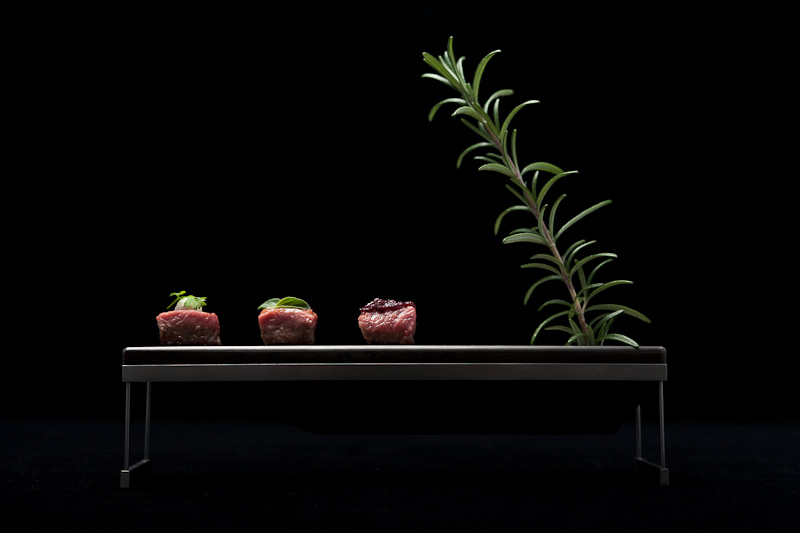
Francisco and I were party to a conversation last week about umami. “Umami”, a loanword from Japanese umami (うま味) –meaning “delicious taste”, is something you hear people like Heston Blumenthal or…

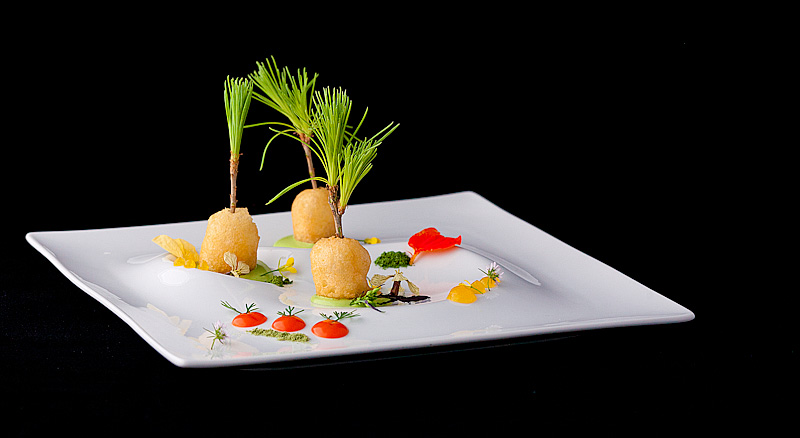
It feels like the further I wade into these later dishes, the more I need to rely on solid cooking fundamentals and less on white powders. While still fun, I…
A few people have mentioned curiosity about the photography side of this project, so rather than detail the production of the dish itself (I cooked a bunch of shit, then…
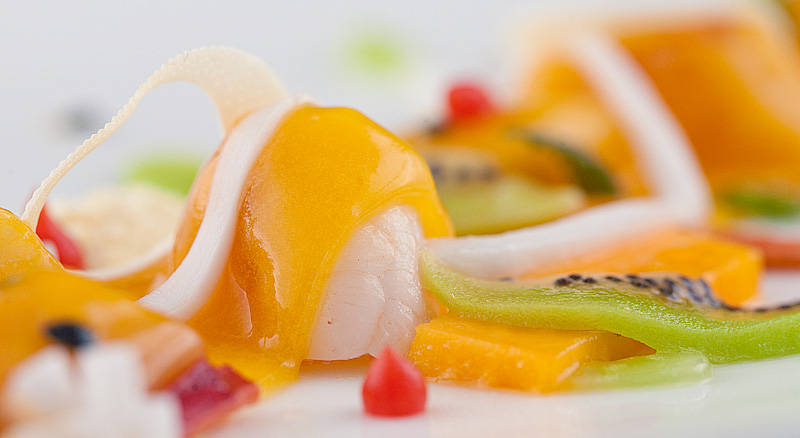
I’ve been eyeing this dish since early December; the photos in the book are eye-poppingly vibrant, and several of the tropical fruits were familiar to me because of time in…
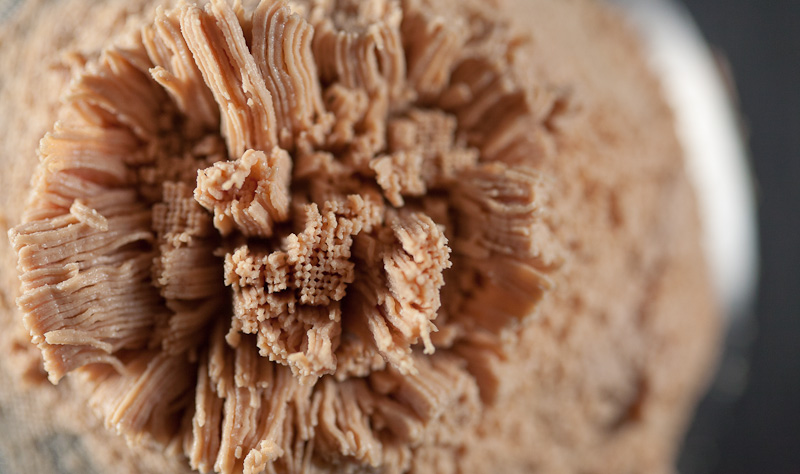
Bacon is as uncomplicated to make as it is to stuff rampantly down one’s gullet: a cut of pork (usually the belly in the US, called “streaky bacon” in European…

This project’s ‘hard stuff’ factor has entered a new phase for me; one that largely revolves around planning. As I close in on the last quarter of the book, there…
When I bought the French Laundry cookbook several years back, I came home and sat curled up in an oversized chair and read it straight through from cover to cover….
What’s in root beer? There are hundreds of root beer brands in the United States, and there is no standardized recipe. The primary ingredient, artificial sassafras flavoring, is complemented with other flavors,…
“Almost everyone has had pepperoni pizza and can remember exactly what it tastes like. While there may be variables that come with pizza’s numerous toppings, the core flavors of tomato,…
Last week, Sarah was away visiting her sister and some friends on the east coast, leaving me with a bit of “Bachelor Time”. Excitingly, “Bachelor Time” very closely resembles “Relationship…
I’m sure I’ve admitted somewhere on here before (probably several times; I have a terrible memory ha HA!) that the original appeal of starting this project was “AWESOME WHITE POWDERS!”….
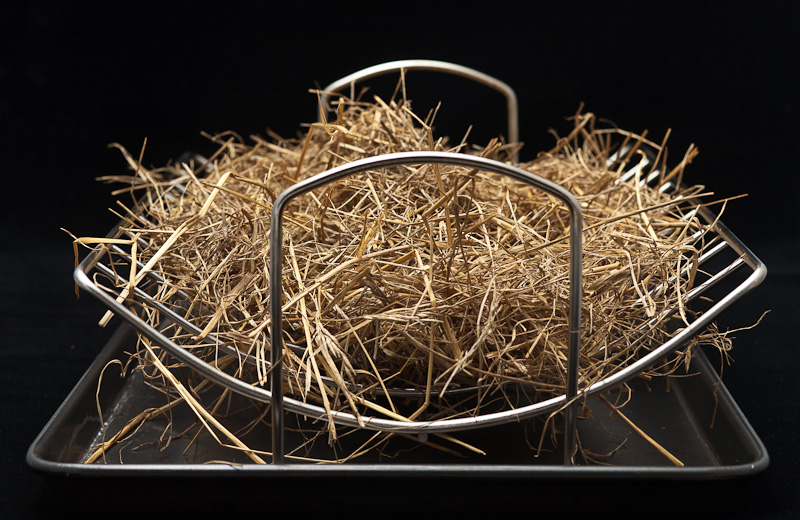
Not wanting to let forward progress in the cookbook fall aside, I worked on this dish at the same time I was making bubblegum soup, melting skittles, and baking hay….
Sarah shot this video of my time at home with my family in Kentucky over the Christmas holidays. I can’t watch it and not feel acutely homesick and a little…
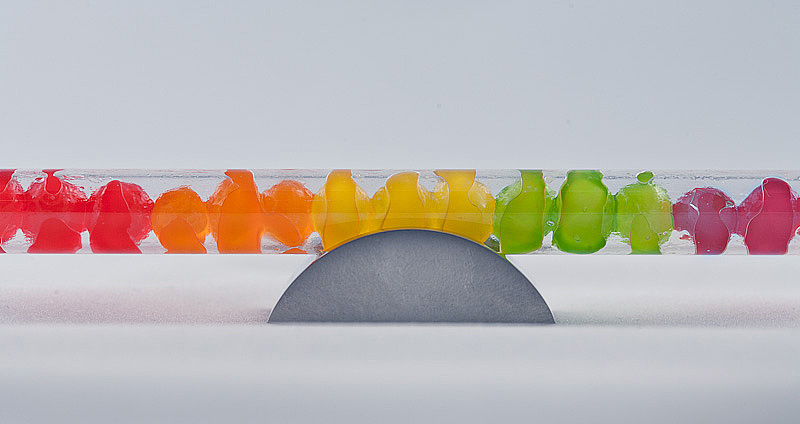
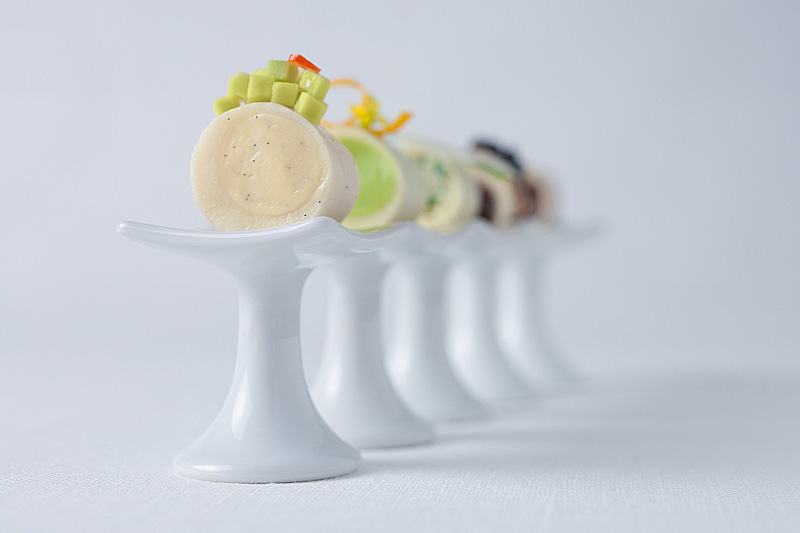
So, this one was Sarah’s idea. On tasting the Bubblegum Tube, she noted how pretty the electric-pink tapioca pearls were in the tube. “Oh man, can you do this with…

…what my folder structure looks like in my photography software. So far, I’ve taken over 6500 photos during the course of this project. Maybe I should make some sort of…mosaic…

Happy (extremely-belated) New Year! Many of my New Year’s resolutions revolve around this project; I deliberately took a break from it over the holiday season to reflect a bit on…

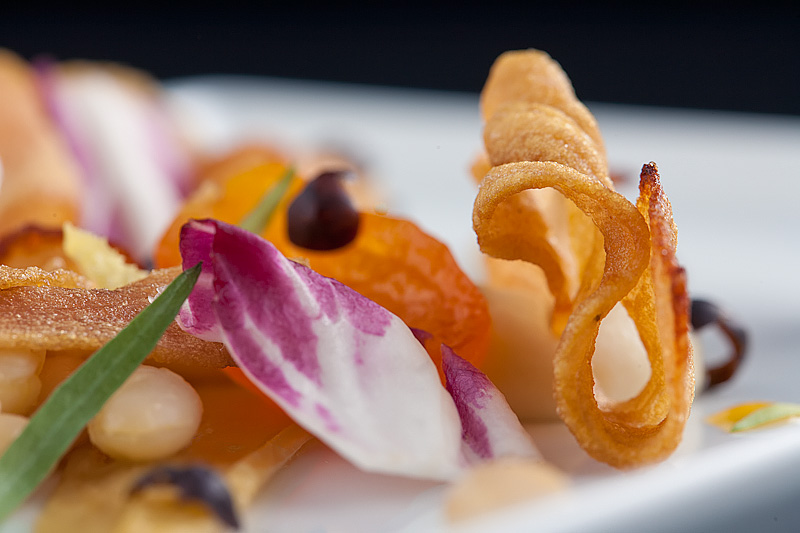
Seeking to maximize mileage with the foie gras, at the same time I was working on the previous Pear dish I also made this one. Working on these both in…
I hope the Thanksgiving Fairy left everyone a delicious turkey under your pillows this year! I was feeling adventurous yet lazy this Thanksgiving, so decided to try deep-frying a turkey…

A few weeks ago, Sarah and I went to see Ferran Adria speak in San Francisco. He was there largely to promote his new cookbook, but he talked a bit…