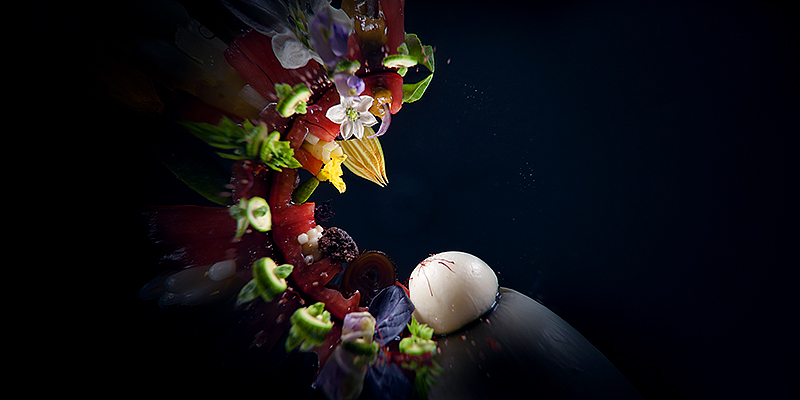
Hey guys! Are you ready for a super-verbose and instructional description of one of the most beautiful and challenging dishes in the Alinea cookbook??
No? You’d rather do something more productive?
Too bad! This one will be involved. I’ve been preparing for this one since January, and it’s taken me weeks to get it working right.
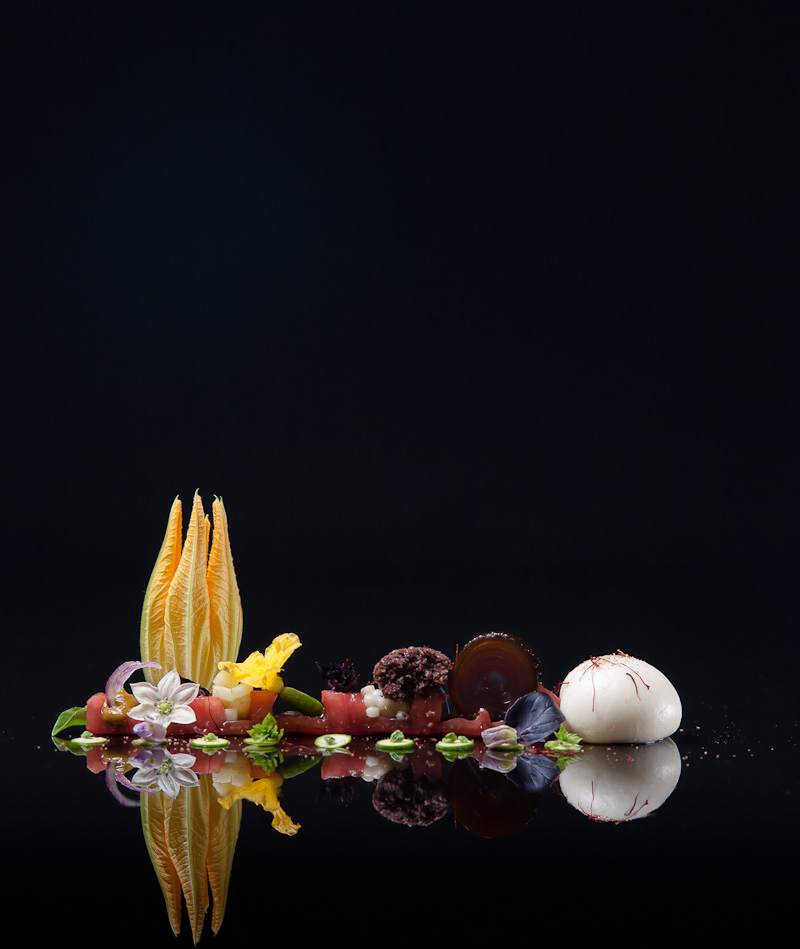
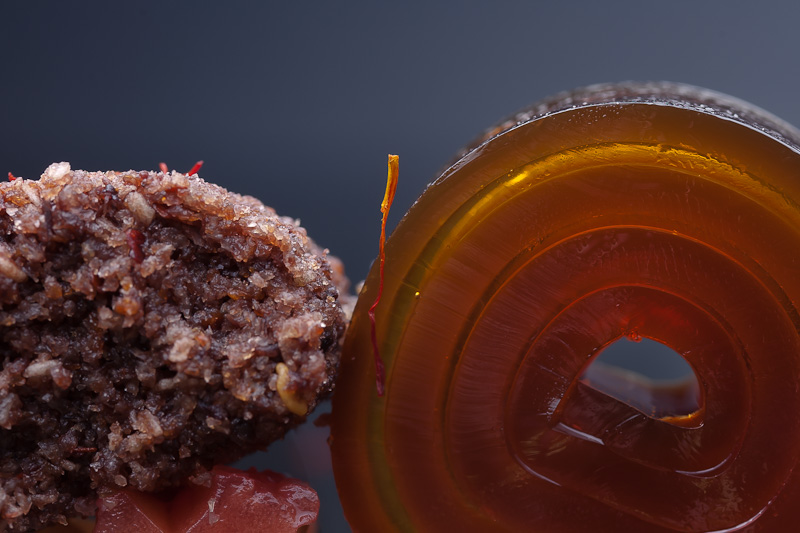
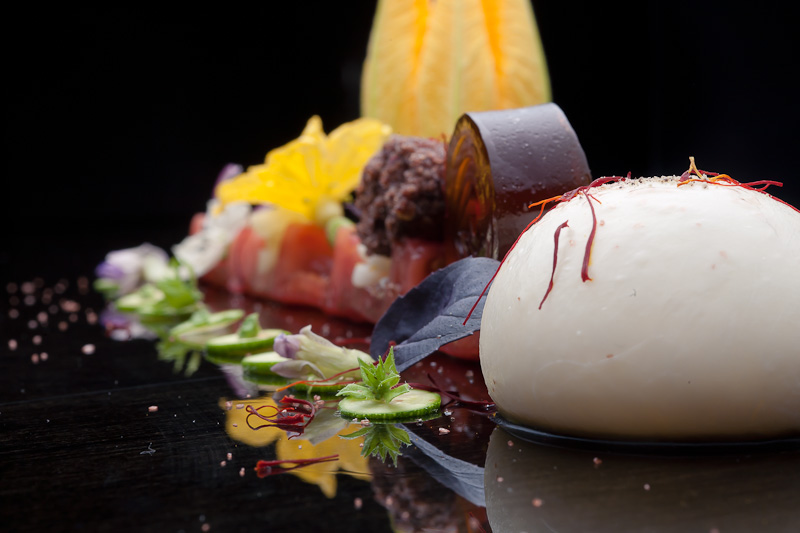
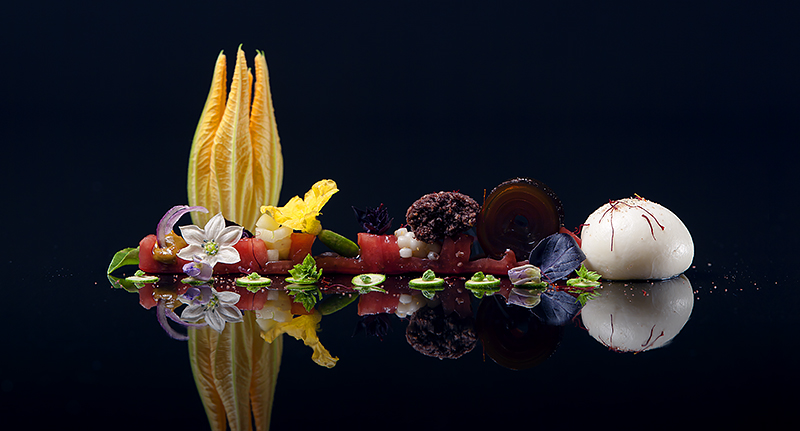
I’ll start by introducing all the stuff: a strip of tomato stretches out on the plate. The ‘wells’ formed by the various chambers in the tomato are filled with a cornucopia of flavors…from left to right we have some curry pudding with candied red onion sticks, a small salad of diced pickled cucumber, a baby cucumber with the blossom attached that’s been dipped in vinegar gel, lemon couscous, a ‘crumb rock’ made from toasted ciabatta, nicoise olive, and garlic, a gel spiral of molasses and saffron, and finally a balloon made of mozzarella that’s filled with tomato foam. The dish is garnished with fresh summer flowers and herbs: zucchini blossoms, purple and italian basil blossoms and leaves, and a sweet pepper flower just blooming fruit.
We start this recipe by making ‘tomato water’. This isn’t hard, but it isn’t fast either. Like Hugh Hefner these days (zing!). To make it, I’m supposed to use about 3.5 lbs of tomato scraps…something I might come across easily in a restaurant kitchen, but not so much at home. So I bought a bunch of vine-ripened tomatoes (I wanted something flavorful without being terribly expensive).
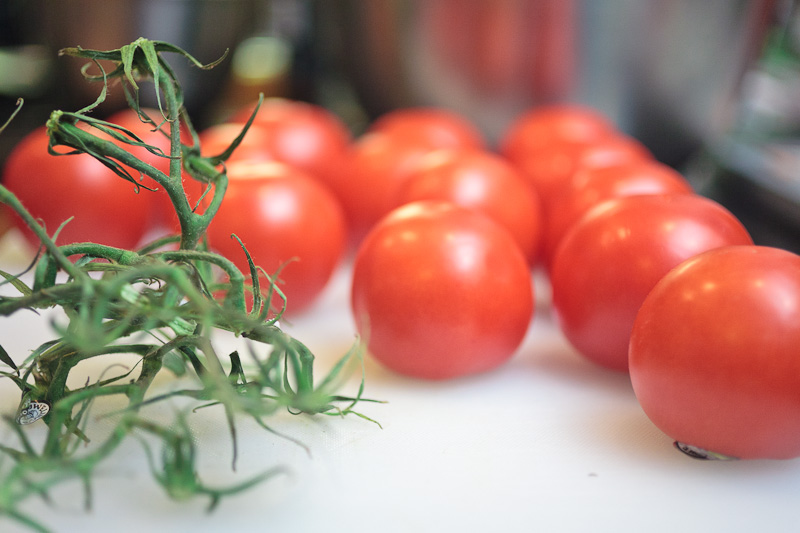
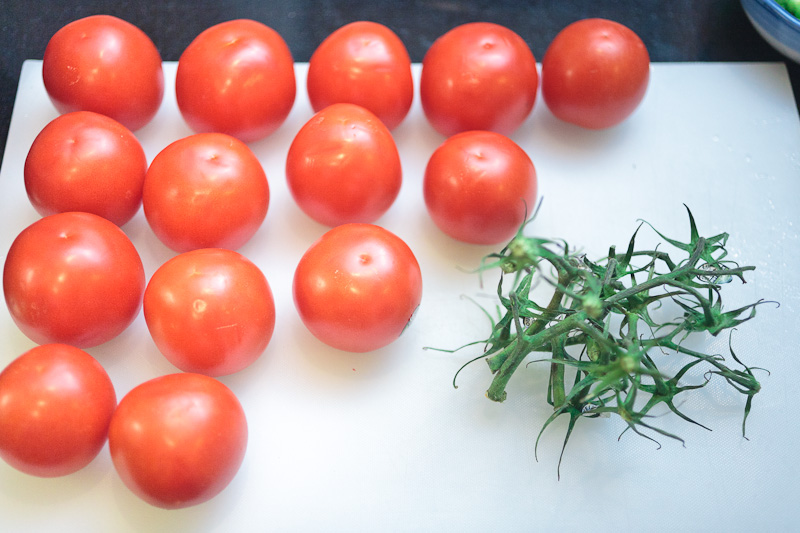
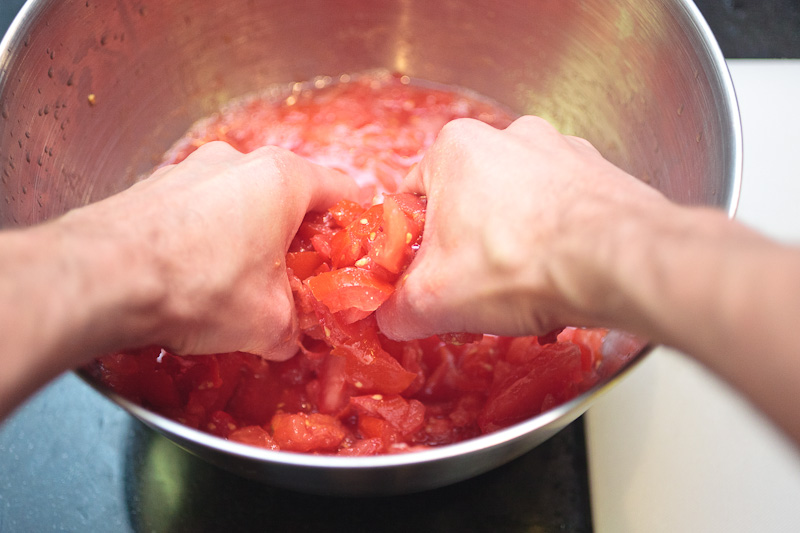
I roughly chopped up the tomatoes and threw them into a bowl with some salt, then smooshed them with my hands until they were all mushy.
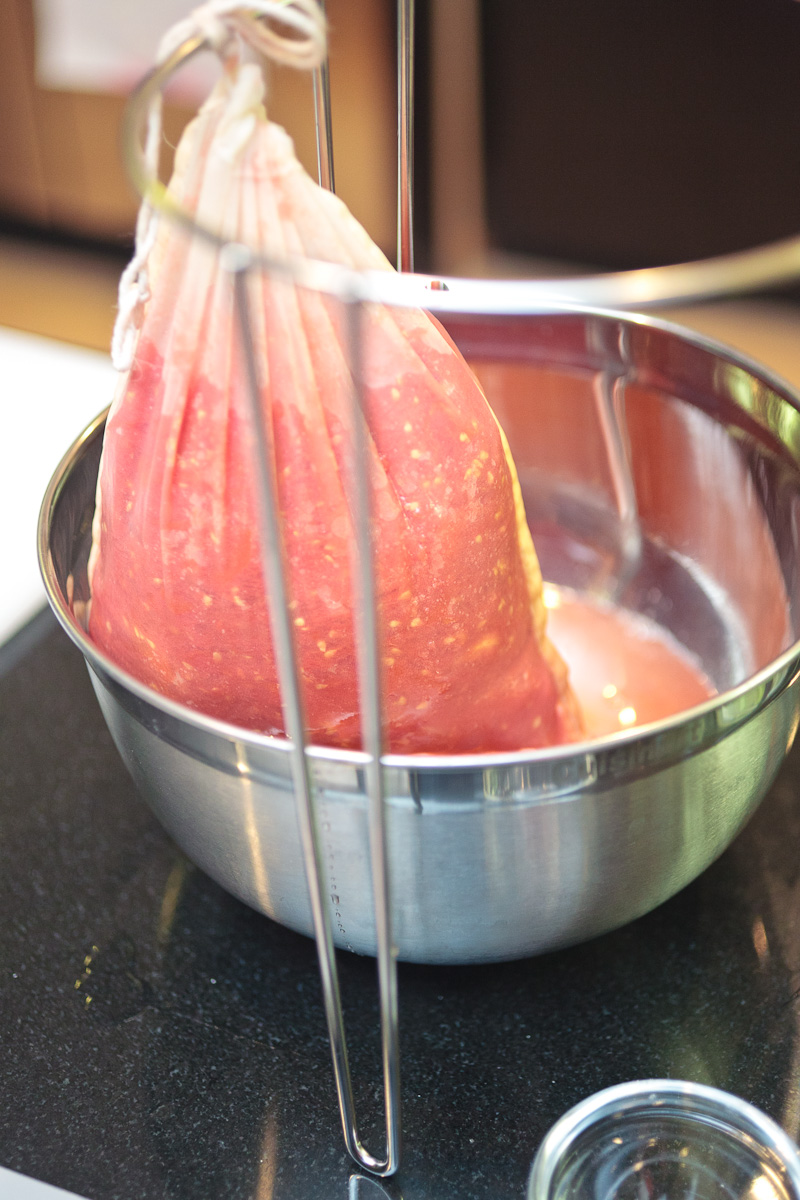
The recipe says to wrap the tomato detritus in cheesecloth to let it drain off. My hobo bindle-tying skills are woefully deficient, so I used a nylon grain bag. I bought this for beer-brewing…I use it to contain grains during the mashing process. It cleans up easily and has a pretty fine mesh and a drawstring, so it’s much easier to use than messing around with cheesecloth. I tied it to a stand and let it hang over a bowl overnight.
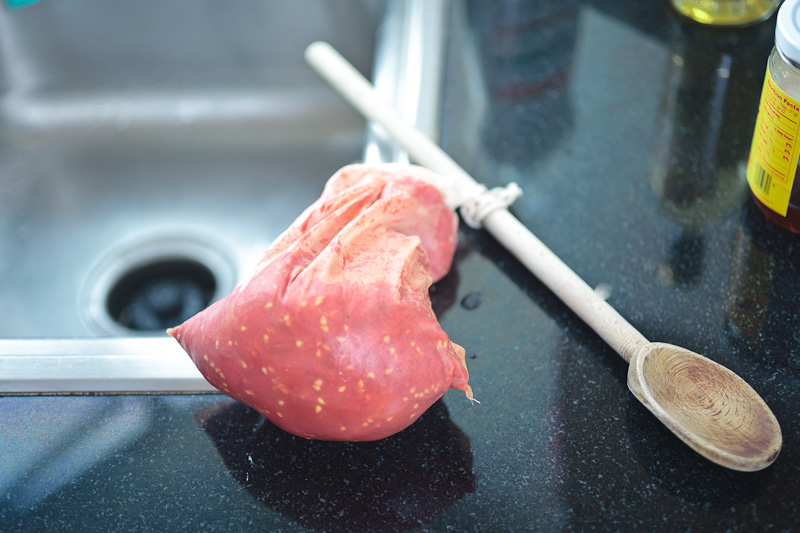
The next morning, the bag had drained a fair bit.
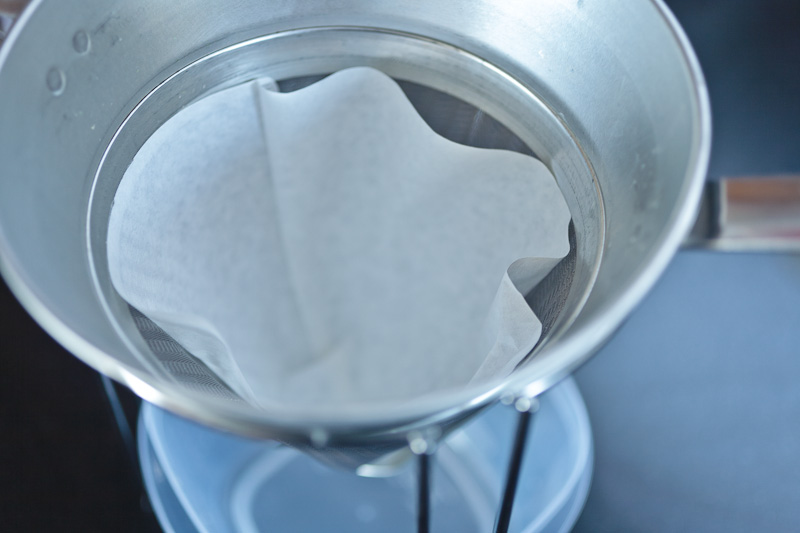
The next step was to strain the drained tomato juice through a coffee filter. A conical large coffee filter fits nicely into my chinois.
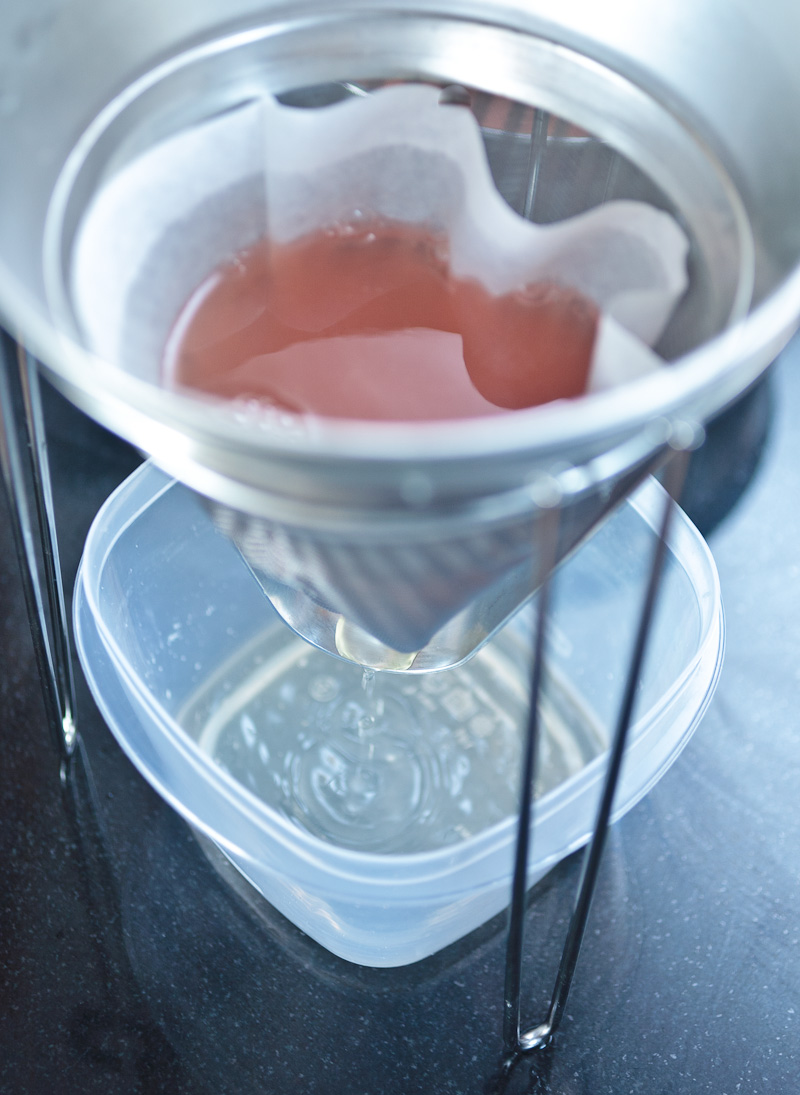
A word of warning: anytime you see “strain through a coffee filter”, be aware that this process can take hours. I always forget this. I was doing this before work, so I didn’t have time to wait around. I also couldn’t fit all the tomato juice into a single coffee filter, so I set things up in the fridge to let them drain through the day.
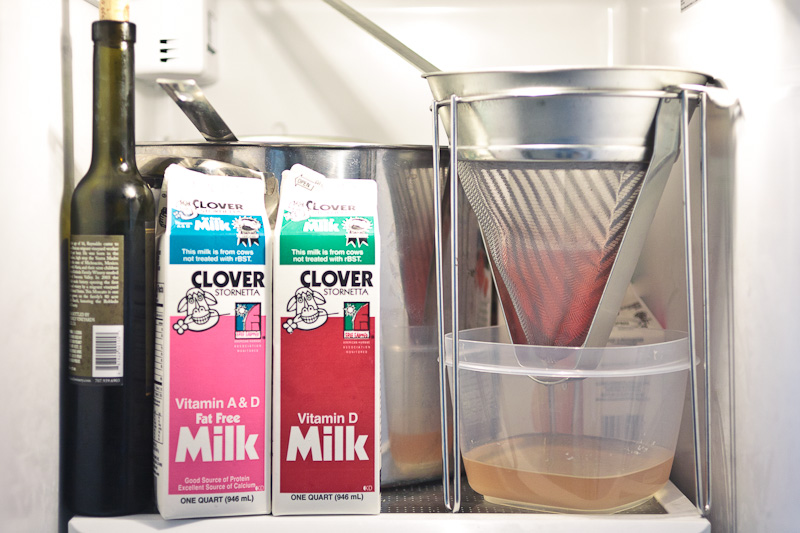
The awesome news is that this process, despite taking about 24 hours, worked very nicely. I ended up with some perfectly clear water that tastes strongly and recognizably like tomato.
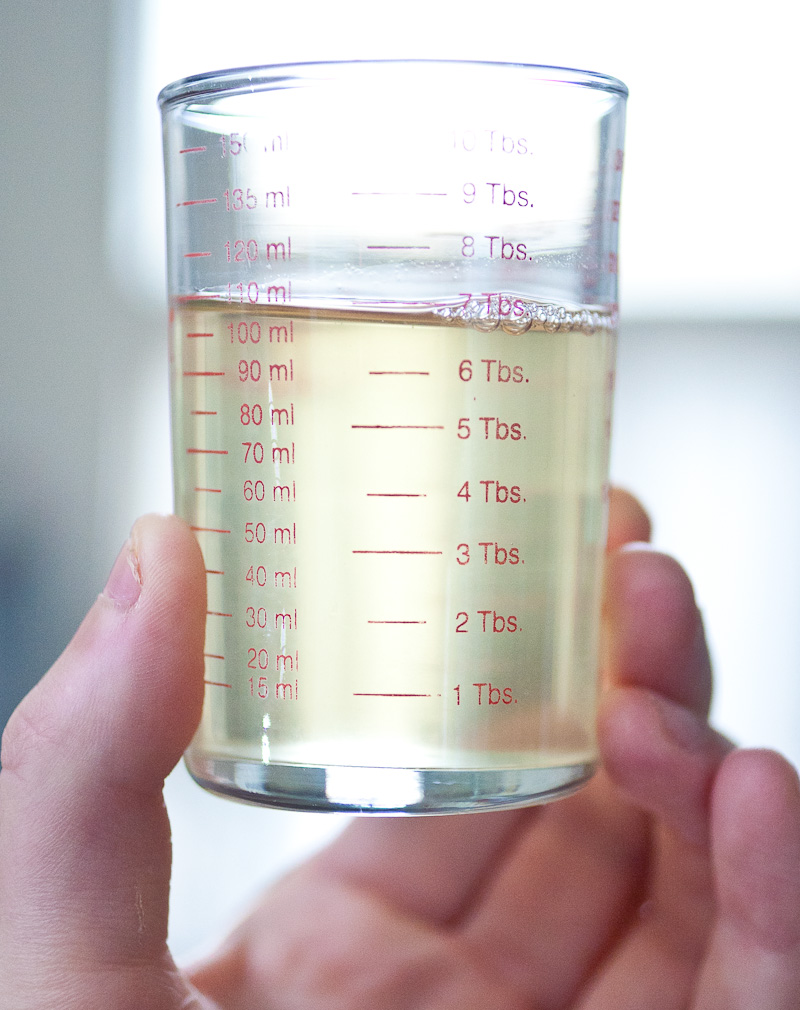
The bad news is that, for various reasons, the process didn’t yield enough to complete the recipe (I need about 1.5 liters in total, and this yielded maybe 1 litre, plus I screwed something up a few times that I’ll talk about momentarily, for which I needed even more.) In total, I did this process 3 times.
The first use for my tomato water was in making curry pudding. First thing to do for this was to measure out and toast some aromatic curry-y spices. This included sweet and hot curry powder, some bay, saffron, coriander seed, and fennel seed. I put them all in a medium saucepan and toasted them until they smelled nice.
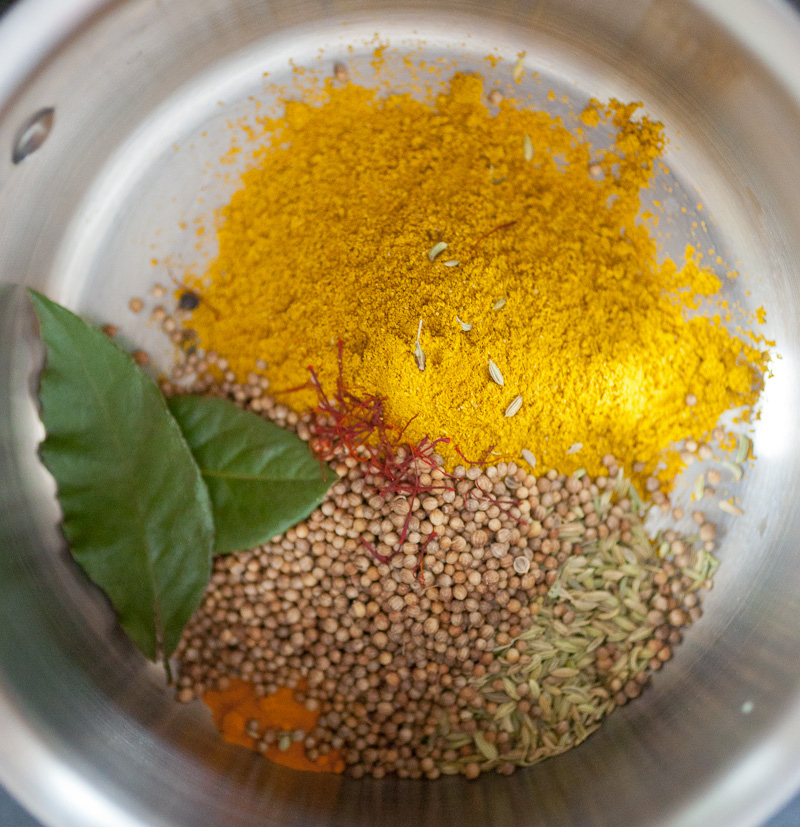
While that was toasting, I measured out some tomato water, cream, salt, sugar, and agar-agar.
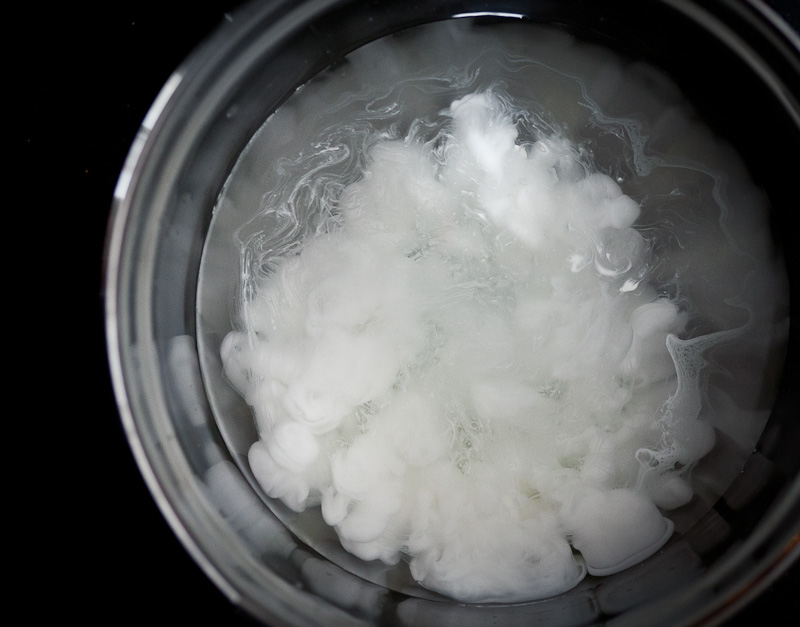
I brought this mixture to a boil, whisking the entire time. You have to keep the mixture moving during this process, both to keep the cream from scalding and to keep the agar from sticking to the bottom of the pan and burning. Agar hydrates at 212F, which means at temperatures below that it hasn’t dissolved into the liquid. So if you stop stirring, it settles on the bottom and burns, and will contribute gross flavors to the final gel. The process of gently bringing the mixture up to temperature takes maybe 20 minutes or so, and you have to stay with it and keep things moving the entire time.
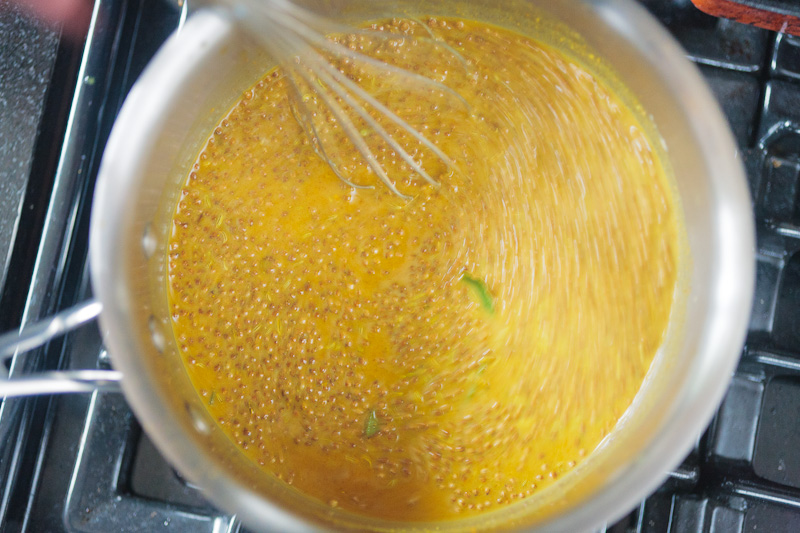
After boiling, I strained the mixture into a shallow pan through my chinois.
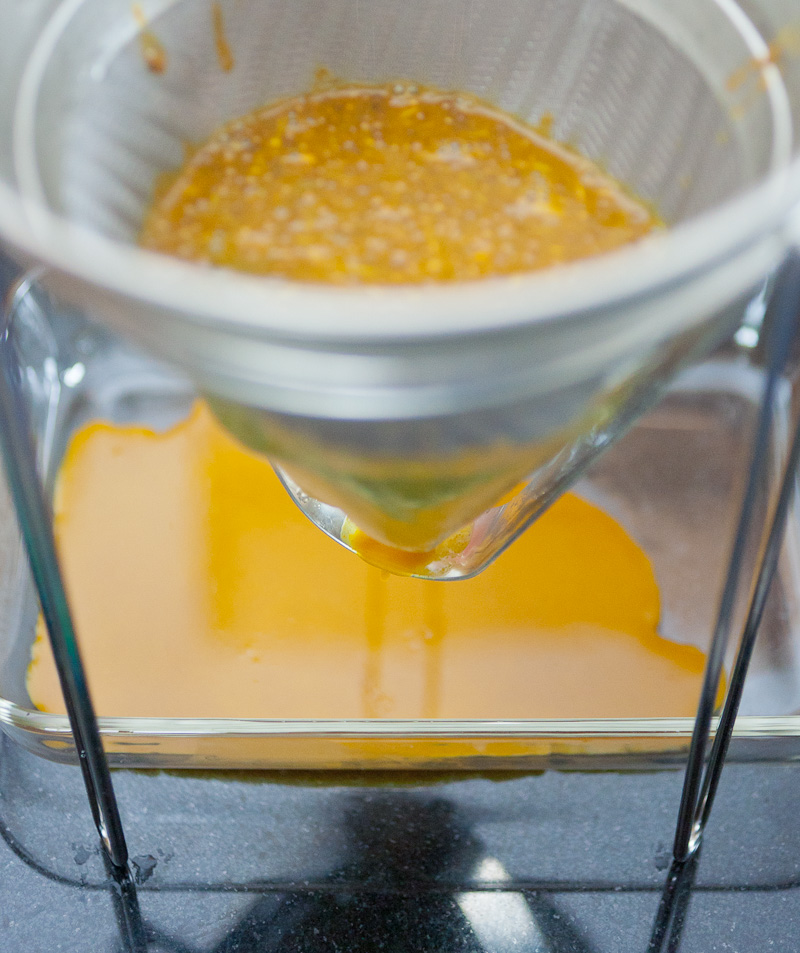
I noticed that as soon as the hot mixture hit the cooler pan, it caught and set within seconds. You can see it collecting into gel-y chunks here, just moments after being poured into the pan. 9 times out of 10 when I see this happening, it’s bad news. Rapidly-setting gels are very difficult to work with, and usually (in the case of agar) mean I used way too much. The resulting gel, I was betting, would be too firm, which would make it tougher to blend into a smooth consistency later. This is something I’ve only learned from doing over and over again. In some cases, I’m dead wrong and am surprised to see that things work fine, so I usually defer to giving the book the benefit of the doubt and pressing on. That’s what I did here.
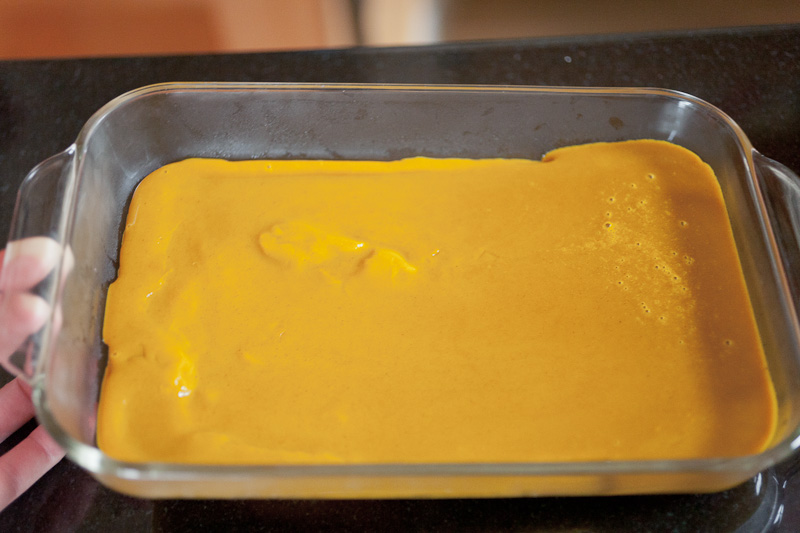
I went to work, and came home to cut up the set gel. It was extremely brittle and firm, and looked like this after I cut it into manageable cubes.
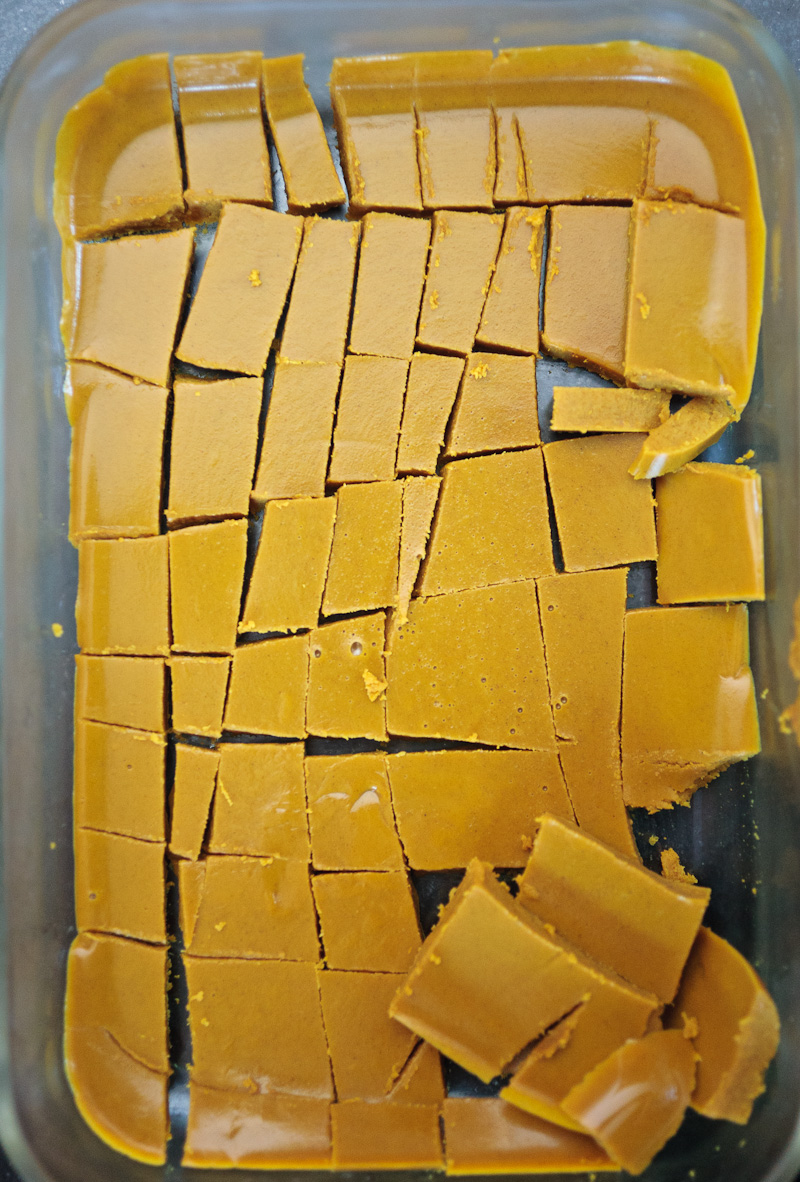
Transfer to my completely awesome badass blender…
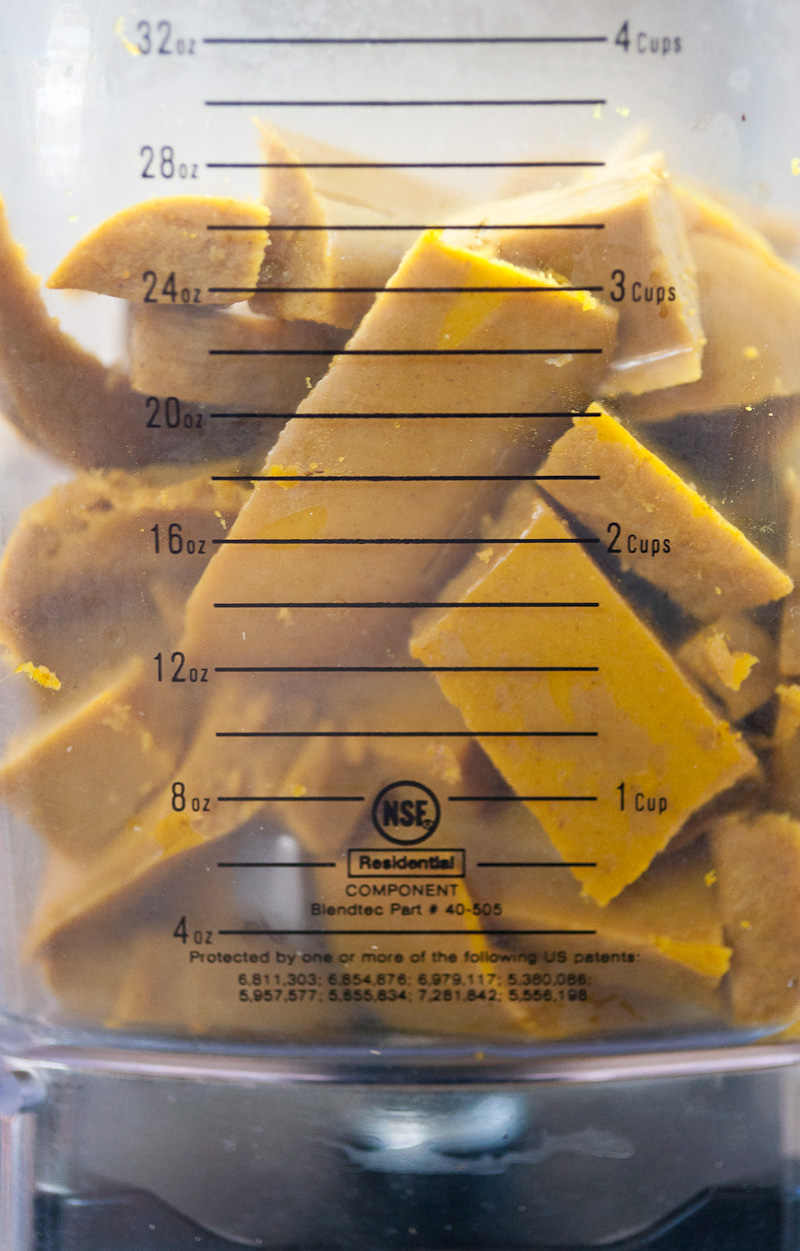
…and try to blend it. What’s happening here is that the blade catches and blends some bits, but then –because the mixture is so dry and firm– it doesn’t keep sliding down into the blade. For this to work, gravity has to be able to pull things down into the blade, so that the blade can keep cutting stuff up more and more finely. When a gel is too thick, this can’t happen easily. Sometimes I can cajole it a little with my spatula…I hate doing this because it’s risky and dangerous and scary. Also, I can’t recommend strongly enough against trying to hold a camera directly over an open blender chamber. I AM A TRAINED PROFESSIONAL, PEOPLE.
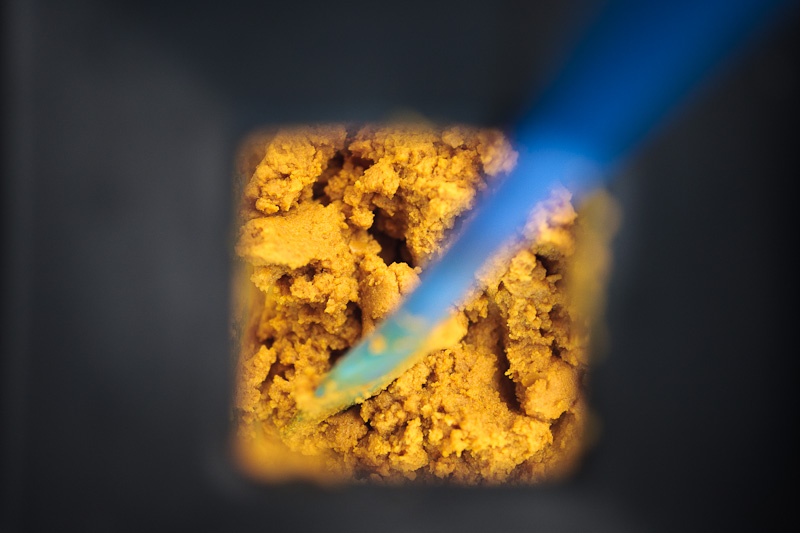
At this point, I felt confident things weren’t going well. Sometimes if I add a little liquid, I can get things moving in the blender a bit better. I squandered some of my precious tomato water here trying to do this. I finally loosened things up enough to get them moving; you know you’ve gotten it right when the blender blade ‘catches’ the gel and keeps ahold of it. This standing wave forms, as things rotate up the sides of the chamber, into the middle, and back down the center into the blade again.
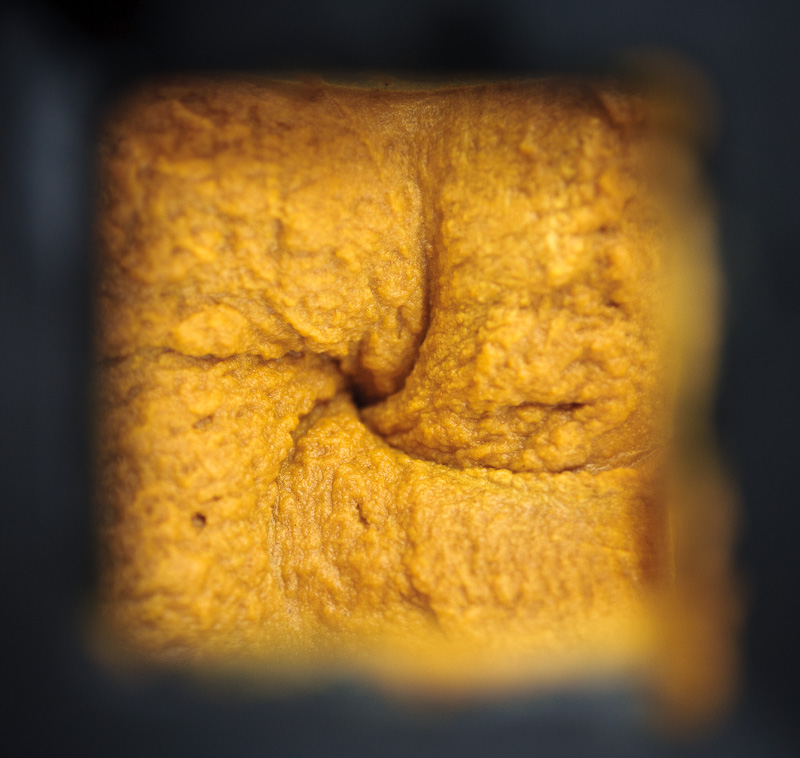
Unfortunately the texture of this stuff is obvious…it’s chunky and looks sorta like mashed potatoes or pumpkin or something. This is because adding liquid doesn’t really cause the gel chunks to ‘dissolve’ more…what’s happening is that I’m making an emulsion of liquid and gelled stuff. It’s at this point that I know things have been compromised, and it’s a frustrating point to be at. You can’t really ‘undo’ this…the best I could do is re-heat everything and then add enough liquid to dilute the agar, but doing this risks degrading subtle flavors (in the best case) or burning things (in the worst case).
Regardless, I dumped the contents of the blender through a chinois, for illustrative purposes.
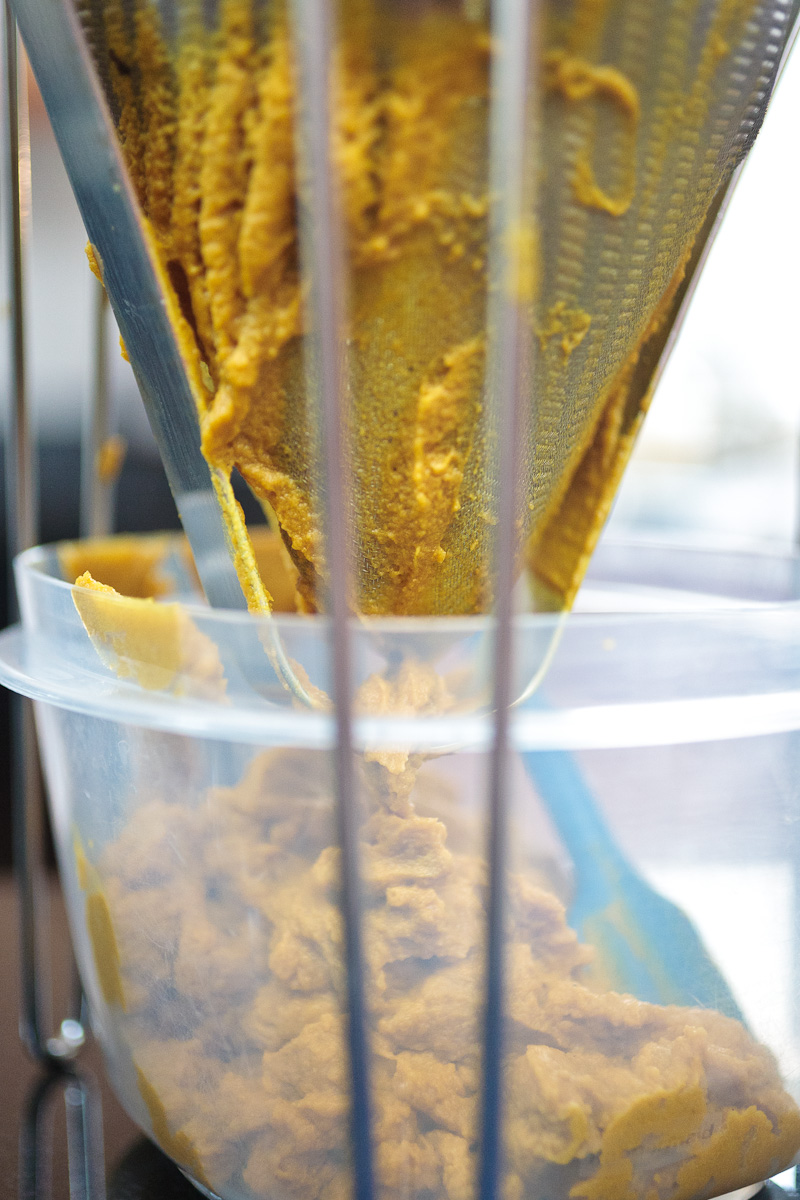
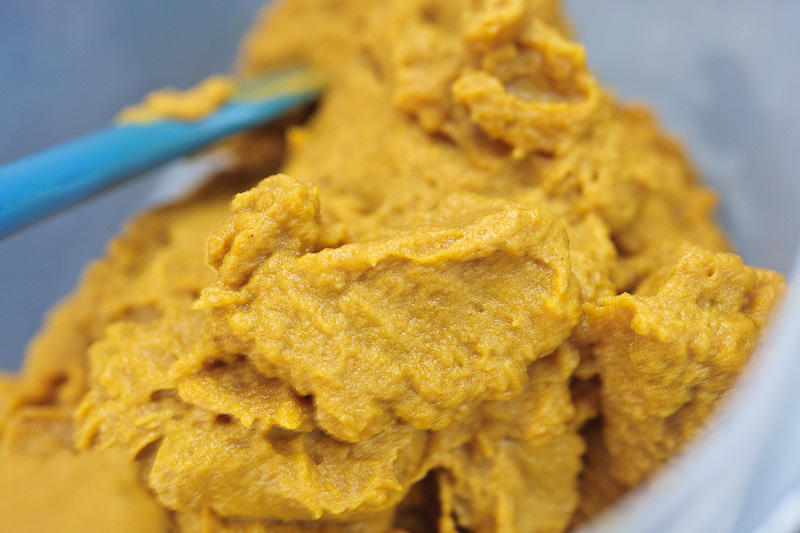
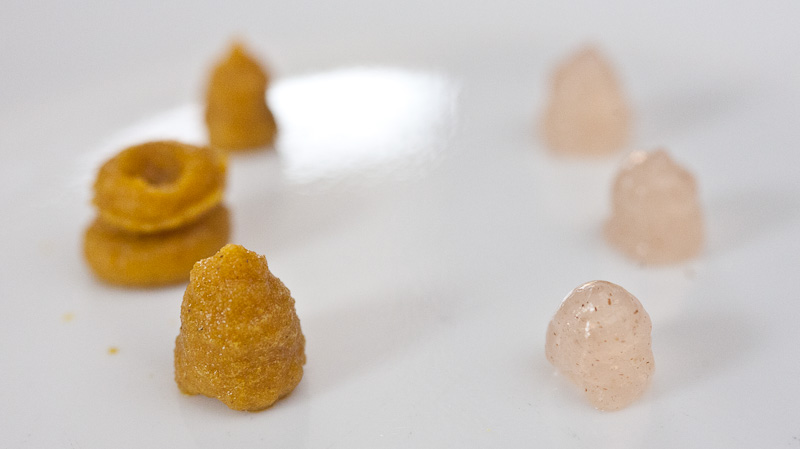
This pudding is ultimately meant to be added to a squeeze bottle and a little dollop of it is what ends up in the final plating. To double-confirm what I think I know about how this will work, I put some in a bottle and added dots of it to a plate to check the final texture. It’s as I suspected…grainy. For comparison, I added some dots of lavender pudding I’d made for my gouda dish. The shiny specular highlights make the difference in texture clear, and it doesn’t take much to imagine how these two feel on the tongue. Now, to be sure, the taste of the curry pudding is fine. It’s delicious, even. But plating it like this is a little less visually-appealing, and the texture of it isn’t quite as ‘incredible’ as I would like. To me, this is the threshold where things go from being “really totally great” to “Perfect.”. It’s also the point where I think “Well……ffffffuck.” I have tons more to do on this recipe, but cases like this –where I feel confident I know what’s wrong and how to fix it– eat at me the most. If I don’t fix it, I feel lazy. And, I mean, I’ve been waiting and preparing for this for months now, so I should probably go the full mile and do things the best I know how, even if it means doing things all over again.
I whipped out my calculator and checked the percentage of agar used in this recipe. Not counting the weight of the spices, it was just under 2%. This is a huge percentage; agar sets a liquid at concentrations of 0.2%, and yields firm gels at 0.5%. I often wonder if mistakes like these are just someone forgetting that extra decimal place…0.002 vs. 0.02. I also knew, though, that the more solid ‘stuff’ you have in your liquid, the more agar you need to set it. Things like alcohol and acidity affect things as well, and my tomato water is definitely acidic. So I made it a second time, lowering the agar concentration to 0.1% (I cut what the recipe called for in half). The second batch was still firm, though definitely more workable and easier to blend. Still not 100% awesome though.
So I decided to go for a third time. For this I needed to remake the tomato water, and go buy more spices. I’d originally bought my curry powders about 3 months ago from the bulk bins at Berkeley Bowl. The ones I bought for the second round I got from a small asian food store around the corner from our apartment, in a small pre-packaged envelope. When I got home, I noticed both curry powders were quite a bit more aromatic/pungent, and the hot curry powder made me sneeze. I didn’t really think much about this at the time…I was too fixated on getting the agar percentage right. Near the end of cooking this third batch, though, things turned very dark brown…very different from what I’d experienced the first two times. It also tasted quite a bit more spicy/hot.
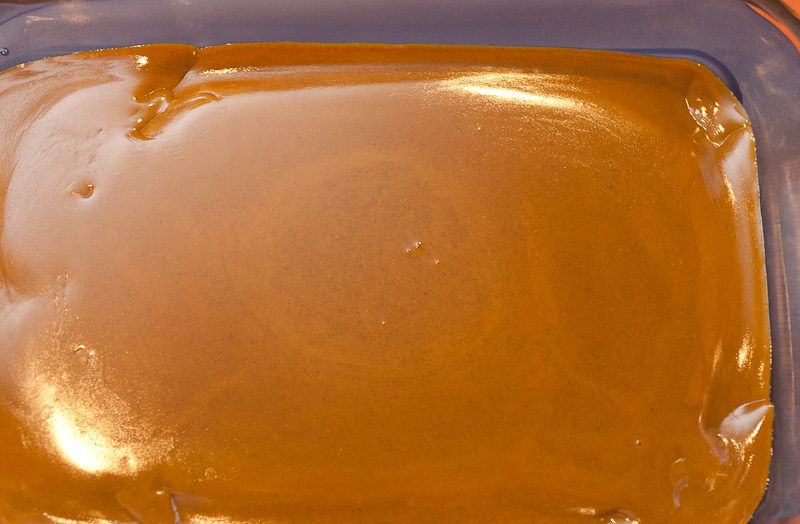
If this is annoying to read about, imagine dealing with it firsthand. Ugh. Only ever vary one ingredient at a time if you’re doing a balancing act like this. Curry powder is one of those ultra-variable concoctions like bbq spice rub…no two are alike and there the heaps of components that make up curry powder. I didn’t even really think of this, but it seems statistically more unlikely that I’d match my original flavor profile exactly than likely.
I went ahead and blended the third batch, mostly to see if I was right about the agar content. Thankfully, I was; you can see here how each of the different batches perform when plated. On the left is the third batch, middle is the second, and right is the first. The texture difference is obvious, and the third batch is what I wanted.
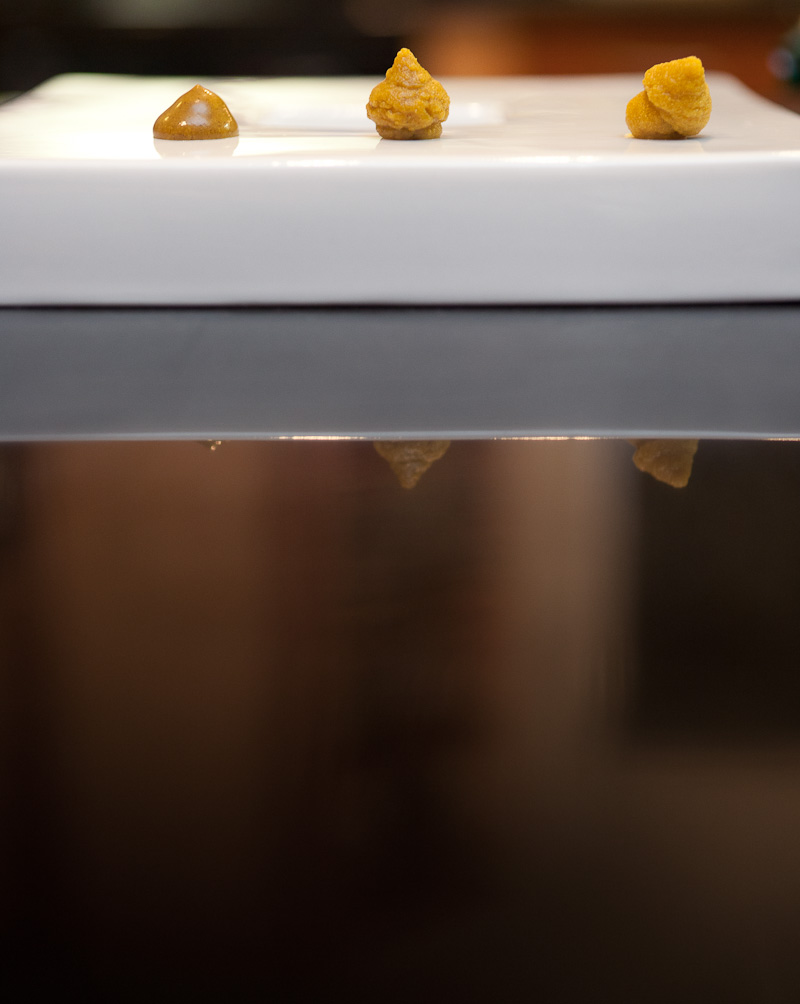
But. In getting the texture where I wanted, I’d lost the flavor of the first batch that I liked so much. This third batch tasted ‘heavier’, ‘darker’. It was much more spicy, distractingly-so, which overwhelmed the sweet and subtle notes of the first two batches.
So…I made it a 4th time. I’ll cut the verbose suspense here and say this 4th time worked fine; I cut back on my fierier curry powder and was more aware of tasting as I went before throwing in the agar to complete things. The texture turned out exactly like I wanted, and it tasted very nice. Not quite as awesome as my first batch, but still very good.
I moved from there onto making some candied dried onion sticks. I started by quartering a small red onion and puling out the outermost and innermost layers.
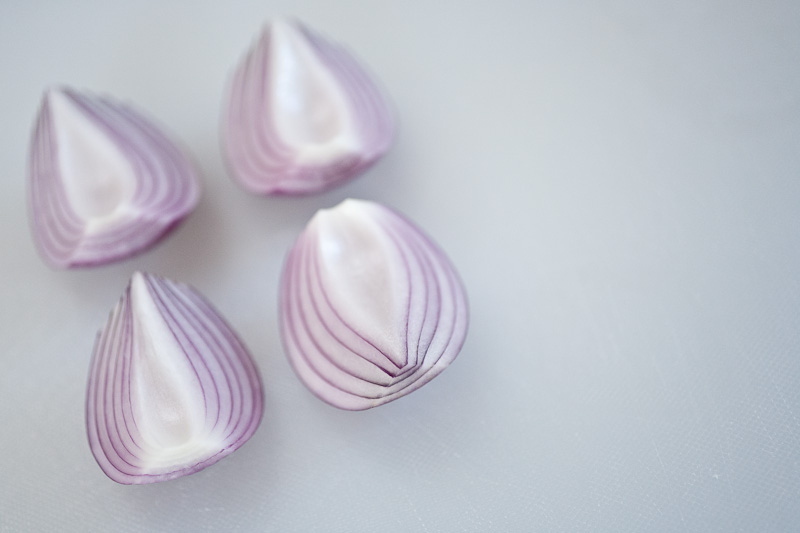
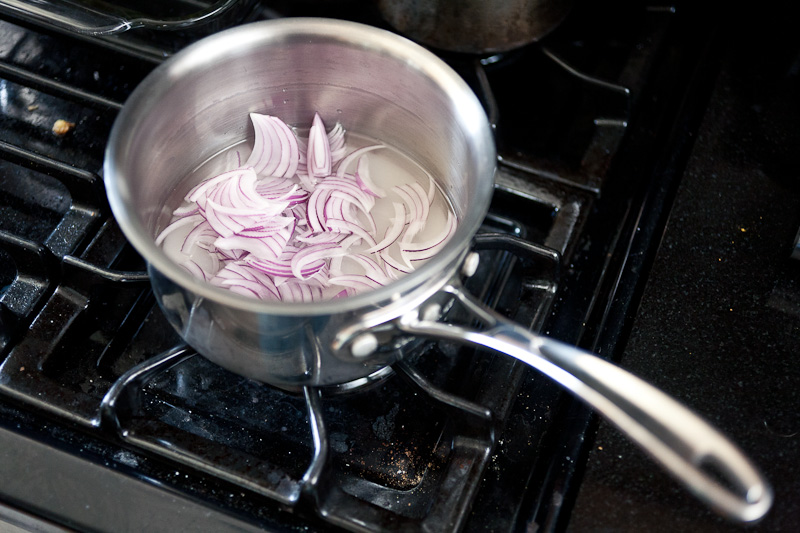
These are brought to simmer in a mixture of water, sugar, and salt.
After cooking, I drain them and turn them out onto some paper towels to let them dry.
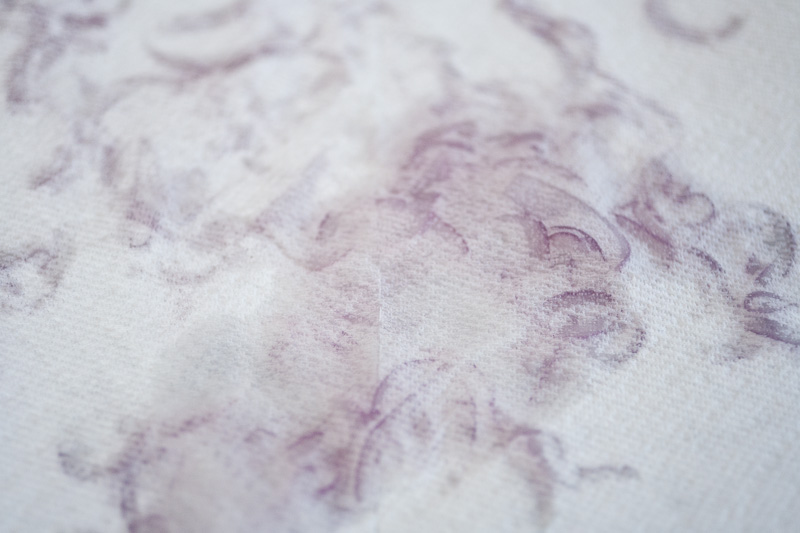
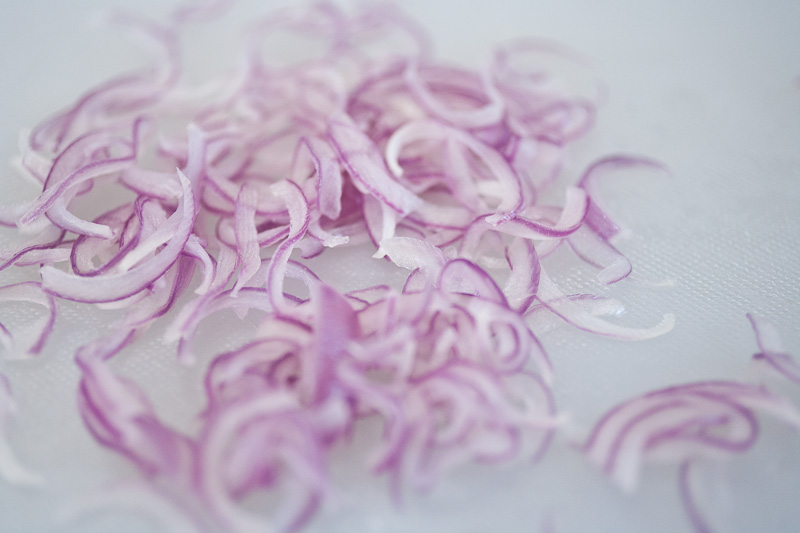
They were pretty soggy and sticky and floppy here. I needed to dehydrate them, and I knew that if I wanted them to retain their original shape (which would help make them seem, as a final component, more ‘impossible’), I needed to pick them apart and lay them out flat on my dehydrator tray. You can probably imagine how tedious this was.
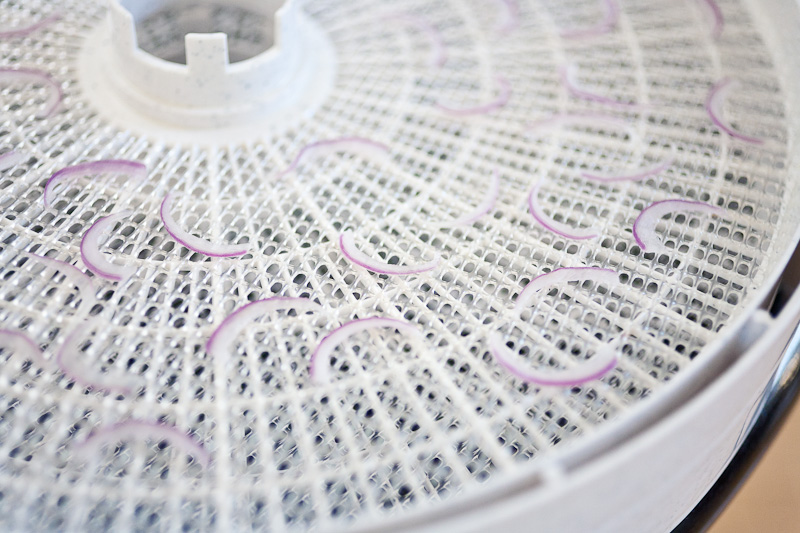
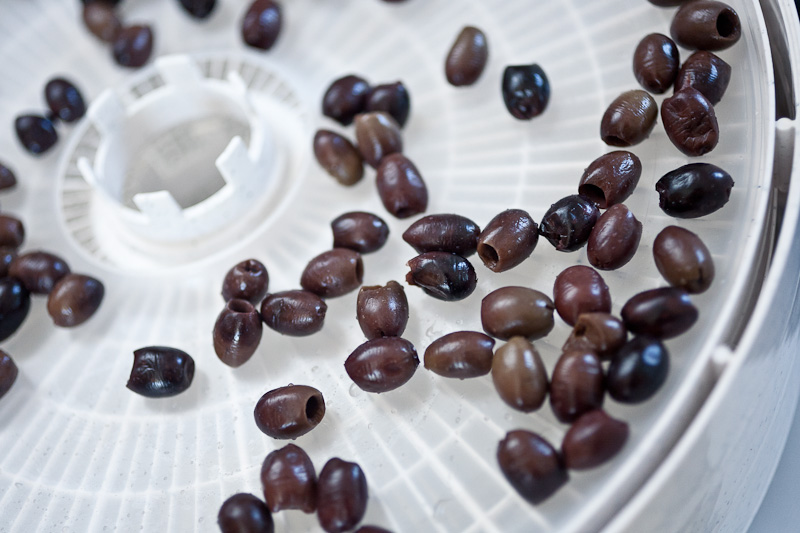
There are a few things to be dehydrated in this recipe, so to help consolidate things, I got to work on those as well. The other dehydrated ingredients are part of what makes up the Crumb Rocks, which is sort of a grainy compacted crouton-like thing. It contains some dehydrated nicoise olives…
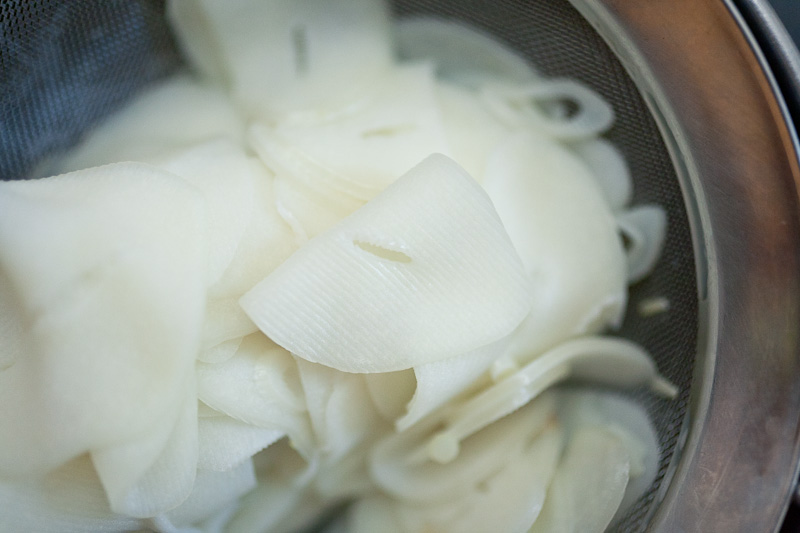
…as well as some dehydrated elephant garlic. Before dehydrating the garlic, I sliced it as thinly as I could on my mandoline and blanched it thrice in skim milk…this takes away the sharper, more-pungent notes and leaves more of a gentle garlic flavor. You can smooch people after eating garlic that’s been treated in this way.
The crumb rock also involves dehydrated ciabatta bread. Doing this is a little trickier; the recipe says to freeze the bread until it’s hard, then slice it as thinly as possible (lengthwise, I imagine) using a meat slicer. This isn’t the first time I’ve been instructed to do this; I don’t have room for a meat slicer in my kitchen right now, so I have to do this the old-school way with a knife. I didn’t really think this all the way through, though, and chucked a whole ciabatta loaf in my freezer the night before I meant to do this.
The idea behind freezing it is obviously so a meat slicer doesn’t chew it to pieces when you pass it through it. But with a knife, that danger is pretty low. My frozen ciabatta was so hard that I needed to resort to chopping at it with a meat cleaver.
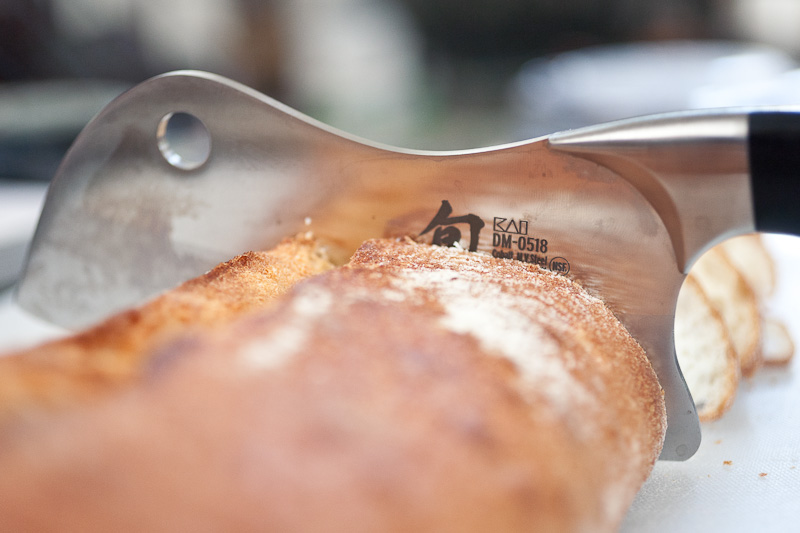
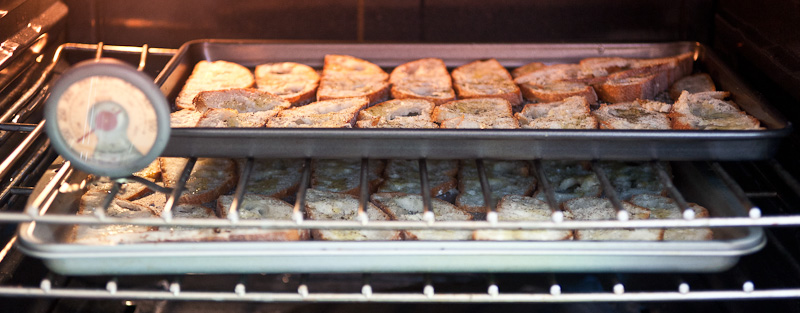
You absolutely can’t do precision work with a meat cleaver on a frozen loaf of hard crusty bread. The slices I ended up with were thicker than they would have been had I just been careful with my bread knife on the unfrozen loaf. But ultimately it didn’t matter a ton; I just left the bread (which I rubbed with olive oil, salt, and pepper) in the oven for longer than the recipe indicated.
While all these things were dehydrating, I took a moment to make a small batch of pickling liquid. This includes some vinegar, simple syrup, and salt. A ‘regular’ batch –to be used with a cucumber salad I make in a bit– is made first, then a thicker batch is made with the help of some Ultra-Tex 3. I really love using ultra-tex in this way; there’s no heating, and you just keep adding it to your blender until things get to the consistency you want. The first time I overshot it by a bit, and got a gel that was thicker than mayonnaise.
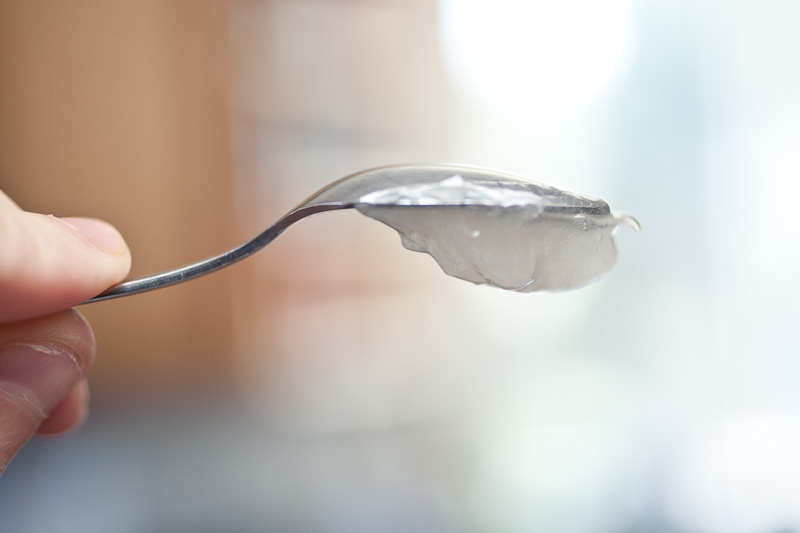
It tasted pretty ok, but looked a bit weird and felt a little heavy in my mouth when I tasted it. With a vinegar sauce like this I wouldn’t imagine you’d want it to stick to your teeth and hang around for a while. Plus I’m ultimately meant to dip something in this, and doing so with this batch looked a little gross and boogery.
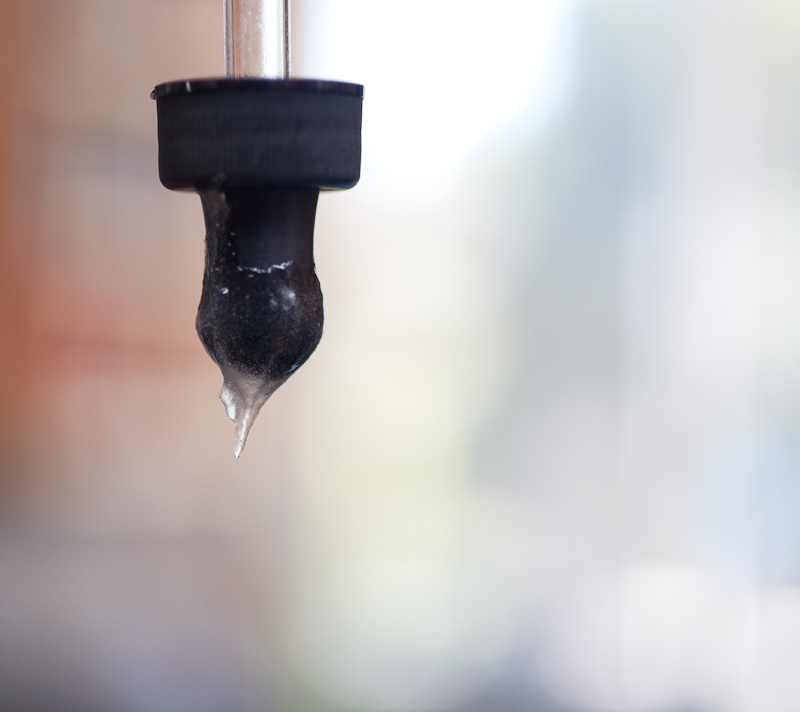
It was pretty straightforward to make it again, and go easier on the Ultra-Tex. Like my momma always used to say…”Go easy with the ultra-tex 3, child”. Mommas always know best.
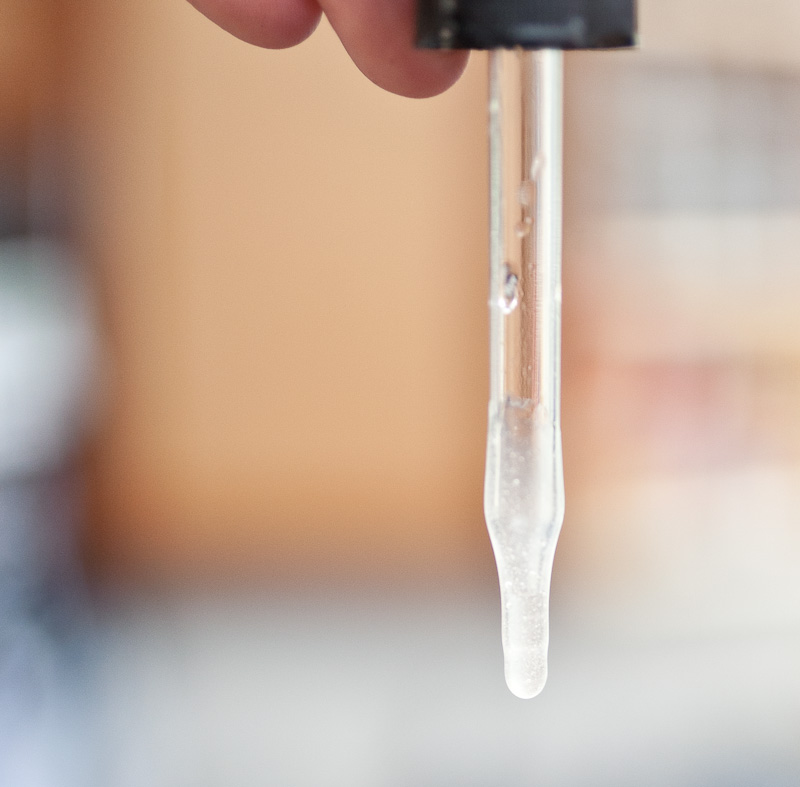
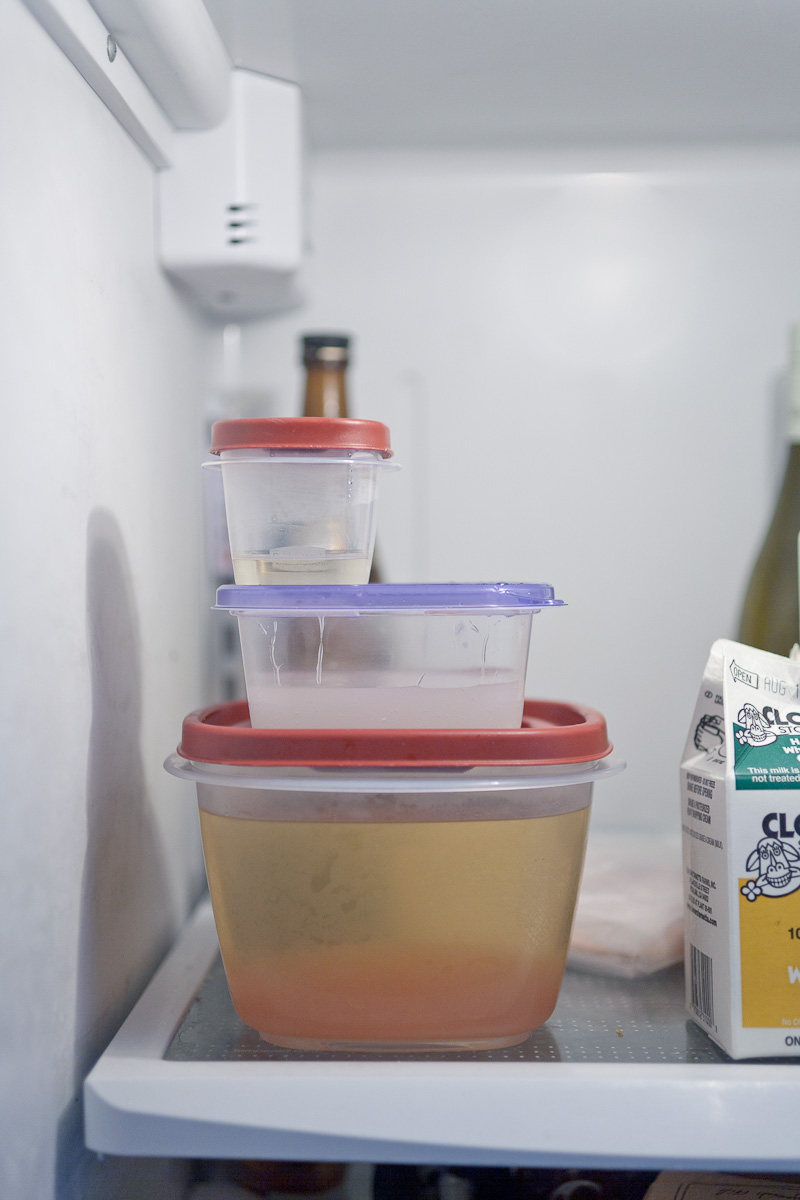
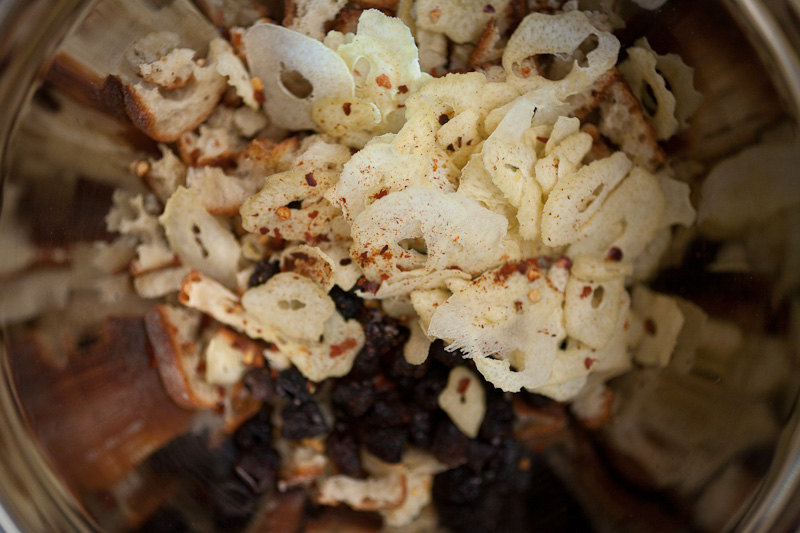
At this point my dehydrating ingredients were done dehydrationing. I combined the garlic, olives, bread, and some chili flakes in a bowl and coarsely crushed them so they’d fit in my undersized food processor.
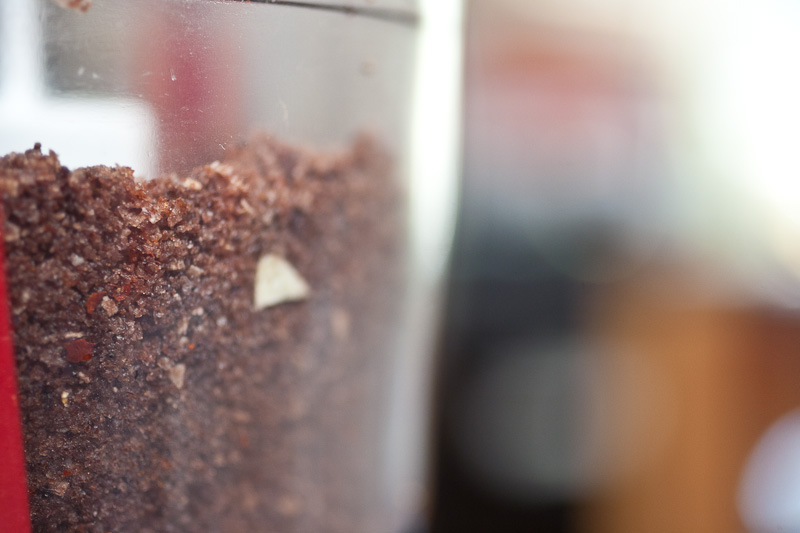
Then I processed the mixture until it was the consistency of damp sand. The dampness comes from the olive oil I’d used on the bread (oil doesn’t dehydrate).
From here, I formed the sandy powder into rough mound shapes, and jammed them into the bottom of some vacuum bags. I found eventually that I was able to get things to hold their shape better if I cut the bags in half and sealed the sides.
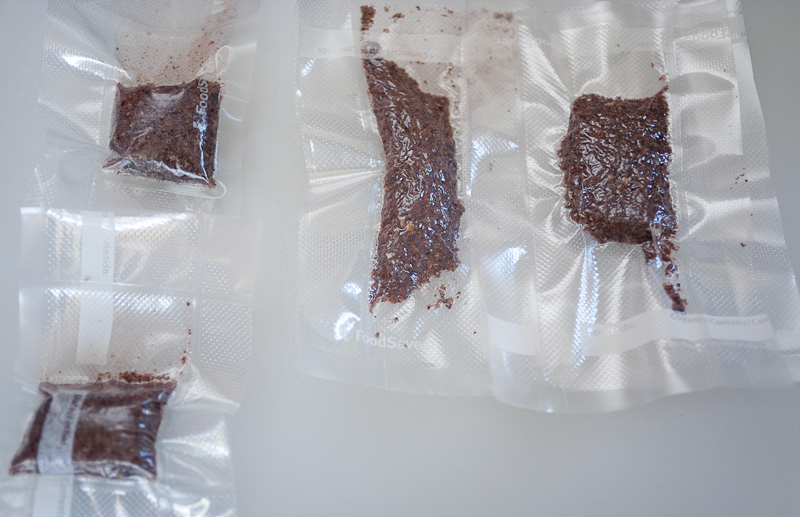
I’ll take a short moment here to anti-pimp this Foodsaver; it’s the most expensive model, and is also the most terrible. It’s annoyingly over-automatic–you can’t tell it to seal until after you let the vacuum kick in first, which is retarded when you’re trying to seal the end of a bag. The mechanism is also buried deep inside this thing, so there’s a lot of waste that’s produced with unused bag real estate. In New Zealand I had the cheapest model they make, and while it wasn’t terribly well-built, it was way easier to use than this thing. Don’t buy one.
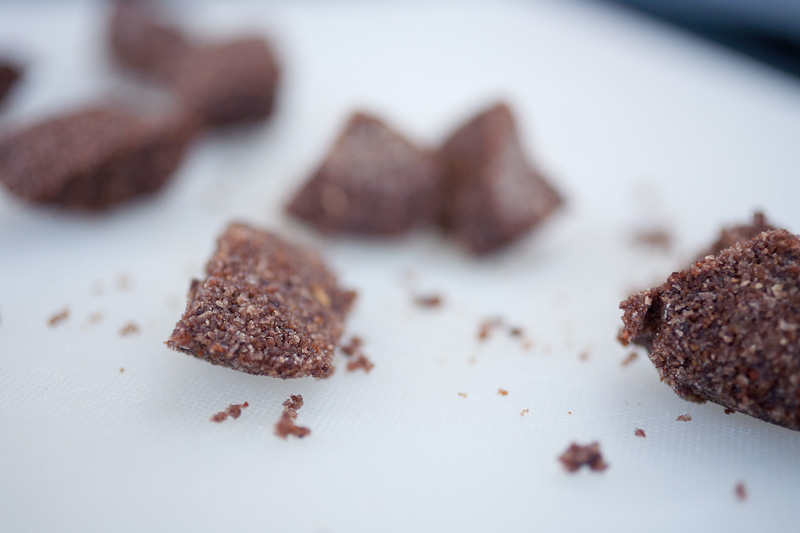
Anyway, I put the vacuum bags in the freezer for several hours. The oil holding the clumps together thickens considerably when it freezes, turning into a sort of glue that helps hold the compacted ‘rocks’ together.
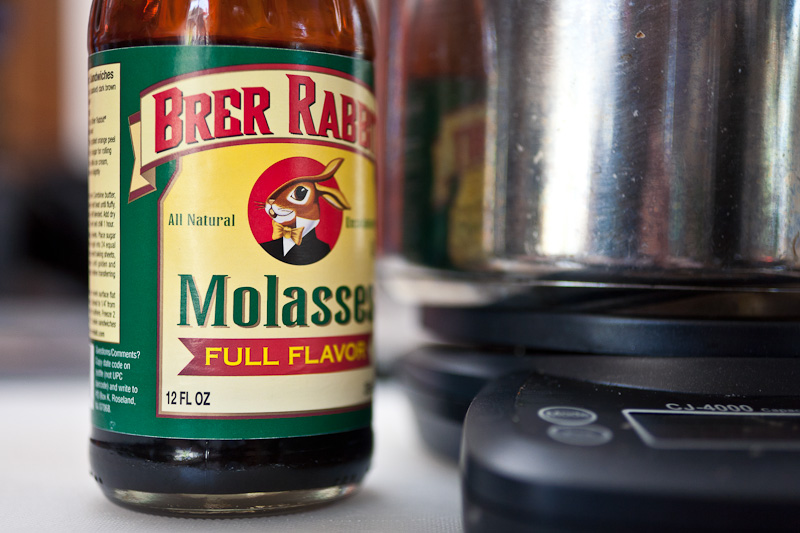
Next I started working on the spiral of molasses and saffron gelees. I started by heating some molasses, sugar, and water in a pan.
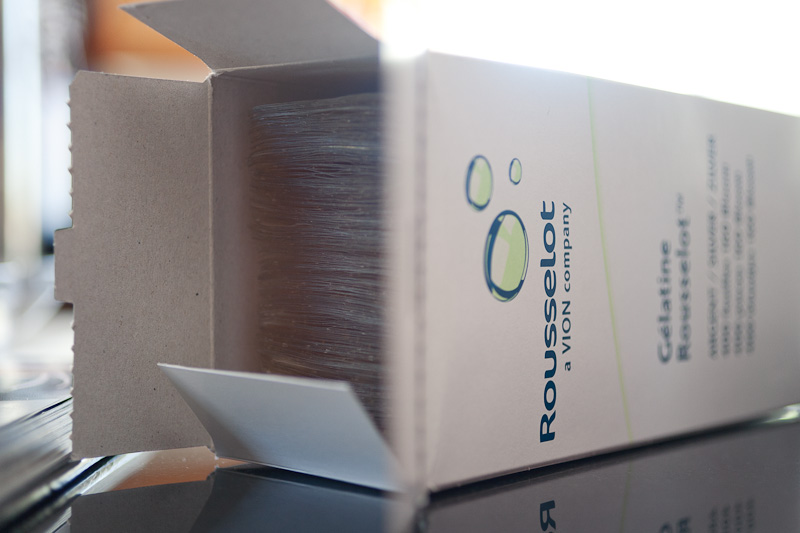
While that was heating, I bloomed some sheet gelatin. Blooming just means letting it sit in ice water for a few minutes until the sheets become pliable, at which point you can dissolve them in warm liquid. Up until recently, I’ve been buying sheet gelatin in packs of 10 from a local bakery shop, but I got sick of driving back and forth to it, so I committed to a gigantic box of the stuff. For this project, it’s justified.
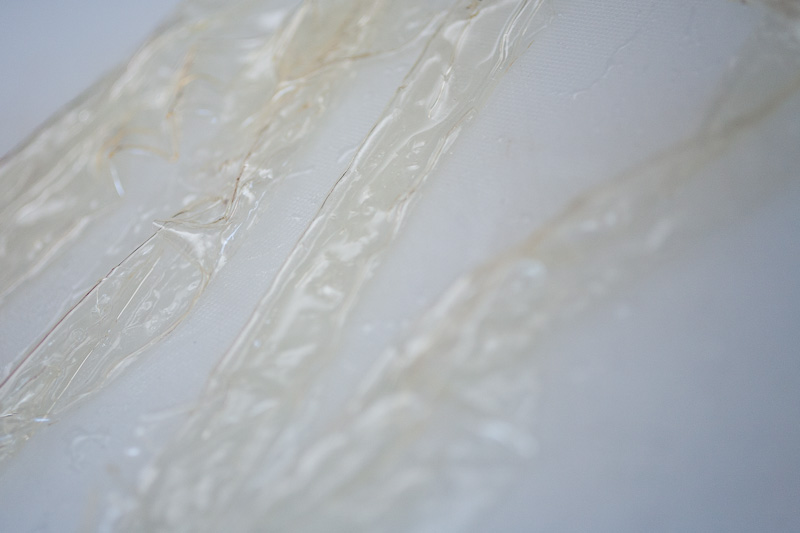
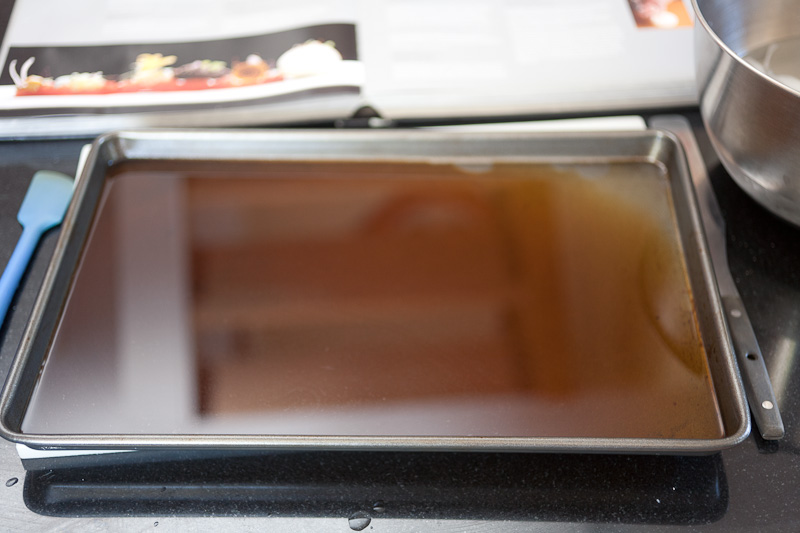
After stirring the gelatin into the molasses, I poured it out onto a sheet tray. You can see here how the gelatin mixture pools off to one end of the tray…that’s because it’s warped, I discovered. This isn’t good for making a uniformly-thick sheet of gelee, so I transferred it to another sheet that’s flat. Then I put it in the fridge to set.
While that was setting, I got to work on some Lemon couscous. For this, I use preserved meyer lemon skin, which I’ve had in my freezer since I made them in January.
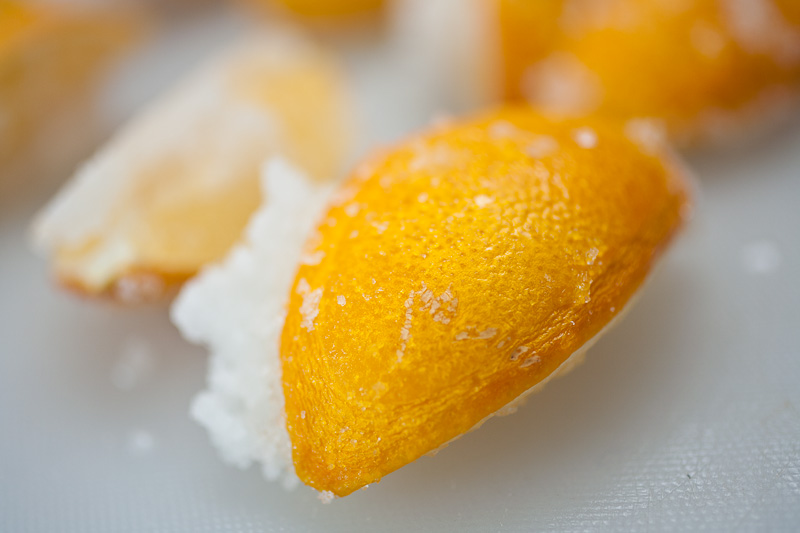
I skinned the lemons with a vegetable peeler, then diced the skin and put it in a bowl to set aside for a few minutes. Then I started cooking the couscous.
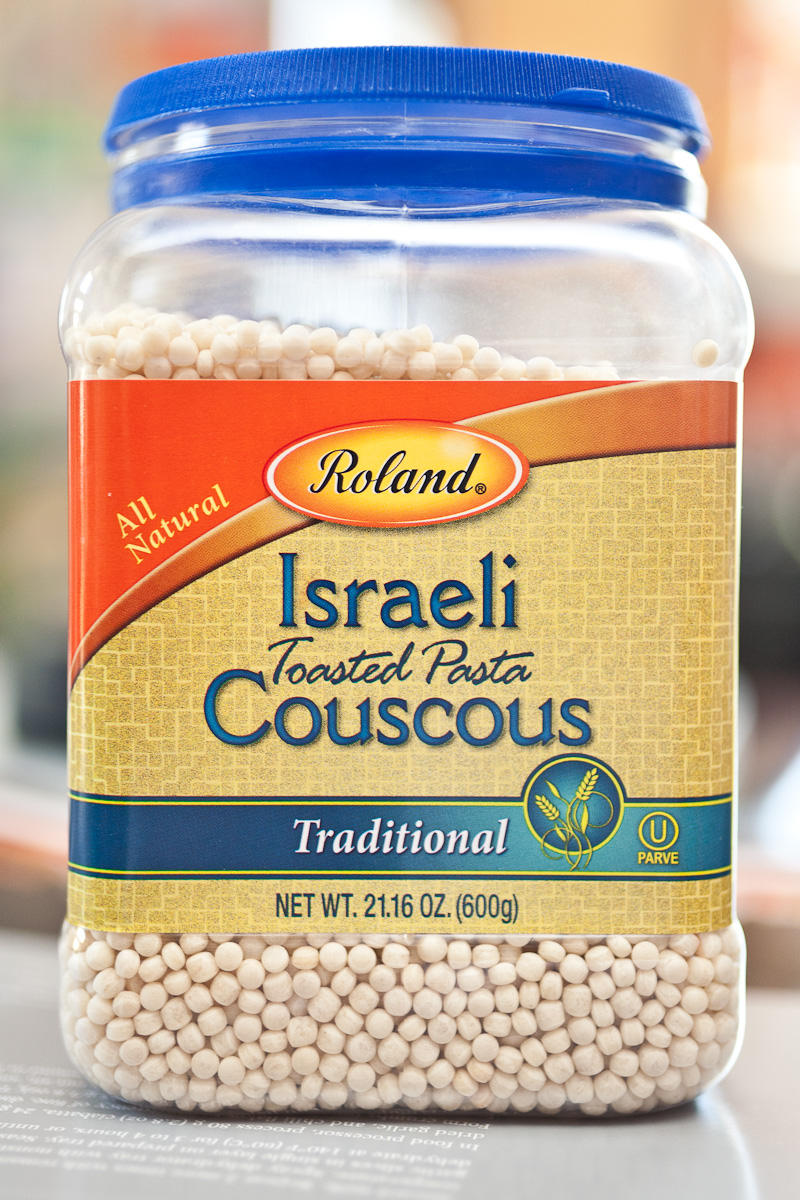
This recipe calls for a massive amount of salt when cooking the couscous–30g of salt to 50g of couscous. Again giving the book the benefit of the doubt, I made it. The final couscous was like licking a salt brick. I made it again, this time hedging my bets and using 10g of salt (which is still a shitload), and again it came out tasting too salty for me. So I made it a third time, using a few pinches of salt. To me it tastes fine, like small pasta bb’s…I just don’t understand what the deal is with the overuse of salt in this dish.
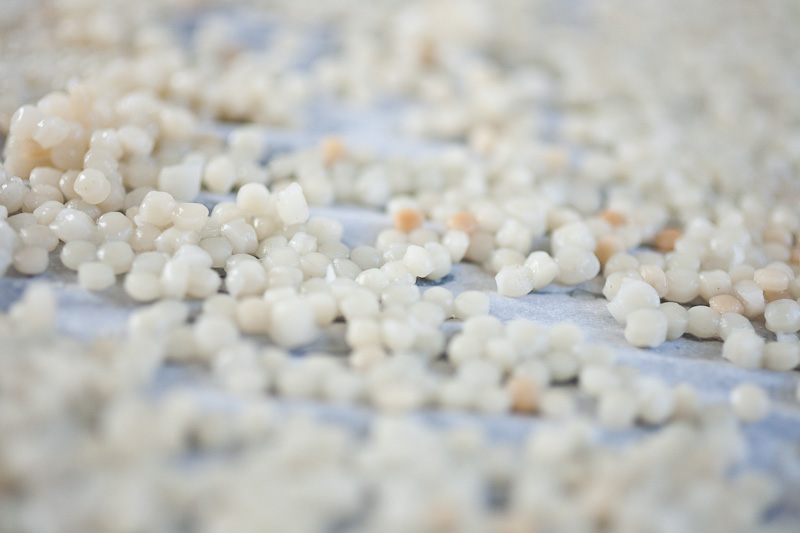
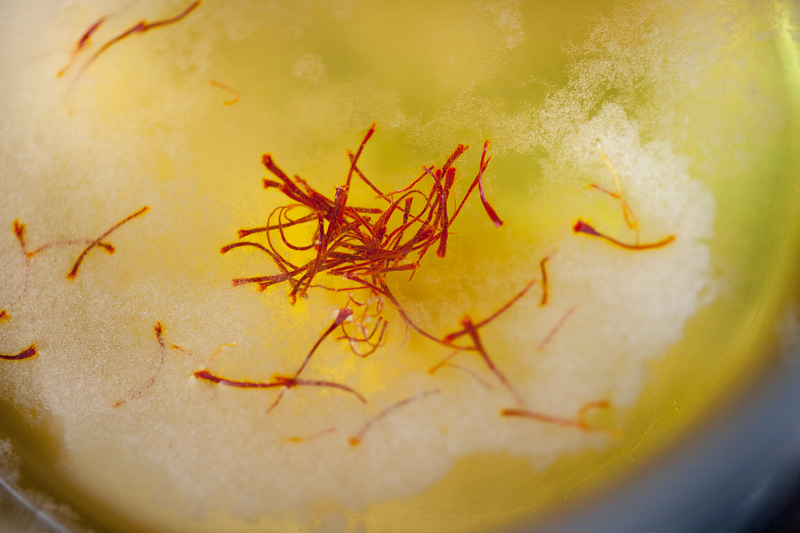
I tossed the couscous with the preserved lemon peel and some olive oil. By this time, my molasses gel had set, so I mixed up some saffron gel to go on top of it. This is made from more tomato water and a fat pinch of saffron. Bring to simmer then let it steep for a while, add gelatin, and let cool to room temperature. This step is vital; if you don’t let it cool completely, it will melt the molasses gel as soon as it touches it, and you won’t get the layering needed to make the spiral.
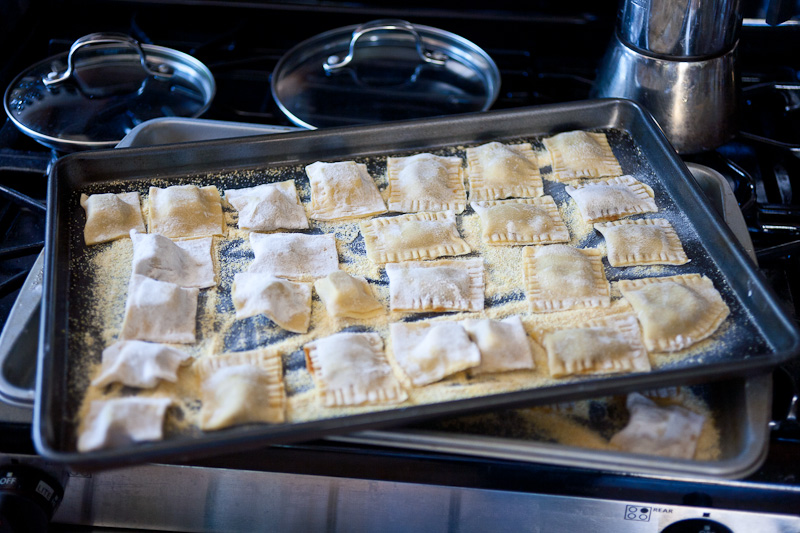
Stupidly, I’d invited friends over for a tasting of this dish. So far my confidence was high, so I took an hour or so to make some pasta with leftover black truffle explosion gel and pumpkin filling. Nom nom nom.
Back to the tomato dish. I had two steps left; make some tomato ‘backbones’ onto which all these components are plated, and make my mozzarella balloons. I started with the tomatos; the hero component of this dish calls for some delicious heirloom tomatos. These things have always weirded me out a little…they always look weathered and beaten and ugly, but are so damn delicious.
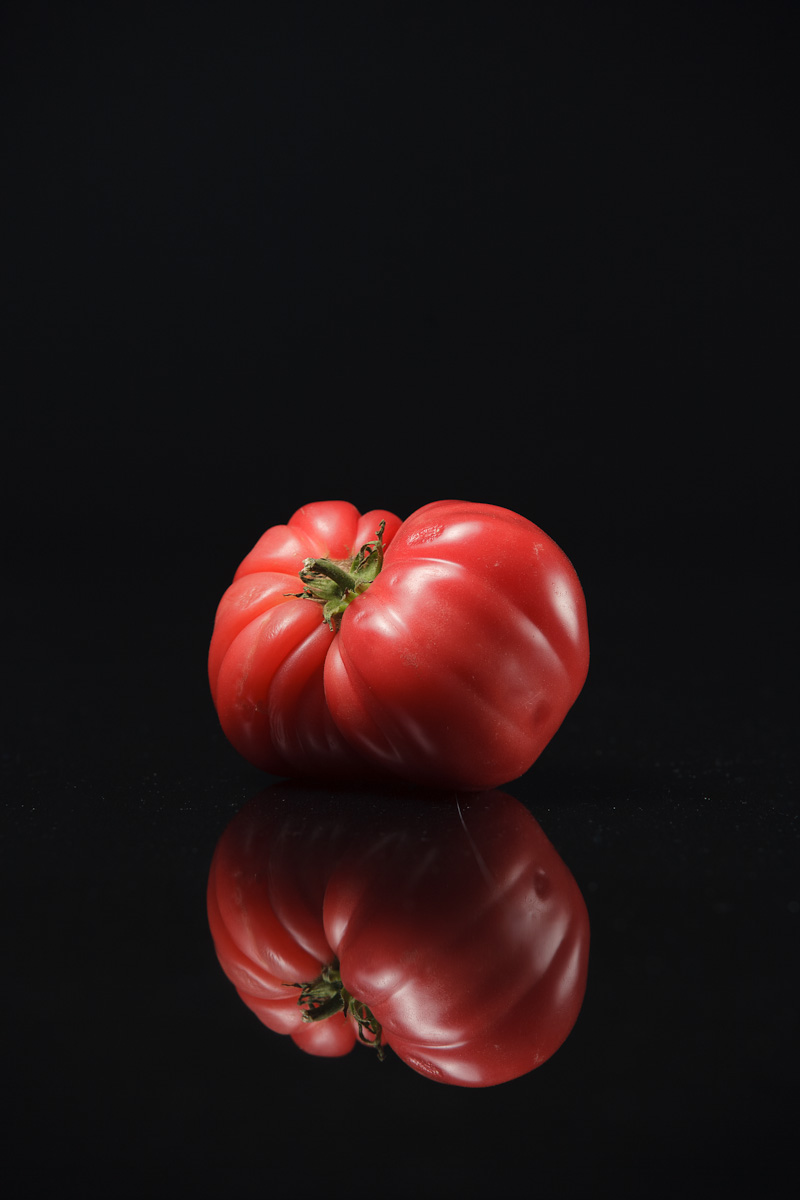
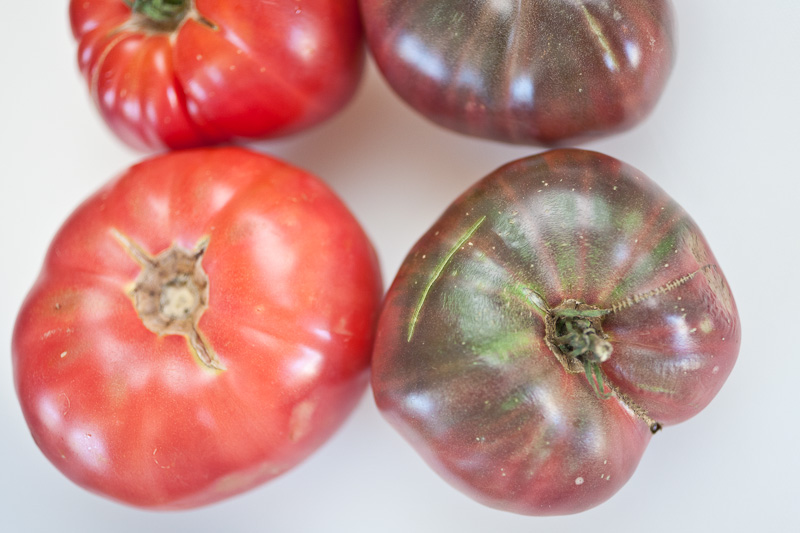
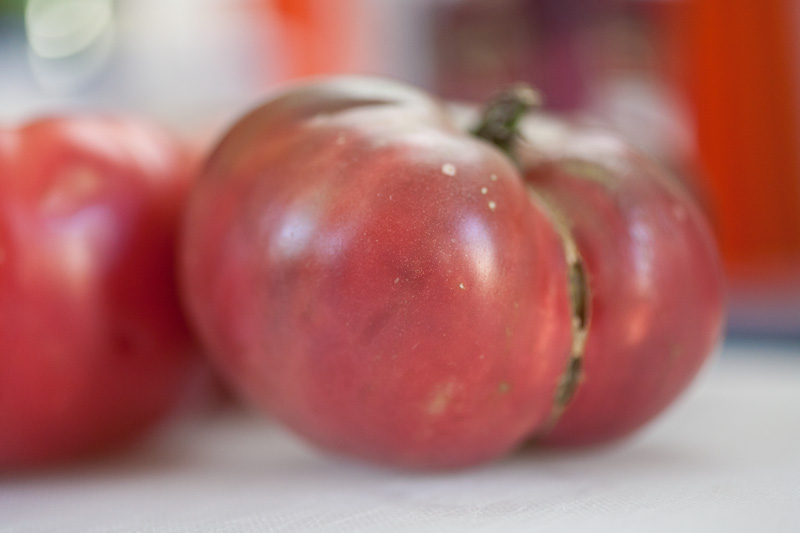
I needed to peel them, so I cut a small X in the bloom end of each one and blanched them for a few seconds in boiling water. After shocking them in ice water, the peel comes off easily.
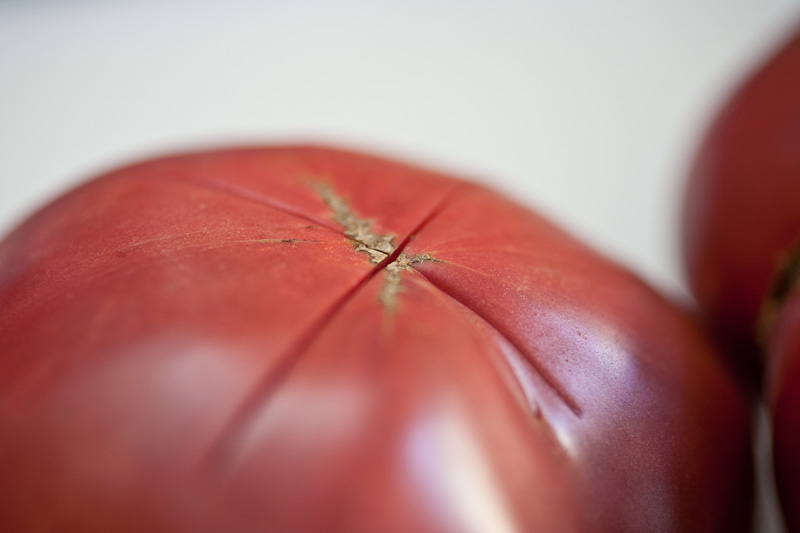
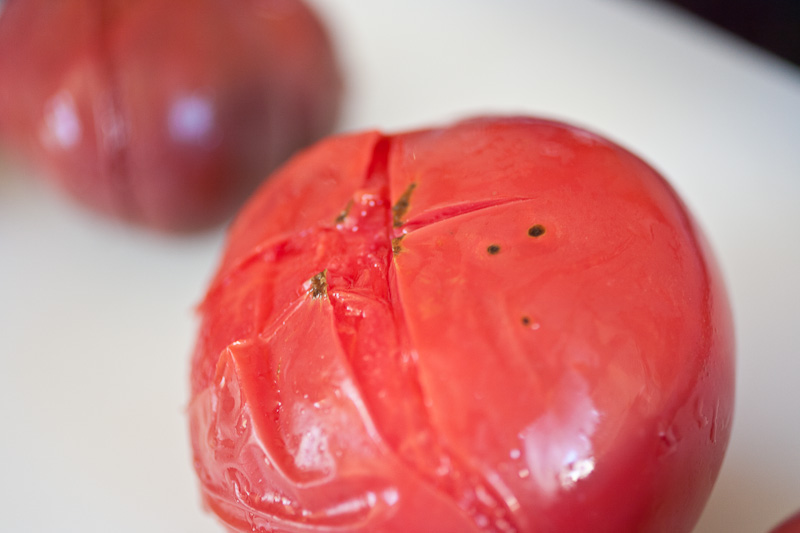
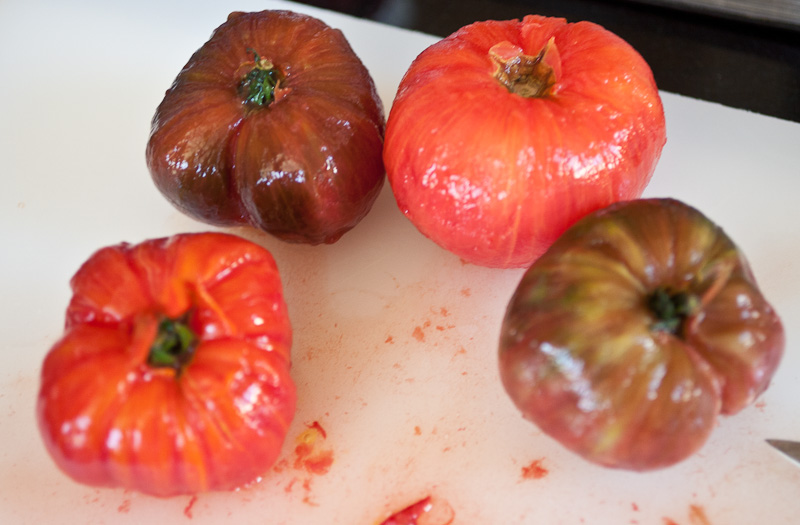
I then cut the tops and bottoms off, then cut a plug out of the middle and ‘unrolled’ the outer circumference to make a sort of strip with wells to hold all the goodies.
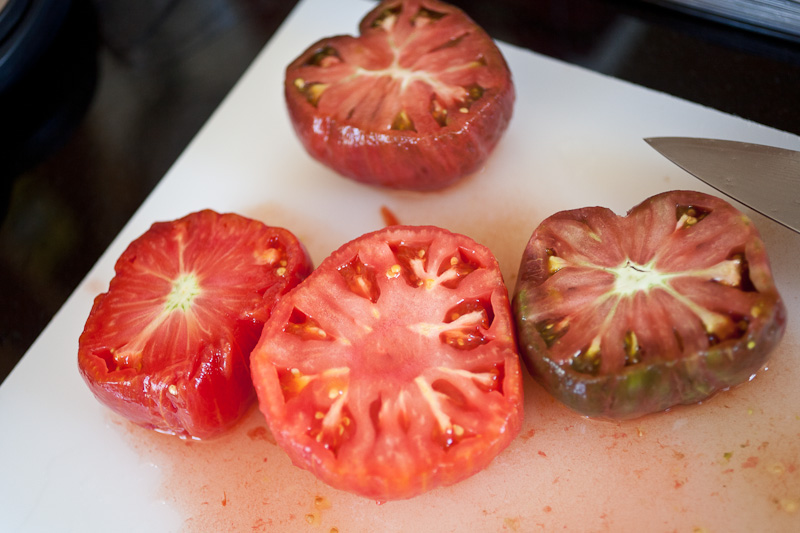
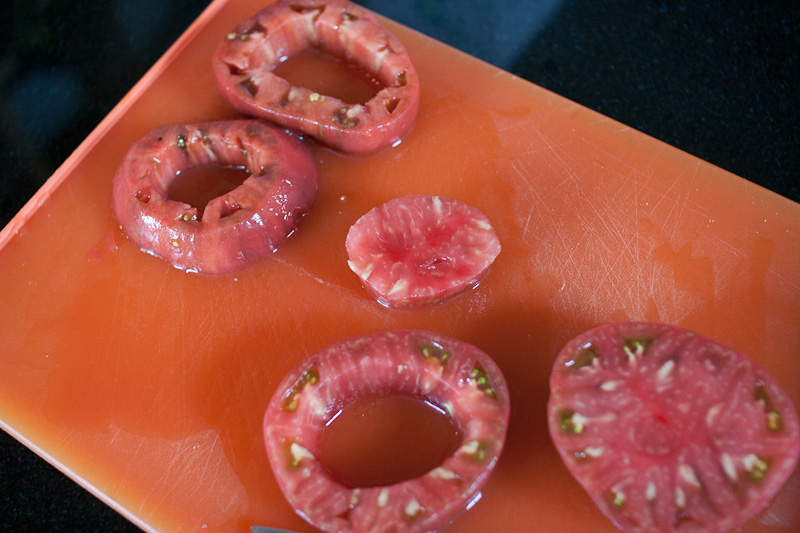
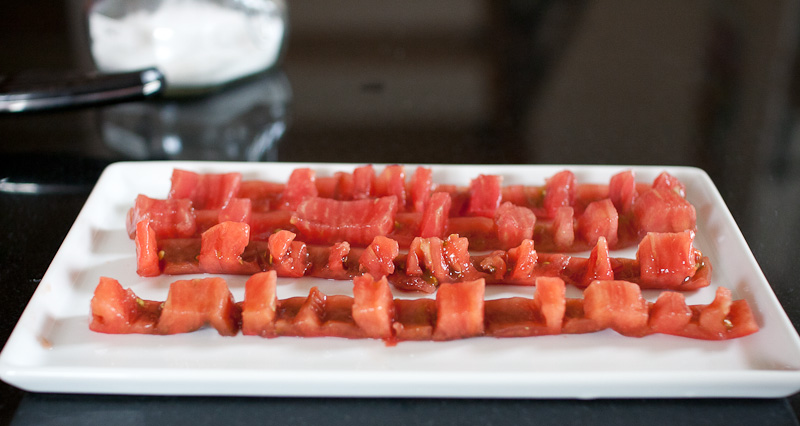
After setting the strips in the fridge, I was ready for the final step. Banging out some mozzarella balloons would take a few minutes and I’d have plenty of time to take some photos before friends showed up for dinner. I took a moment to set up my photo gear.

The mozzarella balloons are filled with tomato foam. We make this by boiling still more tomato water, and adding gelatin to it. Then we put the mixture in a cream charger and chill it, shaking frequently until it sets into sort of a whipped foamy consistency.
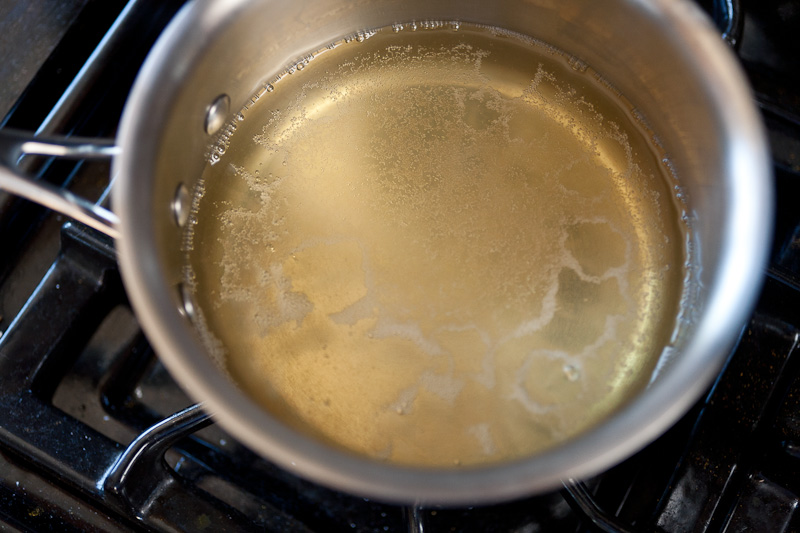
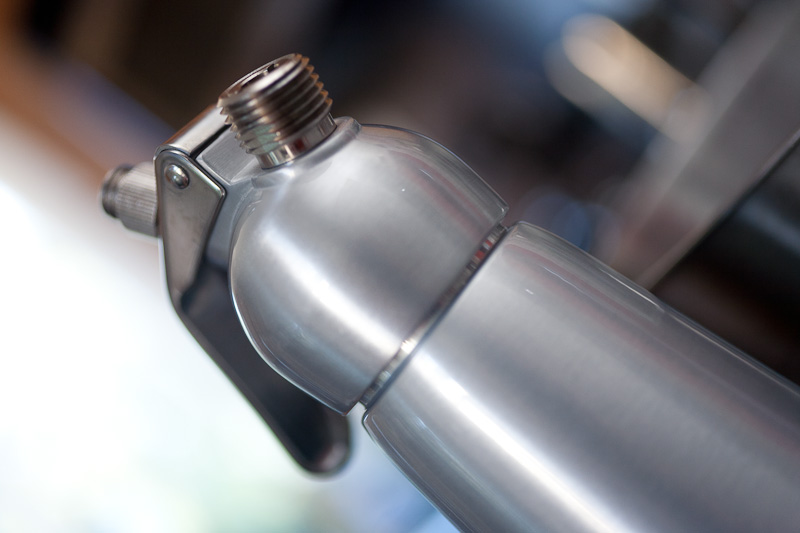
While the tomato foam was chilling, I brought some water and a ton of salt to simmer in a big pot. The idea with the balloons is to take some curd and warm it until it becomes pliable, then stretch it around the tip of the cream whipper and ‘inflate’ it with the tomato foam.
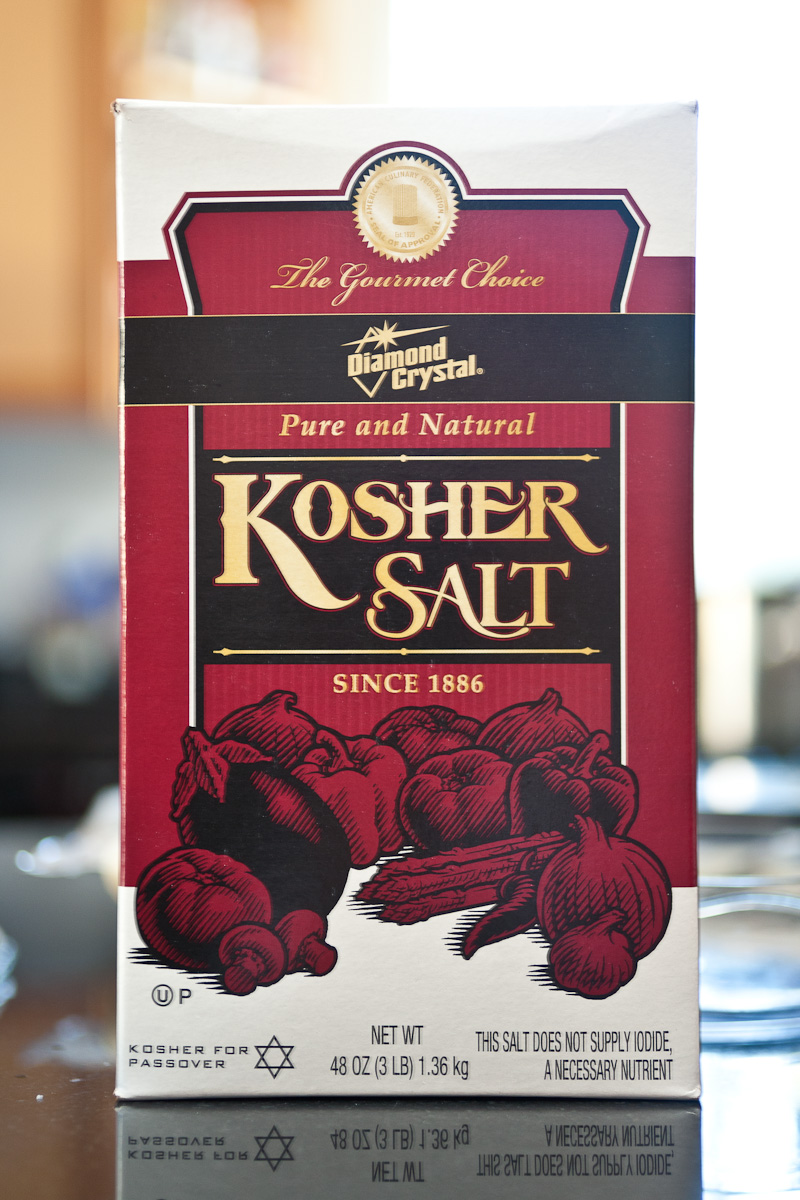
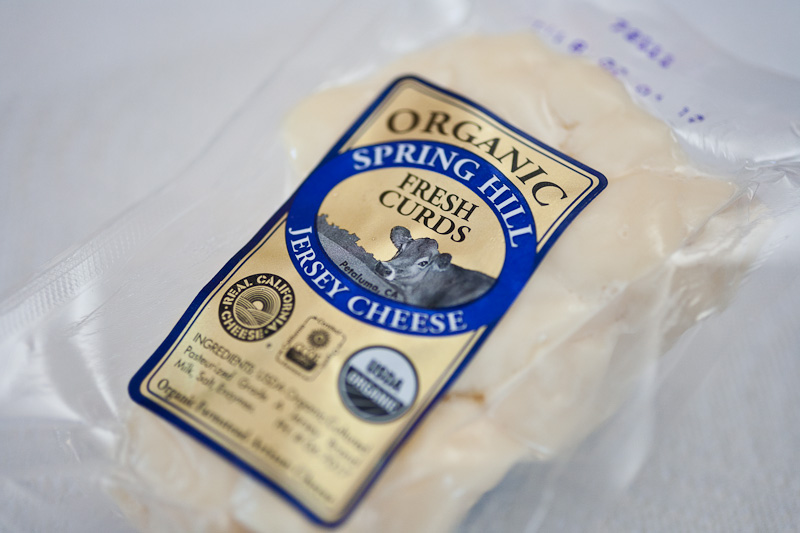
I first went shopping for mozzarella curd several weeks back, looking for it at berkeley bowl. The cheese guy helping me directed me to this, though he didn’t seem familiar with the act of making mozzarella. “So, this is mozzarella curd?” I asked.
“Well. It says curd. I think so, yes?”
I did a quick search on my phone for mozzarella curd…it’s just made from milk and rennet, so it didn’t seem terribly special or complicated. This seemed like it’d fit the bill fine, so I snagged it.
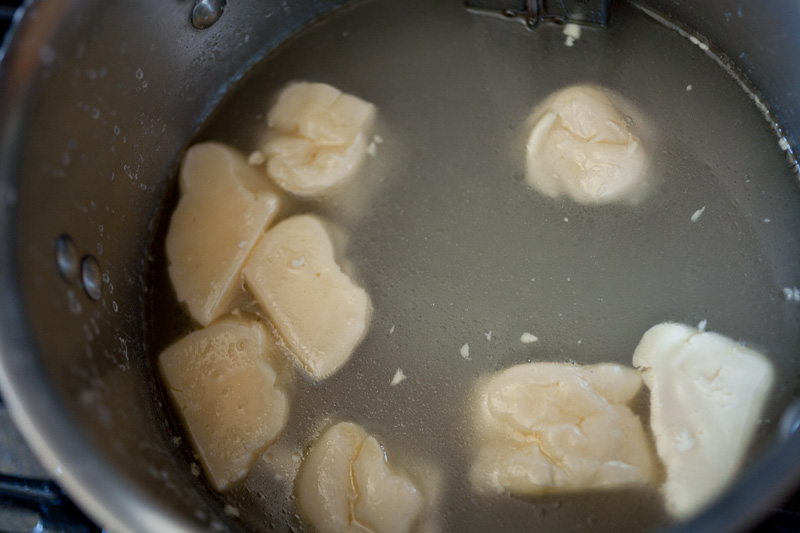
I dipped blobs of it in my salted hot water, until they got soft.
When I pulled out a blob to try to knead it, it sort of stretched, but then ripped, and was very oily. I kept messing with it, but it was soon pretty obvious that this wasn’t likely to work.
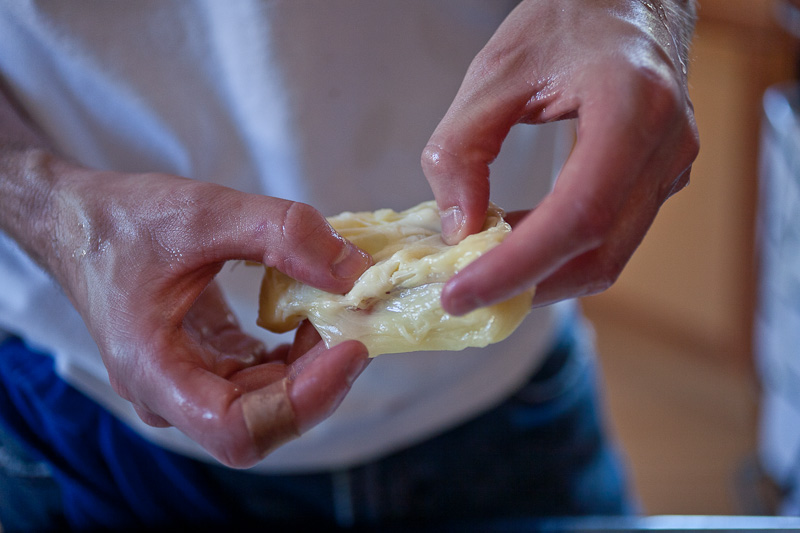
I went through two packs of these ‘curds’, trying to get them to behave they way I needed them to. I paused a few times to go check the interwebz for help, but none could really be found to help this problem I was having. After about an hour of dicking around with it, I knew I was defeated.
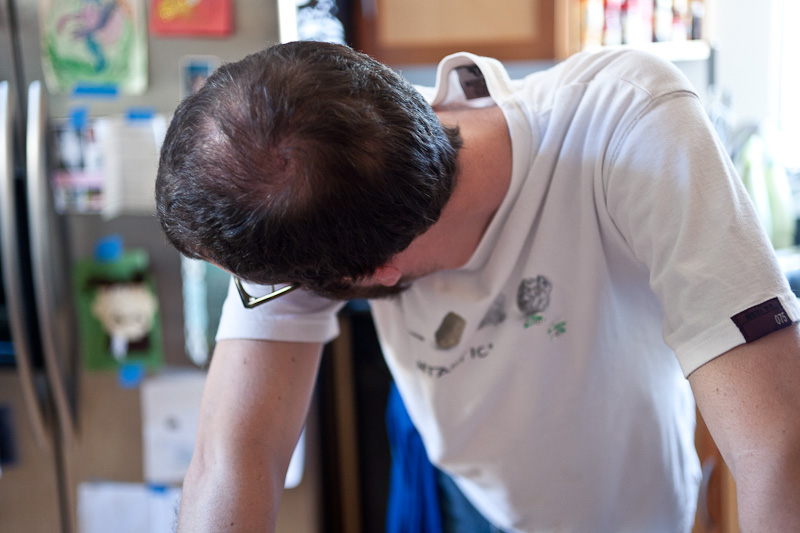
This is me trying not to barf a mouthful of obscenities onto my countertop. I seriously wanted to cry.
Right about this moment, James called to ask how it was going. “Oh, super shitty,” I said,” I can’t make a mozzarella balloon”. James starts laughing pretty hard. “Oh no shit? You’re having trouble making a balloon out of cheese? I can’t even imagine. You’re saying this is hard, this thing you’re trying to do?”
In hindsight I’m exceptionally grateful for this moment. He’s right: it’s ok for me to not get this right the first try…it’s reasonably fucking ridiculous, what I’m trying to do. What isn’t ok is inviting all your friends over for dinner to eat something you’ve never made before and is clearly very complicated. Sorry, friends.
After getting off the phone with him, I started calling around to a few cheese shops to try to find mozzarella curd, and/or help. No one seemed to know what might be going wrong for me. So, still blind and figuring I just needed to try more, I went back to the grocery store to buy more curd.

When I got to the store, there was a woman working the cheese counter there. “Do you happen to sell mozzarella curd?” I asked.
“No, but a woman was here recently asking for that too. I’m gonna order some in for her, would you like some too? It comes in 5lb bags”.
I didn’t need that much, nor did I want to wait. So I declined, saying I’d just try again with this prepackaged curd she sold.
“Oh. You can’t make mozzarella from that. That’s not really curd. It’s cheese…it’s meant to be eaten straight-up as cheese.”
*ssssssiiiiiiiiggggghhhhh*
Ok. What’s the fastest way out of this for me? I wondered. “Do you sell rennet?” The woman thought for a moment, and replied “Well, I definitely found it once in this store for a woman who wanted it, but I have no idea where it is.”
We walked up and down the aisles for about half an hour before finally finding rennet tablets near the Jell-o and gelatin stuff in the baking aisle. I high-fived her, bought some whole milk, and came back home. I knew I had what I needed to make my own curd, but had no idea how to do it.
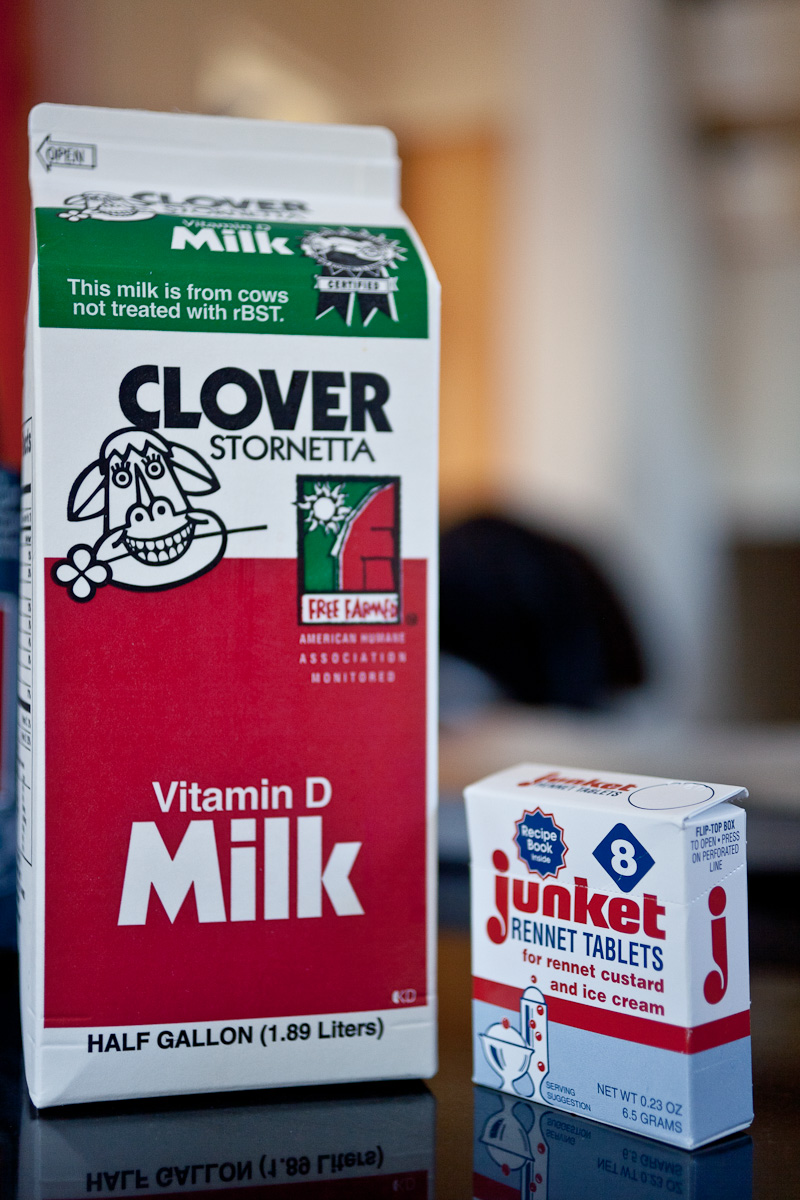
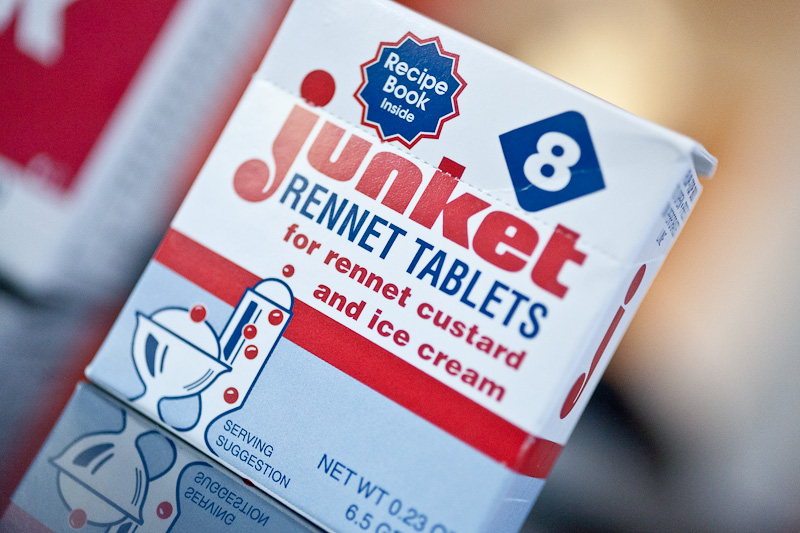
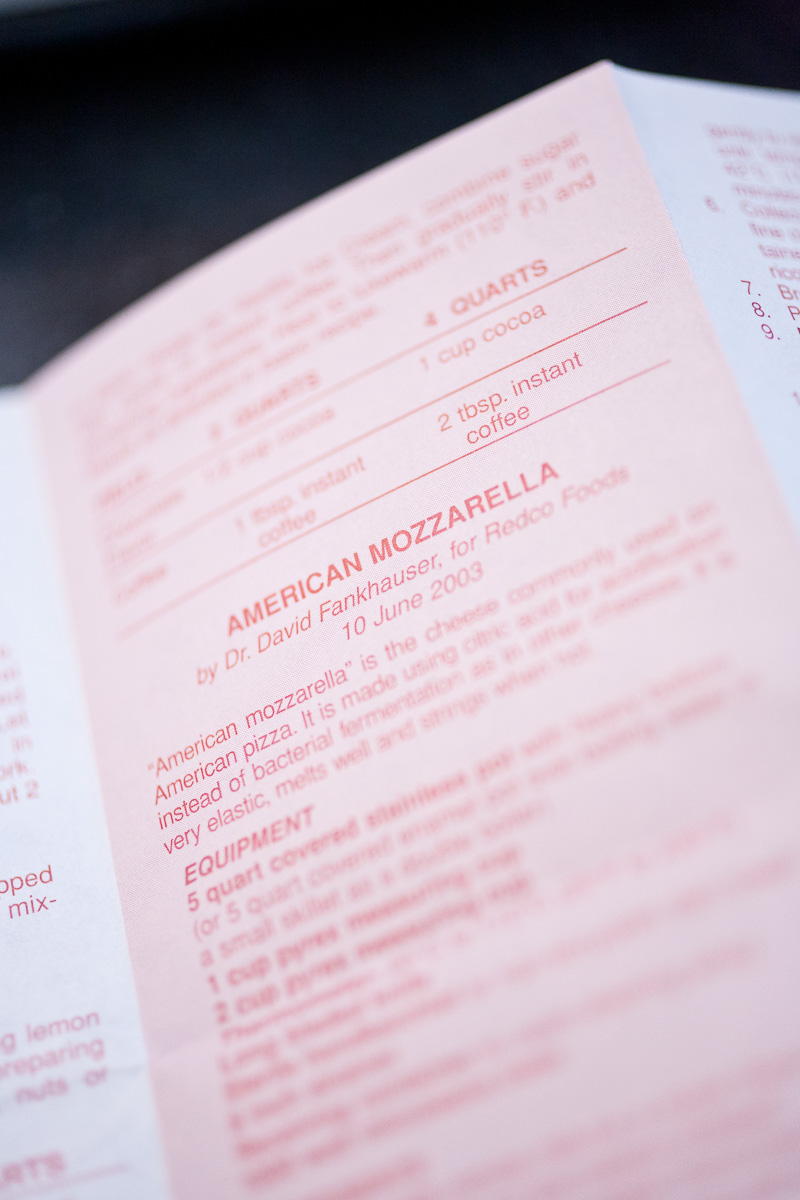
Thankfully, the rennet box had a recipe for it included! This was awesome. What wasn’t awesome, I discovered, was that the process took 3-4 hours, and it was already 7pm on a sunday night. I didn’t have the time or fortitude to press on with this that night, and was so exhausted and defeated from messing with all this that I did what I imagine anyone else would have done in my shoes.
I got really drunk and fell asleep.


The next morning, I woke up to embark on the adventure of making my own mozzarella. Recipes online seem varying and conflicting; the basic idea seems to be warming some milk with citric acid and rennet, letting curd form/set, straining out this curd and draining it in cheesecloth for a while, then heating the curd until it takes on a doughy, stretchy consistency. This final form is what I need to try to make balloons from. Unfortunately, recipes all differ on things like how long to heat the milk before/after adding rennet, how long to let the curd sit, what temperature to cook the curd, etc. etc.
I started with some cheap milk from Piedmont grocery and my newly-acquired rennet. I also opted to go with the recipe for mozzarella included in the rennet package.
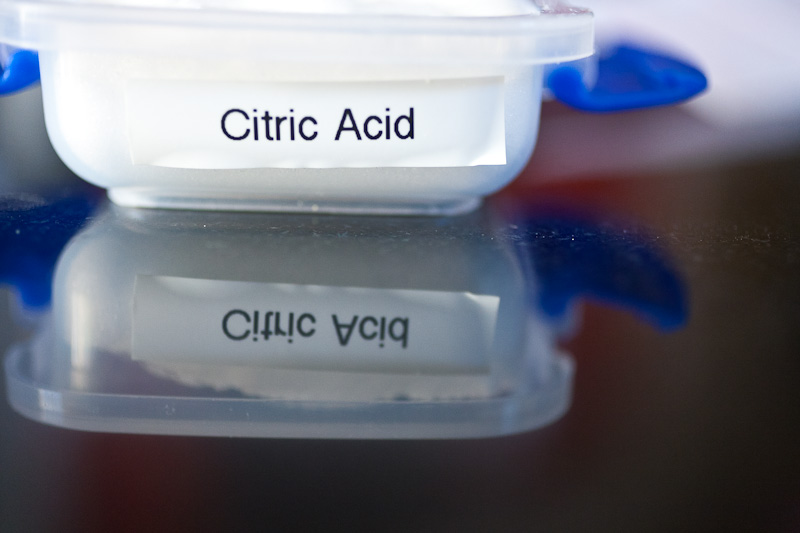

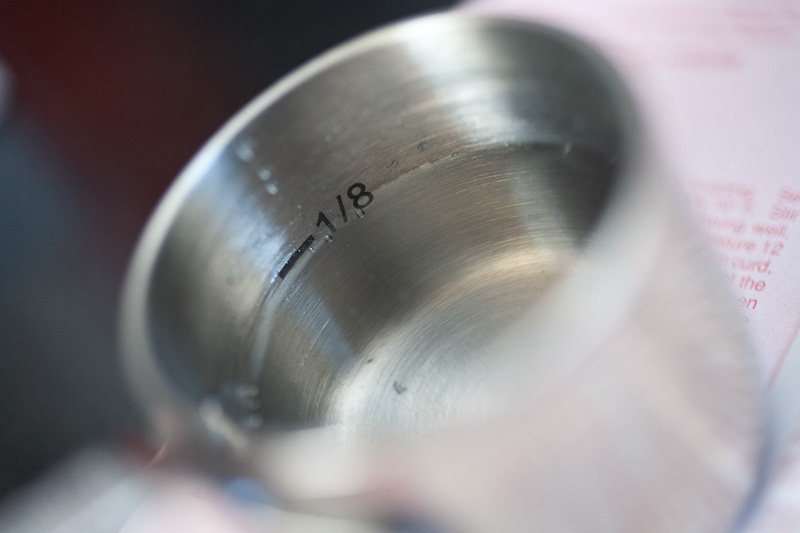
This recipe calls for heating the milk to 88F, then adding dissolved citric acid and rennet. A bit of stirring and the milk immediately shows signs of doing something interesting.
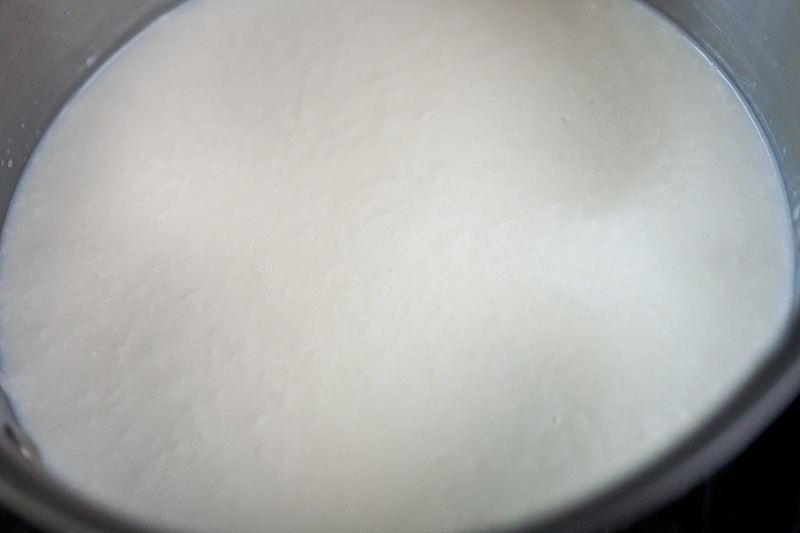
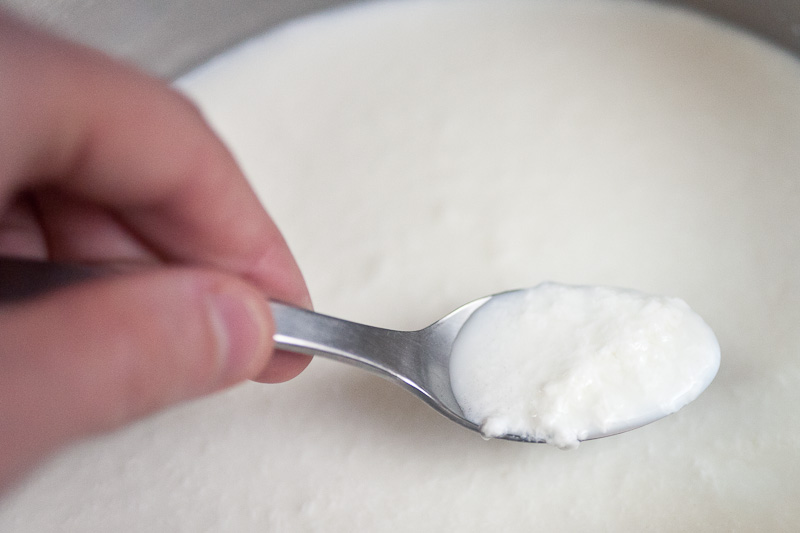
I let the mixture sit for about an hour, then stirred it a bit (even though the rennet tablet recipe said not to, other online sources said to stir at this point, plus I was excited and wanted to poke and play at it a little). It never really came together into anything bigger than this lumpy mixture, which–when I heated it to try to turn it into mozzarella–just fell apart.
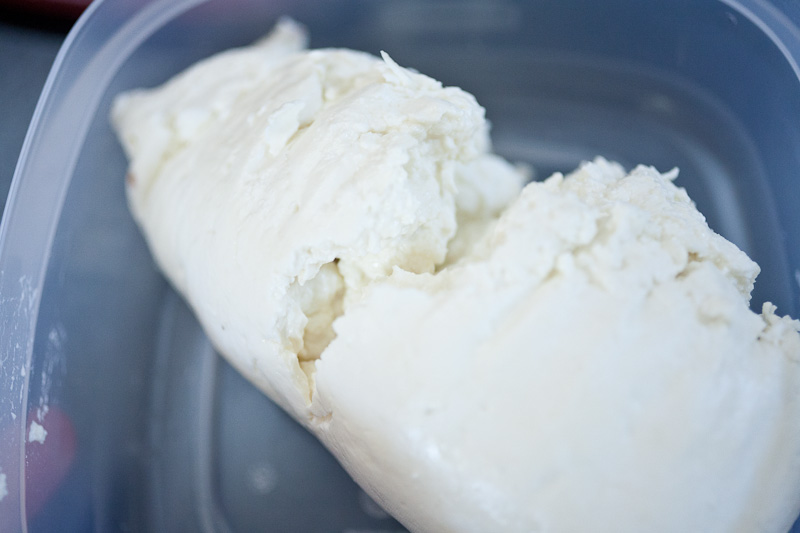
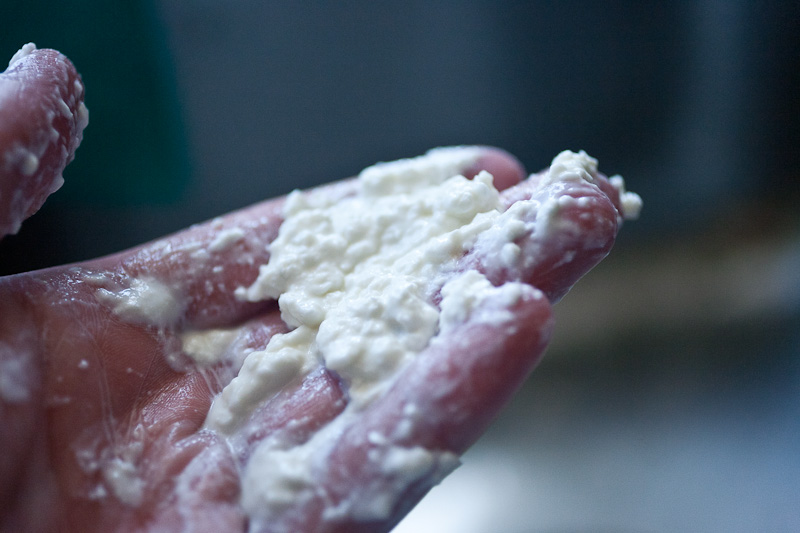
I read a few more recipes; they gave hints about how much acid to use and to use non-chlorinated water. That seemed promising, so (ever-optimistic) I walked back to the grocery store to buy more milk. I felt good about batch #2, so I splurged and bought some super-nice deluxe organic awesome milk.
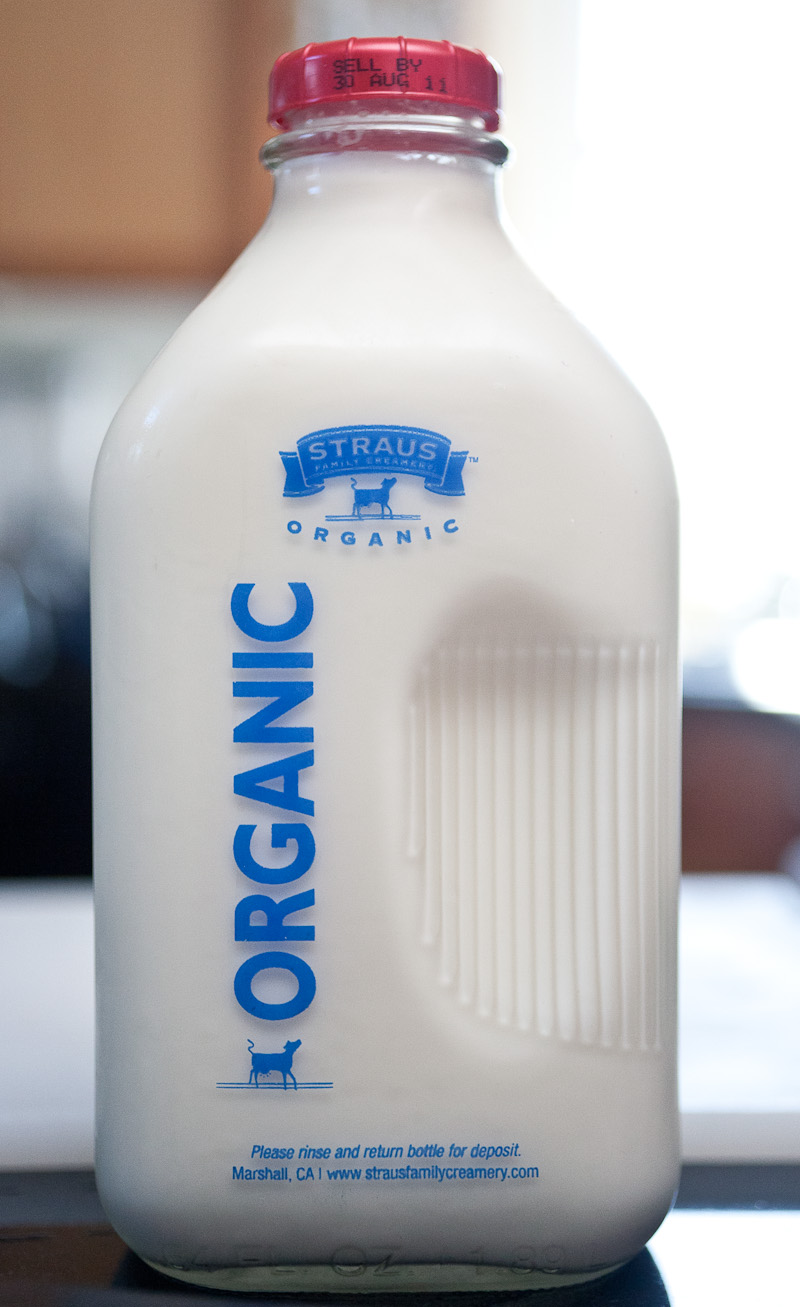
I got home and treated this batch similarly, though used bottled water instead of tap, and was more gentle with my treatment of things. I let the curds set for about 2 hours at 90F…I kept things warm by turning on my oven and sitting my pot right in front of the exhaust port.
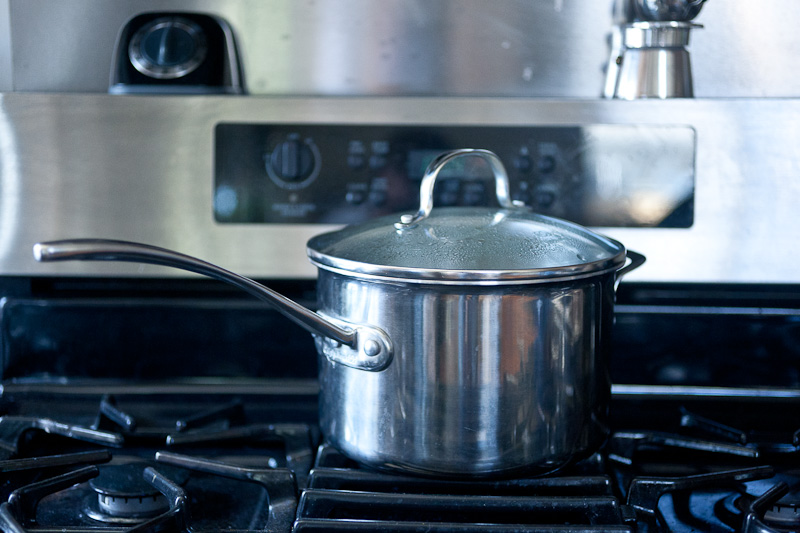
This second batch looked way more promising. WHEY more…OMG GET IT?
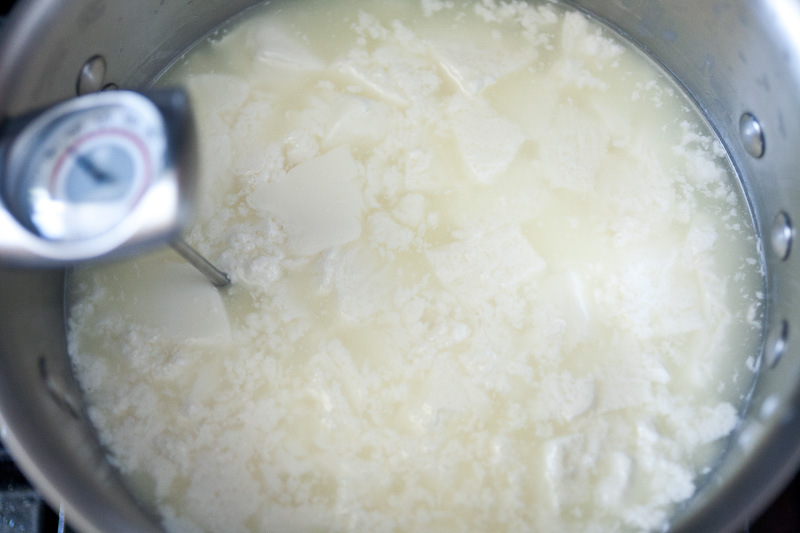
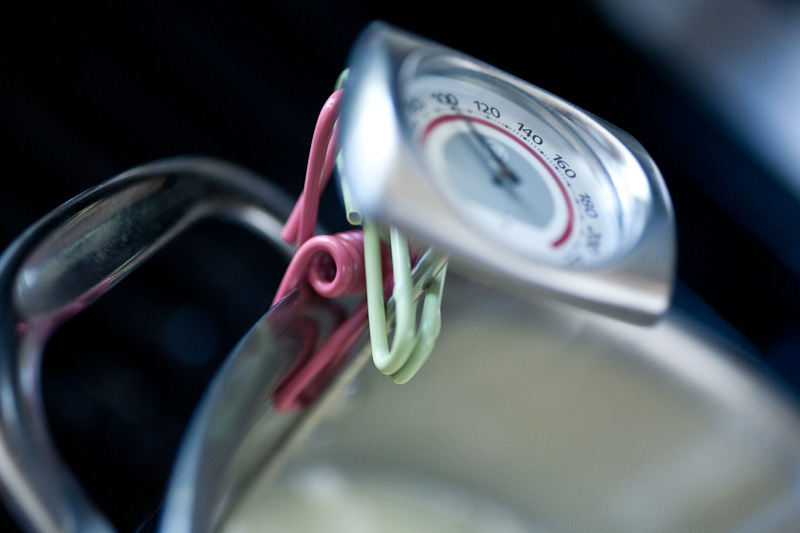
After letting this second batch drain for about 15 minutes, I dropped a ball of it into hot salted water to see what would happen. After about 5 minutes I pulled it out…it felt soft, but also had an odd rind on the outside. When I tried to knead it, it softened up immediately but then with further working it toughened up and started ripping. I tried this a few more times, increasingly frustrated with what looked increasingly like it wasn’t going to work.
These kinds of problems irritate me the most; this process takes about 4 hours, and I’d taken a day off of work to try to mess with this. I only had a few more shots during my day to try making more batches, not to mention remaking any components of this recipe that had passed their prime by this point, so I felt itchy and impatient while realizing that what I thought was going to be a relatively trivial thing (at least, in Alinea terms) was turning out to demand way, way more attention than I’d expected.
I went back to the grocery store again. Bought more milk. Made more curd. Forgot to use bottled water. Ran into the same crumbly texture again. Swore a few times. Read more information. Apparently the lack of stretchiness when cooking mozzarella could be caused by low acidity in the cheese. This is rectified by letting the curd develop more acid…either by adding more citric acid to start with, or letting the milk ‘ripen’ for a while at warm temperatures before adding rennet, or by letting the curd drain for longer at room temperature. All of these lines of experimentation took hours, and there didn’t seem to be a clear indication which one would be most fruitful. On top of all of this, I found a forum mentioning the use of ‘raw’ (unpasteurized”) milk, which could allegedly be found at Whole Foods, along with liquid rennet.
So I tore off to Whole Foods in Oakland, for my 4th trip buying milk in 24 hours. Whole Foods does not carry ‘raw’ milk, it turns out…this is a legal liability, so either I was mislead or Whole Foods’ policies have changed. They also didn’t carry rennet, at least according to the guys working the cheese counter. I bought more organic milk, something that said it was pasteurized at low temperatures. Mounting frustration was causing me to make fast angry decisions, and I only had enough hours left in this day for one more shot at this.
I got back home and made a 4th batch of curd. Here’s exactly what I did:
–1/2 gallon of whole organic milk
–2.5g citric acid (previous attempts used 2g, but to develop more acidity I kicked it up here slightly)
–1/2 tablet of Junket rennet tablets (all recipes prior to this used 1/4 tablet)
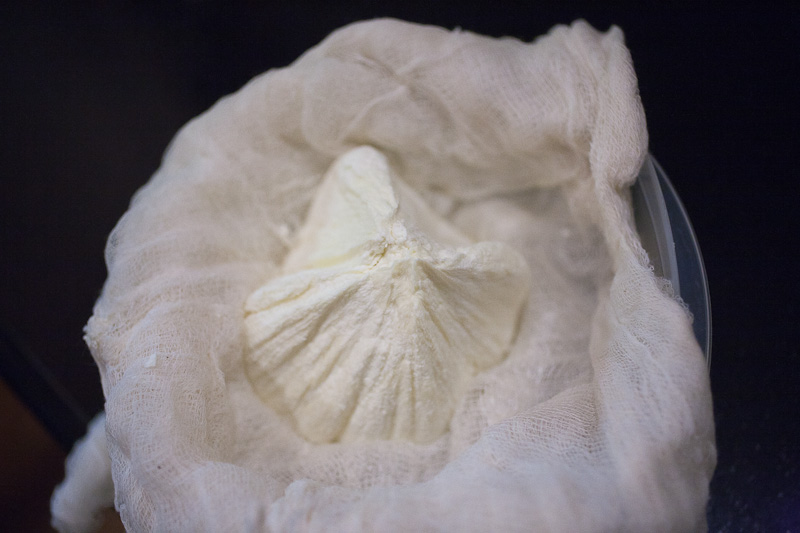
Warm milk to 88F. Dissolve citric acid in 1/4 cup cool water. Dissolve rennet tablet in 1/8 cup cool water. Slowly stir in both to milk. The curd forms after 15 minutes or so, but I let it sit for about 45 minutes to see if there were any noticeable changes. There didn’t seem to be. I let the mixture sit for another hour at 88-90F, stirring gently every 10 minutes for the first half hour, then just letting it sit for the second half hour. After this, I strained the mixture through cheesecloth lining a strainer, tied it up, and let it drain for about 4-5 hours. After this time, it looked like this:
(If anyone reading this is trying to make their own mozzarella and came across this from some interweb searching, I should point out that this last batch failed to form mozzarella when heated. It just got all crumbly. So, in the end, the recipe that worked was that from the Junket rennet tablet box, in combination with using bottled spring water…those seemed to be the key factors. And a shitload of patience).
While this was draining, I realized I had one step left to finish: I needed to take my gels of molasses and saffron and make a spiral from them. Those who have been with me on this adventure for a while will remember my frustration at trying to do this for the beer gel recipe. I’ve been so preoccupied with getting this balloon thing working that I overlooked another potential difficulty. My spirits were pretty low at this point, so I hauled out the gel and set my optimism to “minimal”. Sure enough, trying to roll the gel into a little sushi-like spiral was a joke. The gel collapsed and broke everywhere…it was even more fragile than the beer gel had been, and was wetter and much more slippery. I’d stopped taking copious pictures at this point because I was feeling so over it all, but suffice it to say, it didn’t look pretty.
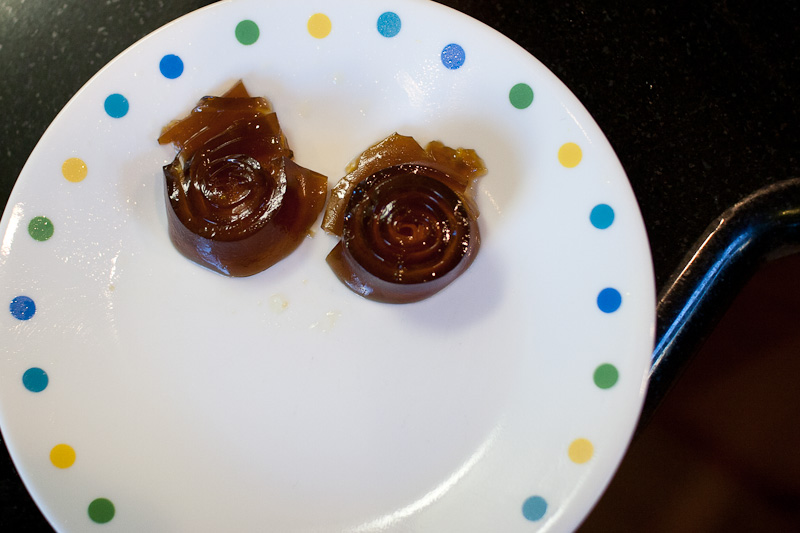
At this point, it was the end of the day, and Sarah was due home from work, so I needed to wrap everything up and make dinner for us. When she got home, she asked how I was doing. I told her I’d gotten my ass kicked up and down the street by some cheese and some gel. She commiserated, but then said it’s stupid and a waste to just not try plating what I did have. She’s right…I’d come a fairly long way so I might as well try throwing some of it on a plate just to enjoy it a little. Plus, she was starving.
So I did. As I worked, Sarah noted “you should feel pretty good about this…this still looks like a piece of art.” Sarah’s very levelheaded this way, which is one of the many reasons I’m madly in love with her. Unfortunately, I’m way less levelheaded, and was in a poopy mood. I grabbed some of the mozzarella curd I’d made from my second batch (the stuff that didn’t want to stretch…I’d set it in the fridge for the afternoon while I worked on subsequent batches), and threw it in a measuring cup with some water and salt. I microwaved it for a couple of minutes…I figured I could at least throw a blob of it on the plate and squirt some tomato foam on top of it.
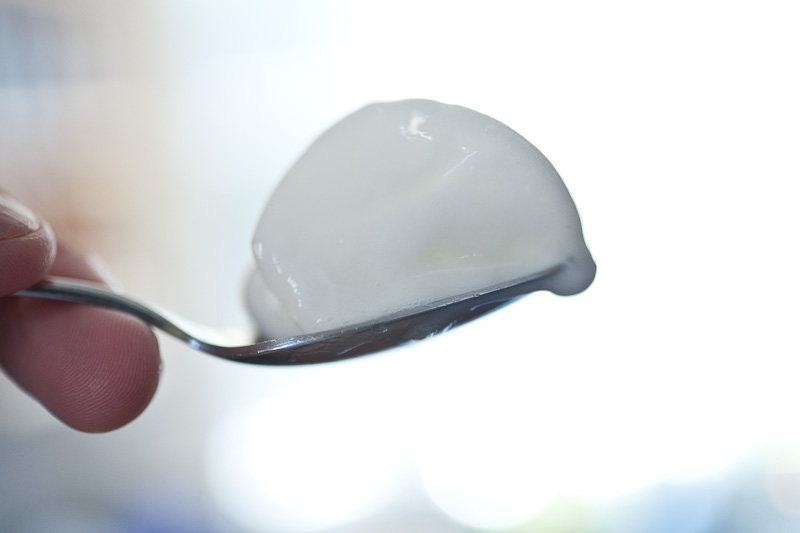
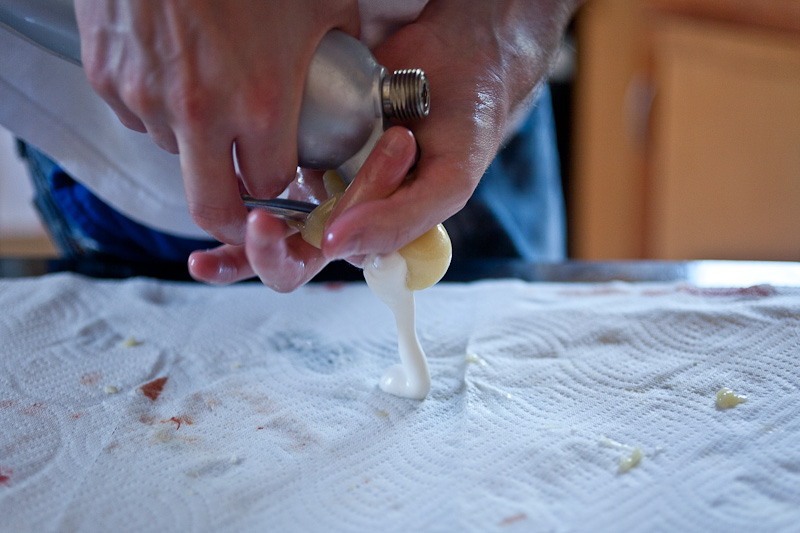
When I pulled it out of the microwave and rolled it around in my hands, something very interesting happened. It was very goopy…like wet dough. This same batch had NOT behaved like this earlier. Cautiously-excited, I kneaded it a little. It smoothed and started gathering elasticity. “Holy shit.” I mumbled. I grabbed the siphon of tomato foam from the fridge, formed the flattened mozzarella around the tip of it, and cautiously pulled the trigger.
It inflated.
“ohmygodohmygodohmygodOHMYGODLOOK!” I yelled. I wasn’t expecting this AT ALL. Sarah somehow found and grabbed her camera during this moment, and snapped both my surprise and my resulting first successful mozzarella balloon.
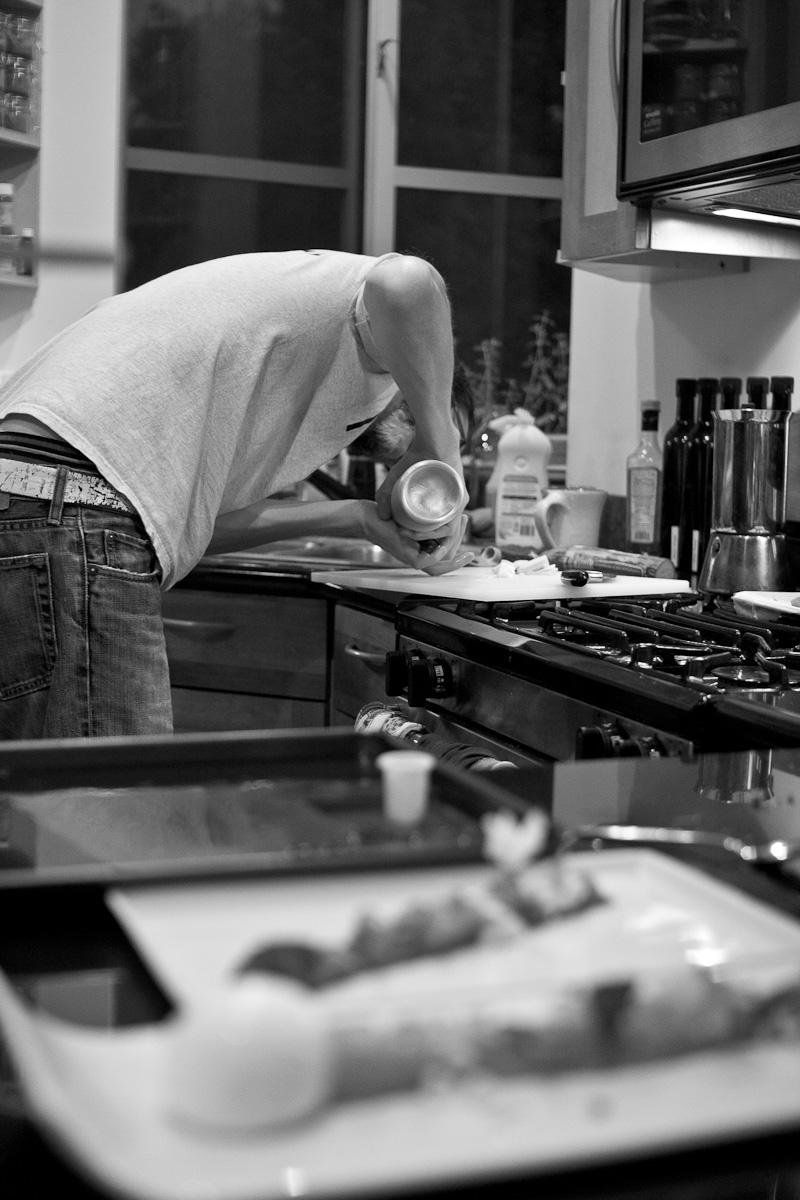

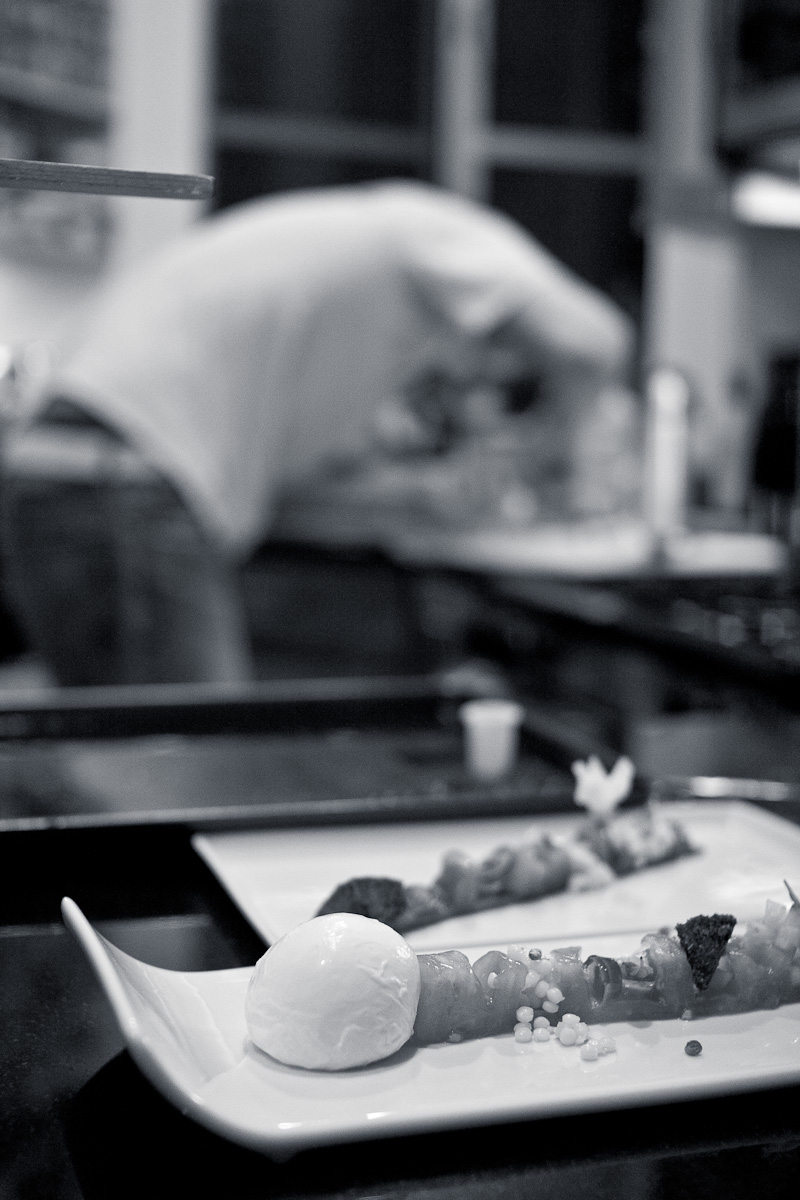
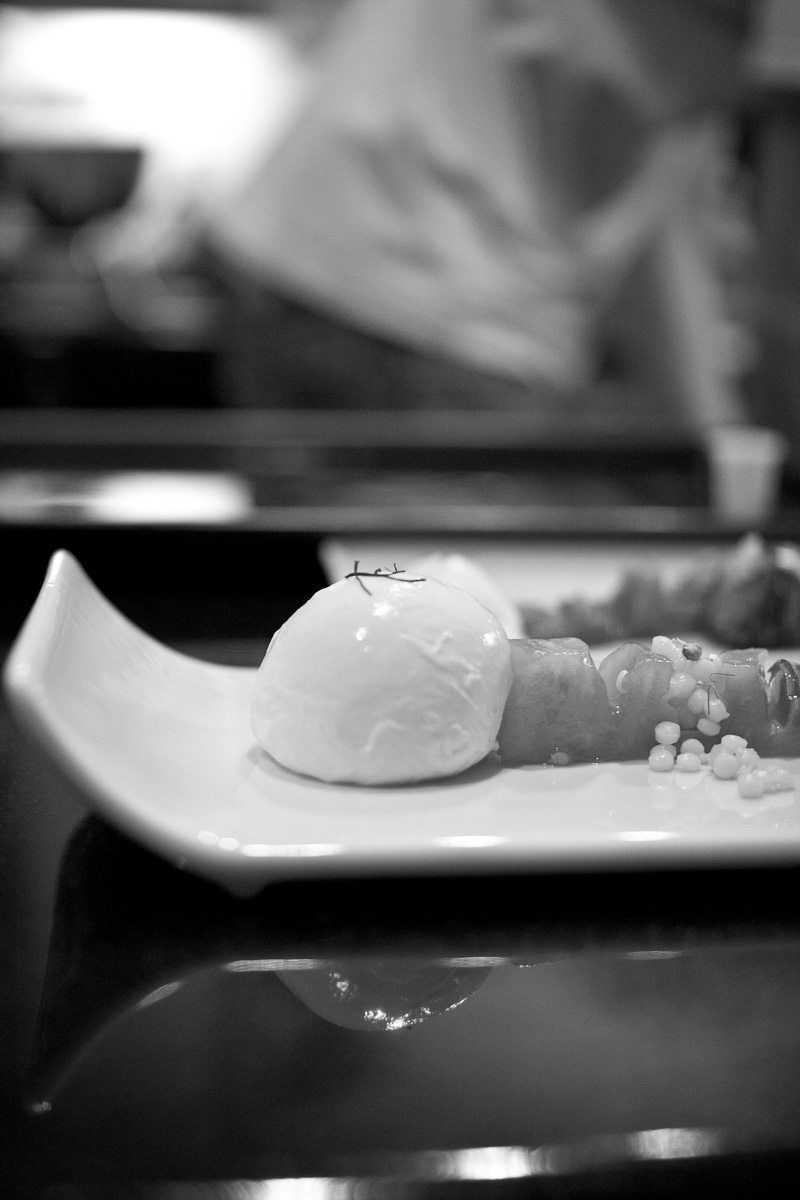
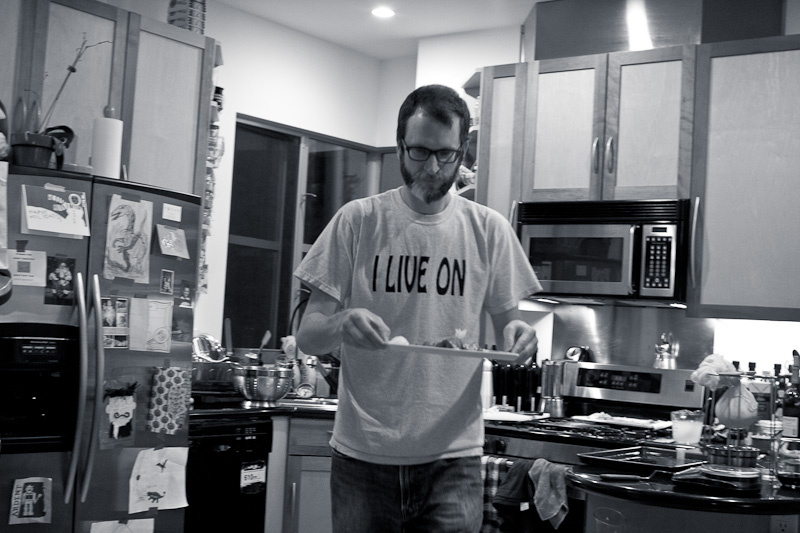
The sheer ecstasy of this was enough to offset my poopy mood temporarily, and so I plated everything else the best I could. Sarah was right–it still looked damn nice. I’d already put away all my photo gear, so my first platings weren’t lit all fancy-style.
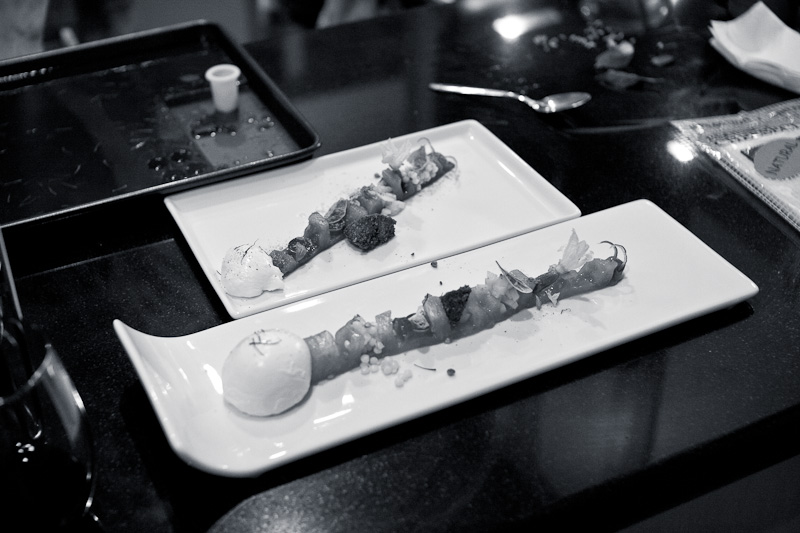
After eating this serving, I took a moment to think about all this. As it stood at that moment, I had everything I needed to plate this thing except the gel spiral. I WANTED THAT GEL SPIRAL. THIS HAD TO BE PERFECT. But Sarah’s pragmatism encouraged me to plate what I had at that moment, so that at the very least I could say “Well, I did it this well.” So I set my lights back up again and took some photos.
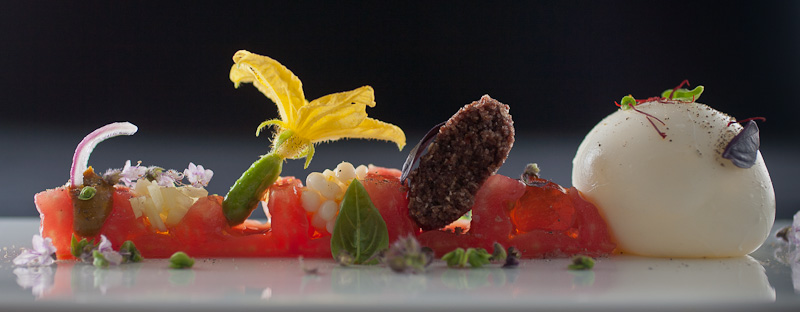
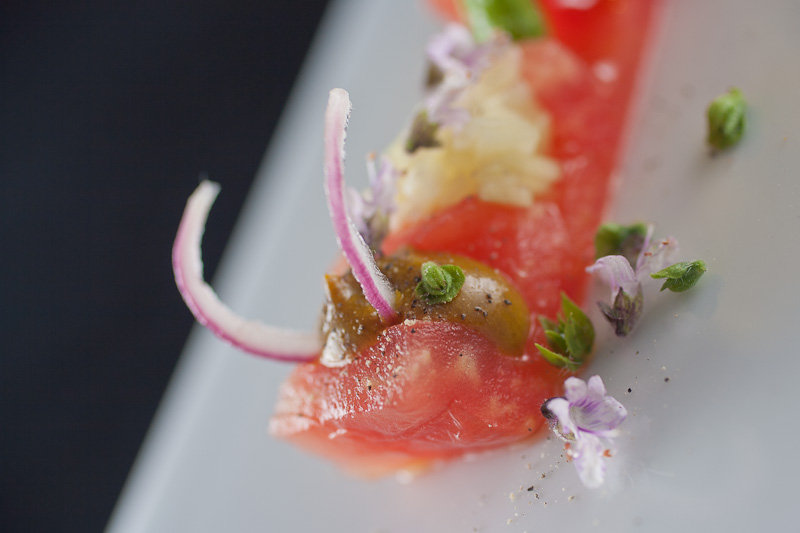
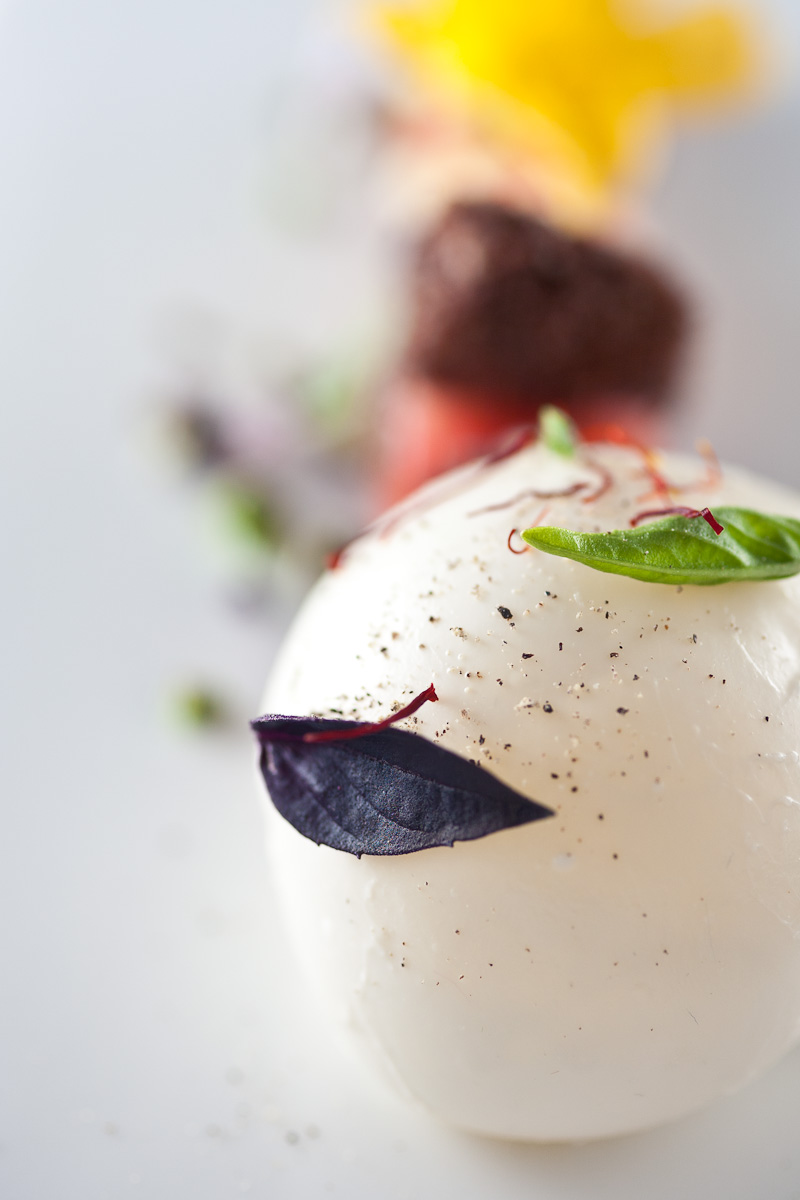
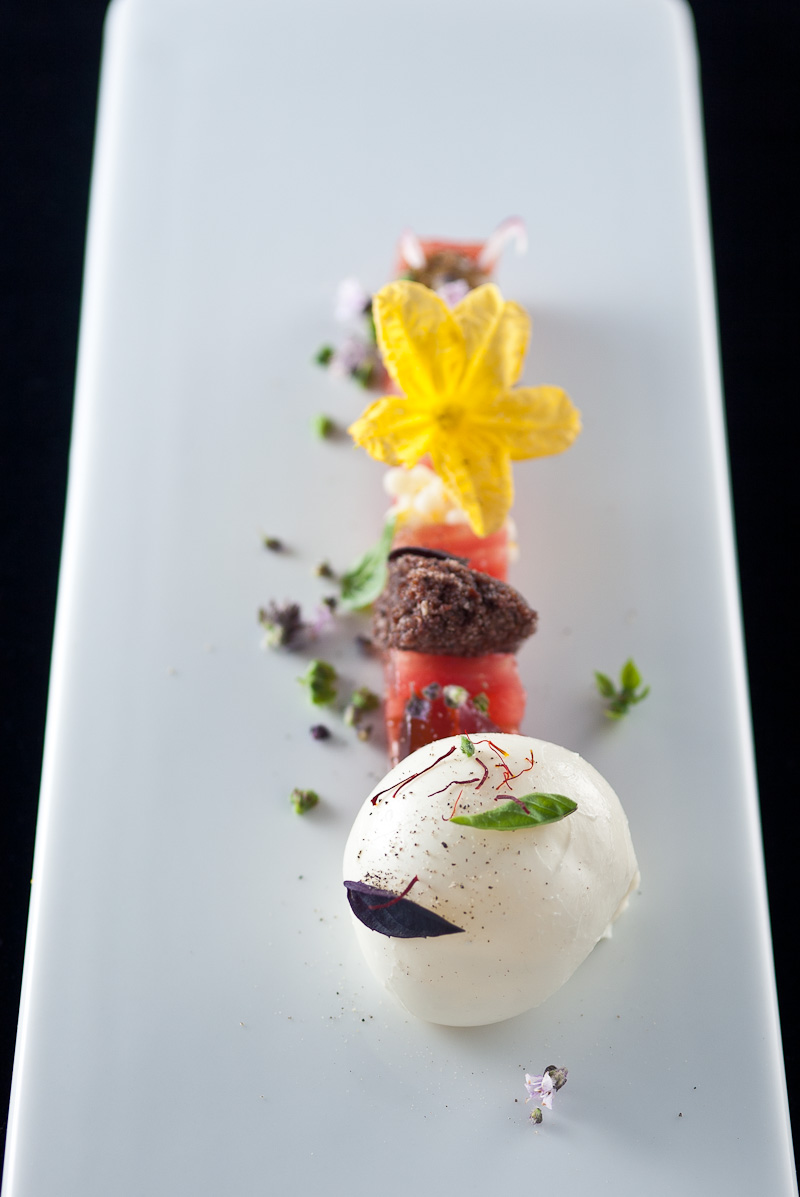
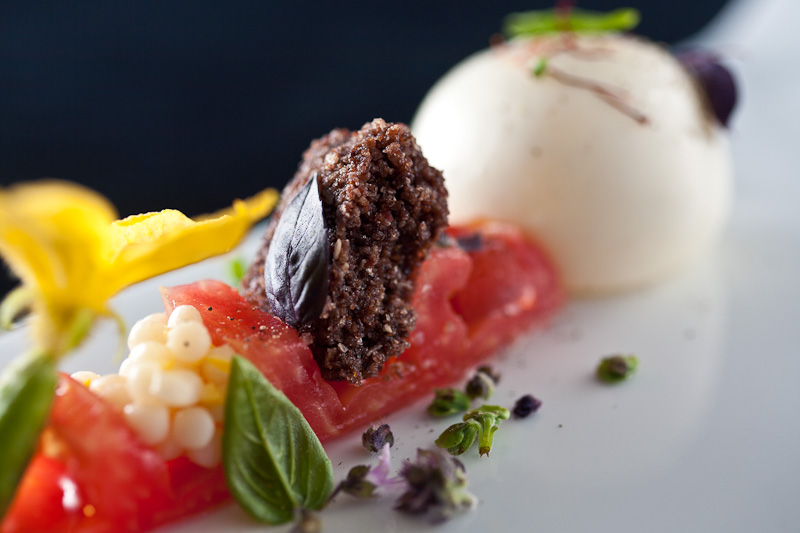
Then I ate a second serving of this, cleaned up, and went to bed.
The next morning, I woke up, and started making more gel. I. Want. That. Spiral.
The first thing I tried was spraying a sheet tray with cooking spray, then lining it with plastic wrap. The spray helps the wrap to stick to the tray smoothly, and the wrap helps me lift the entire gel sheet out of the tray easily.
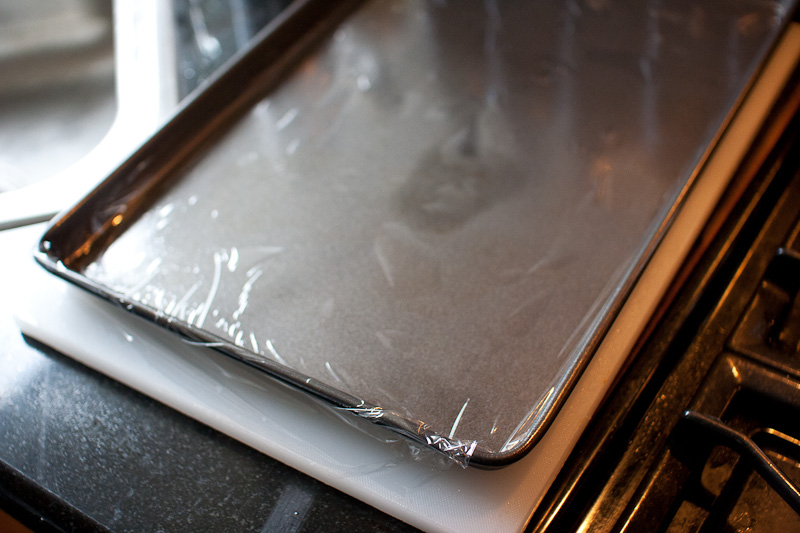
Or so I thought. The bottom, molasses-based gel, I discovered, is extremely sticky. So it stuck to the cling wrap badly, and trying to peel the wrap from it destroyed it. So, I needed to use a sheet tray sprayed with cooking spray but NO plastic wrap…I needed to lubricate the molasses gel enough so that it peeled up easily. I also needed to strengthen the gel. This may be considered cheating, I’m not sure…the gel was too fragile for me to roll with my clumsy hands, so increasing the gelatin content–which yields a much firmer gel that’s way easier to work with–might also lead to a ‘toothy’ quality that Alinea might consider undesirable. Honestly, though, I didn’t care…I needed to make it strong enough to withstand me fumbling around with it trying to figure it out. I finally landed on a strategy that worked: I halved the thicknesses of the gel layers, while doubling the gelatin content. Thinner gel = less breakable, and more gelatin = more flexible and less likely to tear. In the end…success.
To escort us through the conclusion of this story, let’s take a moment to cue up some truly epic music. This is what was playing in my head when I was taking these final photos of my completed Tomato, Balloon of Mozzarella, Many Complimentary Flavors dish.
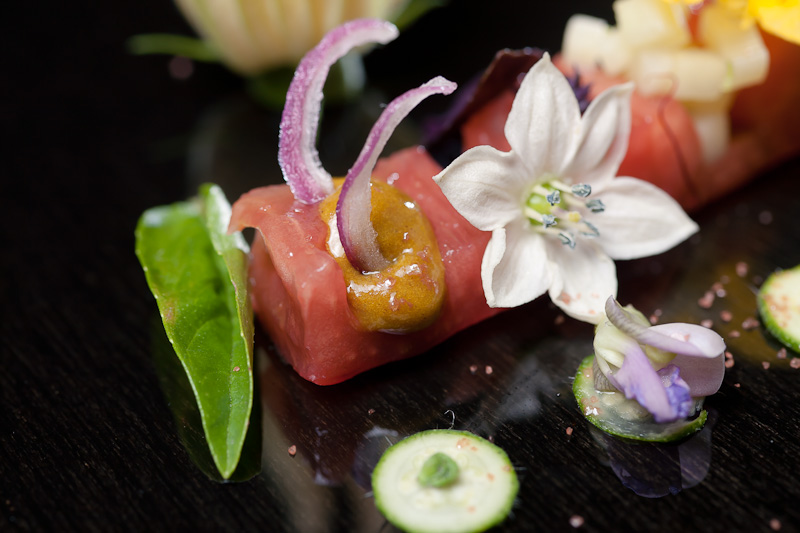
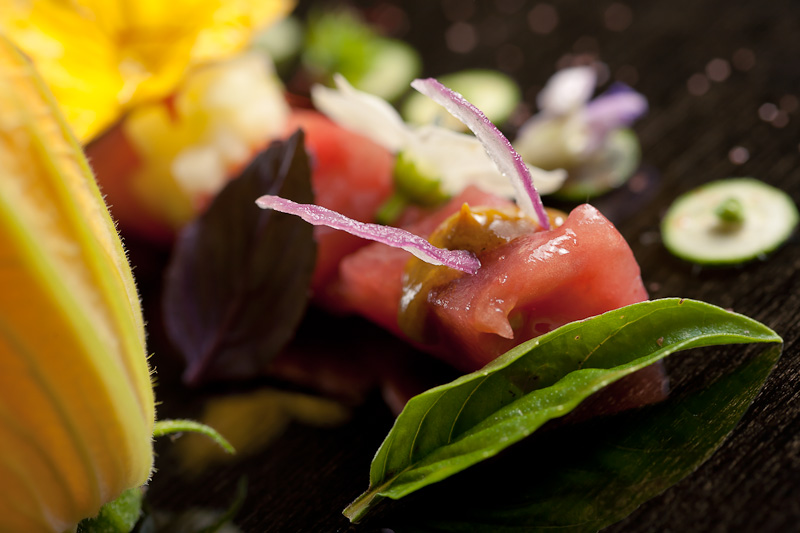
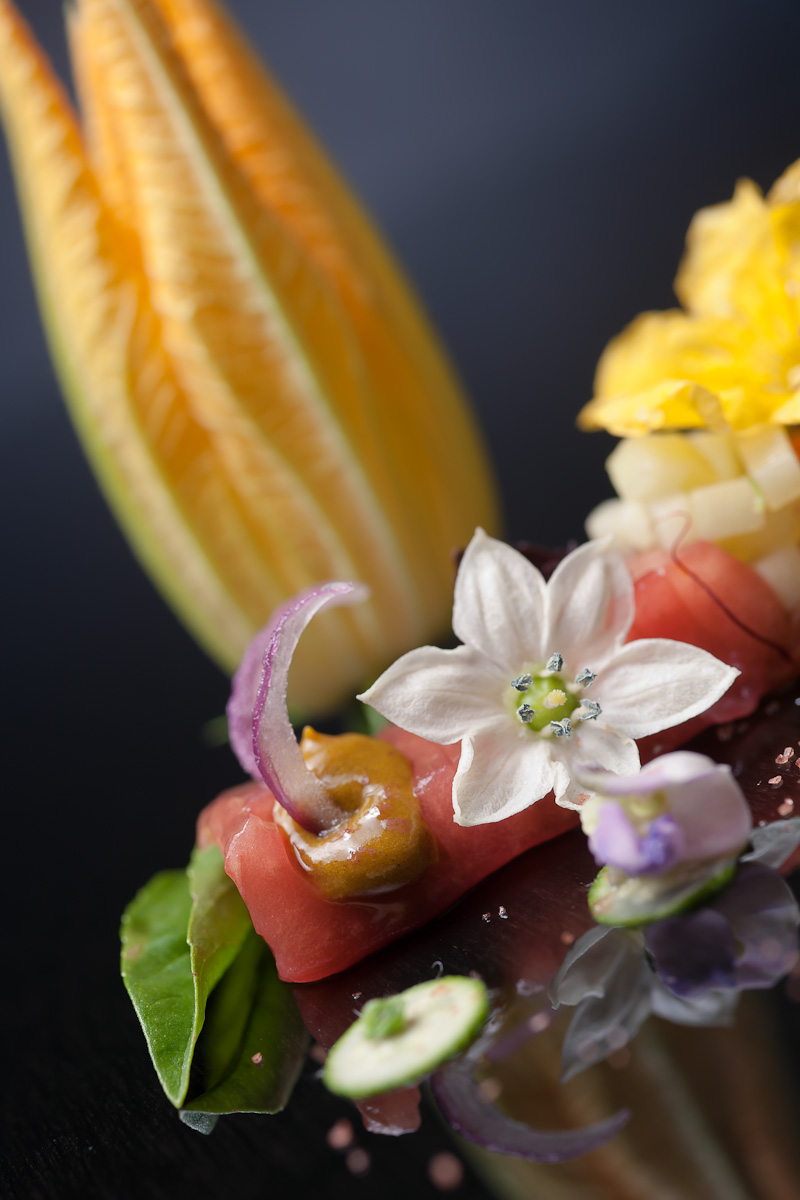
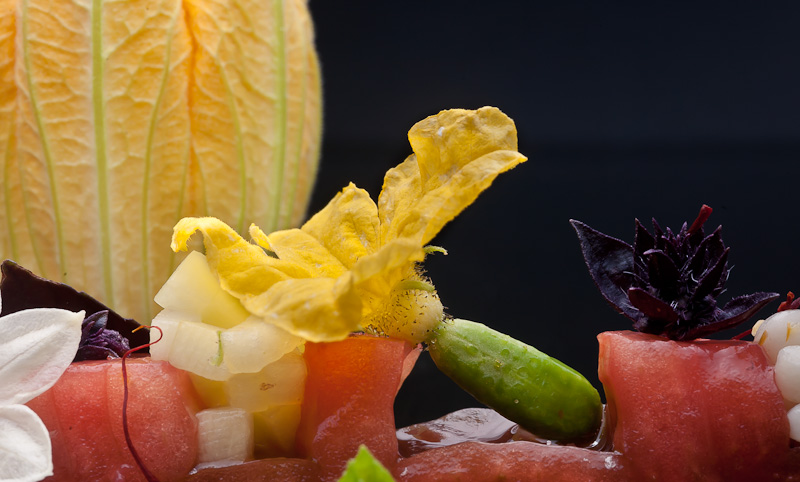
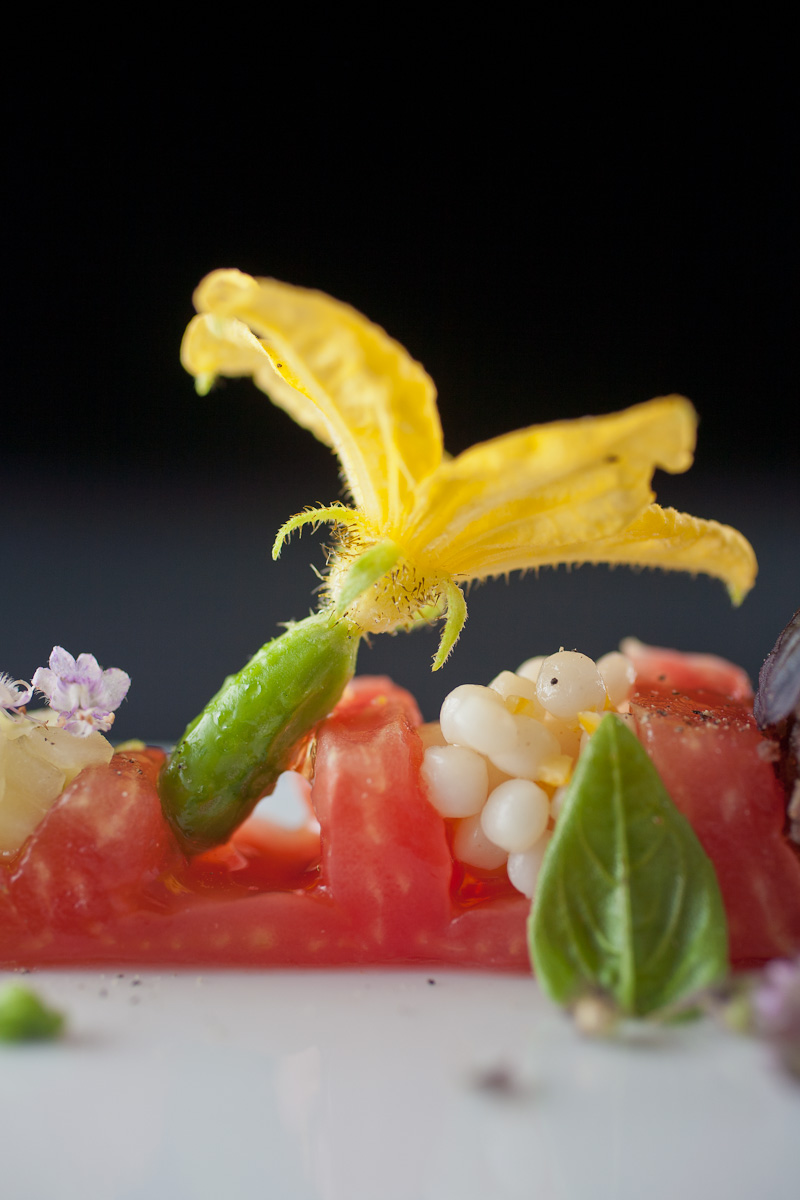
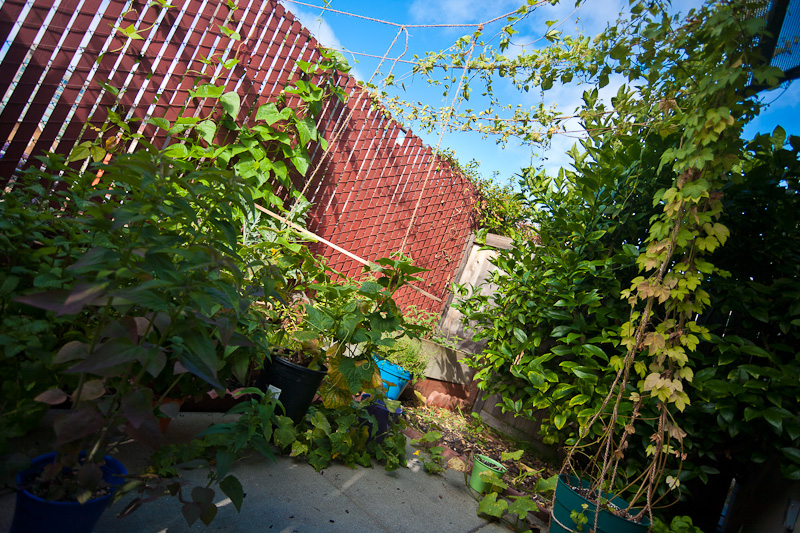
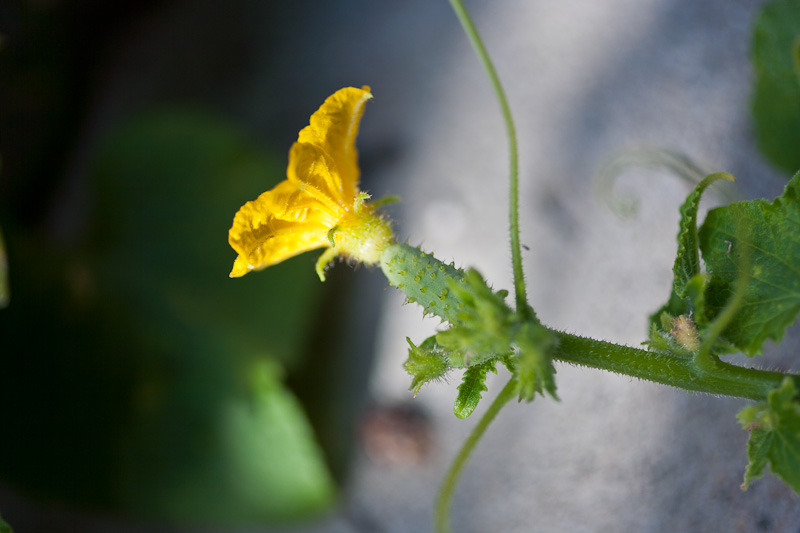
One element of this dish that I haven’t mentioned up until now, but that demanded no small amount of attention, is the cucumber with the blossom attached. There’s no way you can just run out to the store to snag something like this, so many months ago I bought some cucumber plants and have been tending to them ever since, to try to produce my own. We don’t really have a yard at our apartment, just a small back patio area, so that’s where I’ve been keeping all our plants. It turns out that we both love gardening to the max, and in a short amount of time our back patio has grown up quite a bit.
This is what I’ve been after: a tiny cucumber with the blossom still attached. These things exist in this state for maybe a day or two…
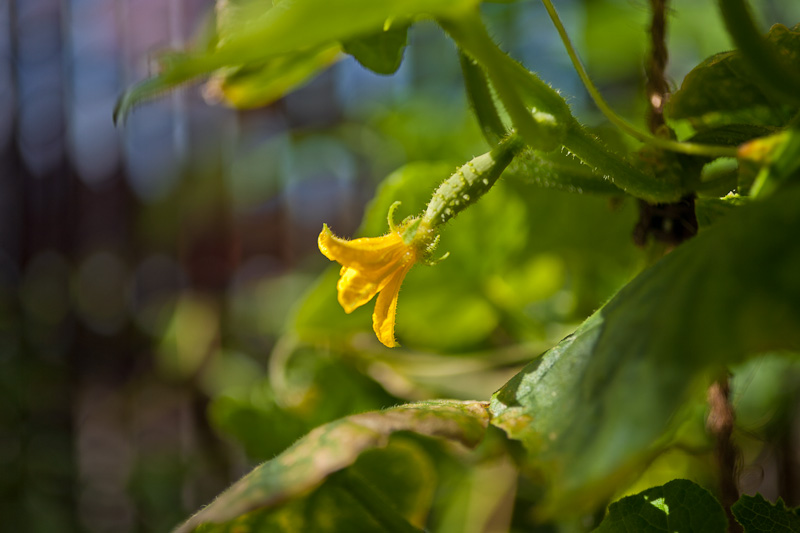
..after which the flowers start to wilt. This already would be considered not perfect enough for Alinea standards.
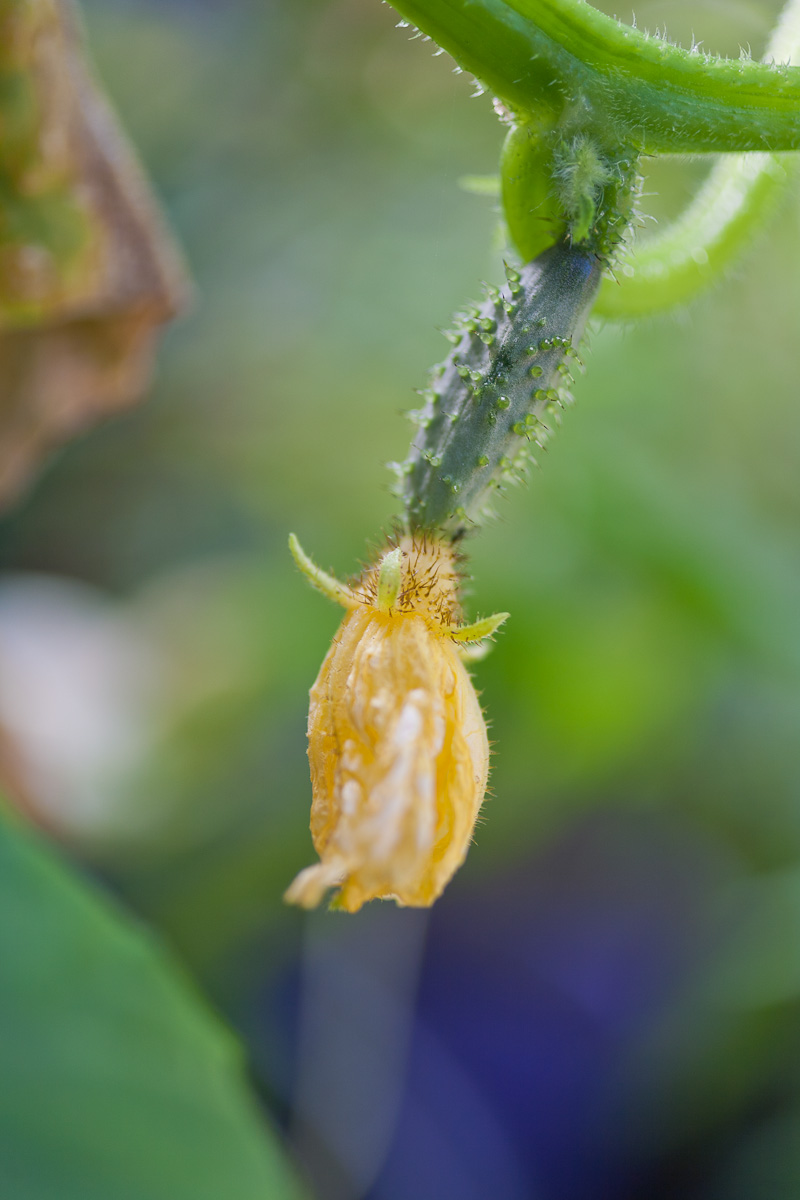
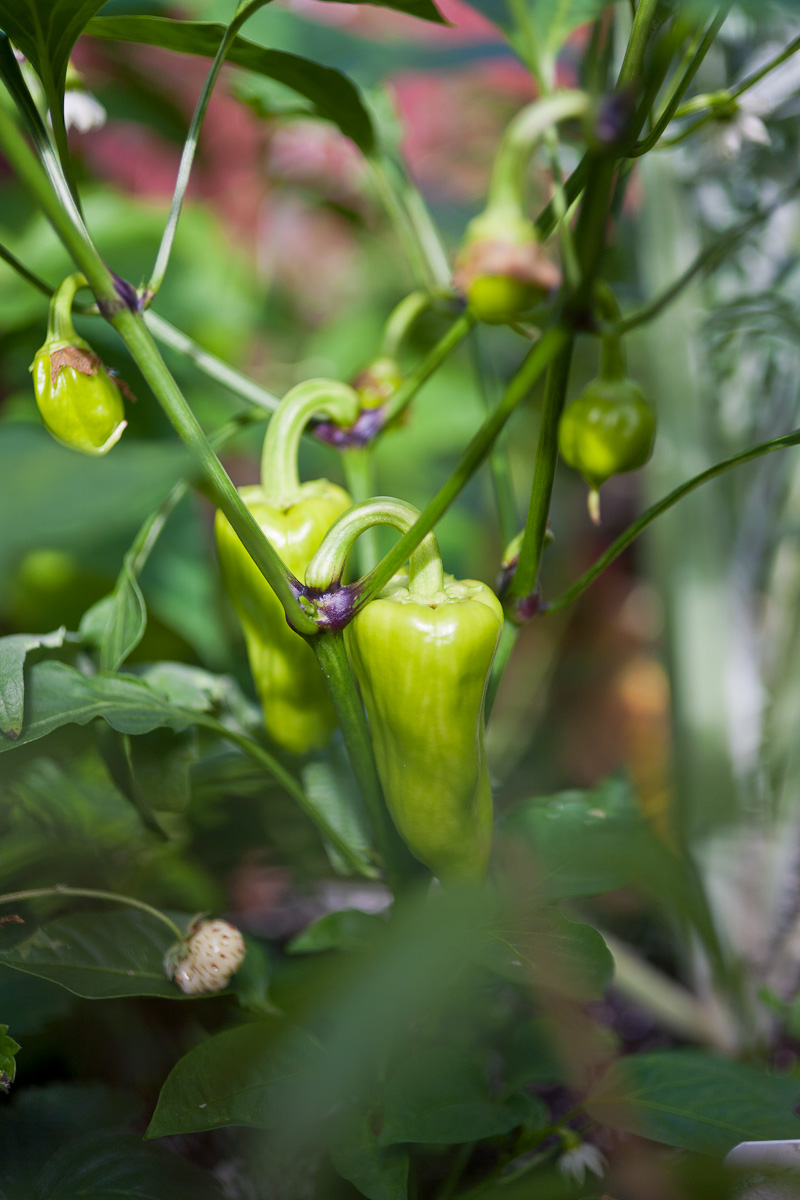
In addition to our zillions of baby cucumbers I’ve got growing, we also have some other fun plants. These are sweet peppers.
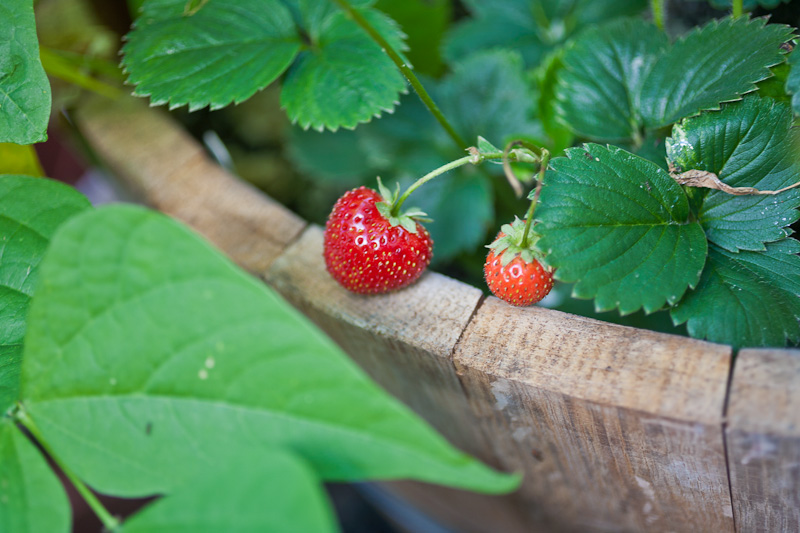
Sarah loves her little strawberry plants.
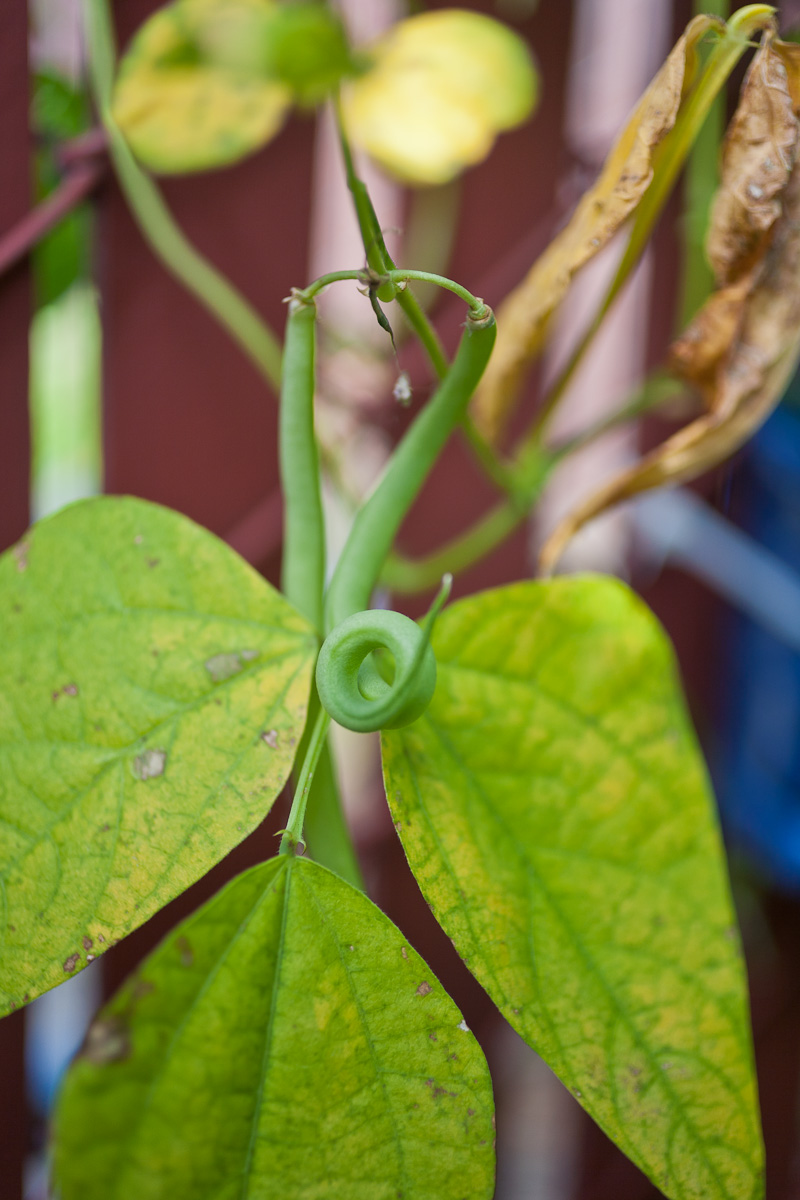
French green beans grow super-fast and have taken over half our fence.
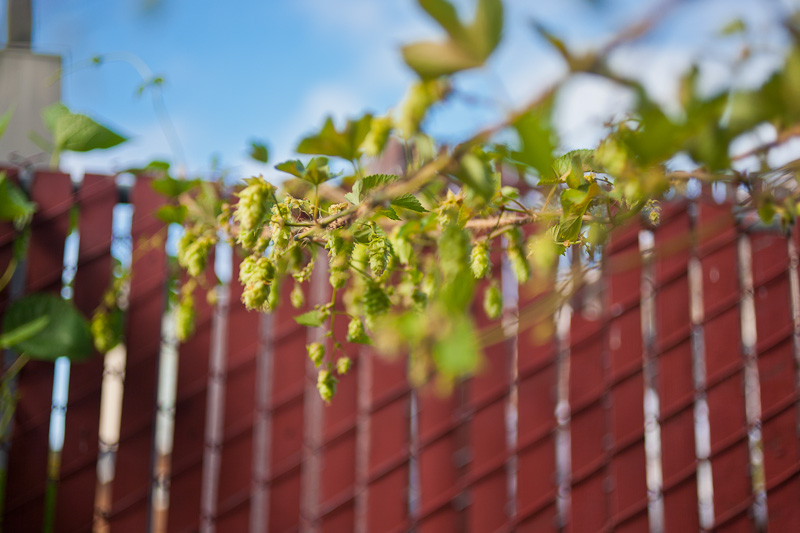
My hop plant is finally starting to make flowers that smell hoppy. I’m going to celebrate the completion of this dish by making more beer to replace all the beer I drank while making this dish.
So…how did all of this taste?
Honestly, it’s hard to say. I mean, it was very tasty. But super-complicated dishes like these demand so much dexterity and planning that it’s hard for me to really hone the flavors perfectly. The tomato is the backbone of so many dishes in so many types of cuisine, and the literal splaying of it as a backbone on the plate here underlines this. The curry pudding and tomato make sense from an Indian cuisine standpoint…the combination is fresh and bright. The cucumbers with the tomato taste like summer to me. Lemon and tomato and couscous is again a familiar and not terribly complex flavor pairing. The crumb rock was, for me, too olive-heavy. I was looking forward to something that reminded me of pizza or italian food and this didn’t quite do it. I woulda halved the olive content in future incarnations. I was too excited to get a gel spiral that didn’t fall apart of me to care that its flavor wasn’t very notable or memorable. The mozzarella balloon was clearly delicious and fun to play with. Everything fit together nicely, but nothing was really very jaw-dropping or enlightening in terms of surprising flavor.
Whew.
If you’ve read this far, you have my gratitude. Because I worry that this journal isn’t terribly informative in terms of technique or anything beyond story, I’d like to be able to contribute something potentially-interesting to you. Clearly I have little cooking expertise to share. But I CAN share this:
This link is to a full-size, extremely-large print-resolution copy of the first image of this post. Native print size is about 30″ across…I made it by shooting a panorama of this dish and stitching it together to give me heaps of resolution.
This link is to a similar copy of this final image. Either of these are suitable for printing pretty big.
pretty amazing man………Thanks for sharing the journey on that one.
new wallpaper!
Mike
“Journey” is right. What an emotional arc—and what a complex conclusion! Congratulations on your discoveries, and thanks for persevering. Incredible.
Absolutely heroic, Allen. As always, this post is inspiring, incredibly informative, and filled with excellent photography. Certainly a reference for anyone attempting to reproduce this dish.
It may have taken a lot of effort, but it turned out so well. I ripped off these balloons for a dish, too, and I had a lot of trouble even despite having ordered proper mozzarella curd beforehand. http://www.eatfoo.com/archives/2010/07/tomatoes_traditional_pairings.php
so pretty and so amazing….as always
Dude. (shakes head in stunned silence)
Pretty impressive. I am glad for you that you have Sarah to keep you from throwing in the towel. 🙂
Wow!